Check out our YouTube Tutorial on How to Export Polycam Gaussian Splats to Unreal Engine 5!
Editing Splats With Supersplat Editor
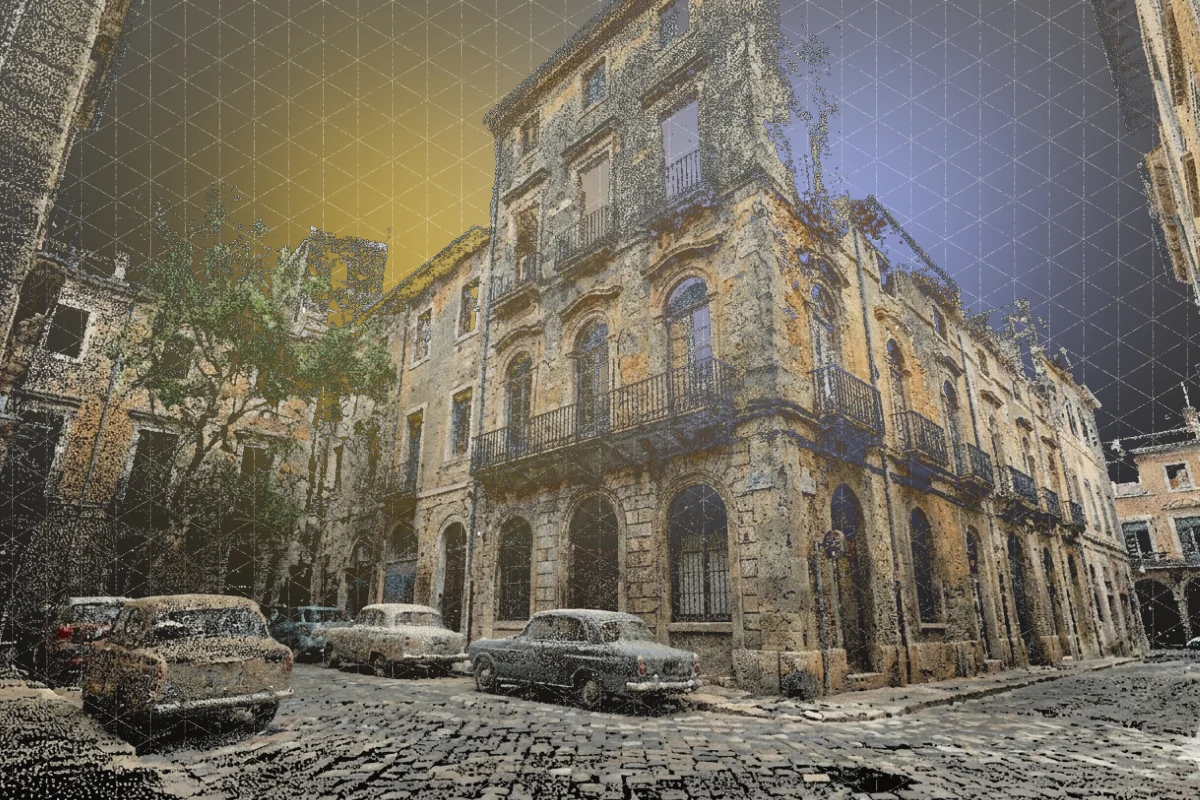
Before we get started, we'll cover what you'll learn and what you'll need. We've also included a series of resources we think you'll find helpful in the description of this video, so be sure to check those out. Once you've found one or more splats that you like, we'll want to download the splat PLY format of that scan for use in Unreal Engine. Before we bring our splats over into Unreal Engine, we'll need to first process them through Supersplat Editor, which is a free web-based Gaussian splat editing tool.
Using Circle Selection
In this example of the editing tools, we're using the circle selection to select the part of the splat that we would like to keep, and then inverting that selection to remove the part of the scan that we don't want.
Using Box Selection
We could also accomplish the same using box select and then inverting that selection to delete unwanted parts of the scan. To export from Supersplat Editor, go to File, Export Splat, and keep all of the default settings as they are. This will ensure that your splat is ready to be loaded into Unreal Engine.
Installing Unreal Engine and Plugins
To download Unreal Engine, we'll first need to install the Epic Games launcher. From there, we'll be able to select what version of Unreal Engine we'll want to download. In this case, make sure you've downloaded five point three point two. To add the Luma AI plugin to your project, you'll first need to search for it on fab.com and then add it to your library. Now, you'll be able to find the plugin in your Fab library and install it into your project. In this case, we're gonna install it into Unreal Engine five point three point two. For this example, I'll use the third person template to launch a scene. Once Unreal Engine loads, a pop-up will let you know that there are new plugins available.
Verifying Plugin Installation
To confirm that the Luma AI plugin is installed and enabled, search for Luma AI and ensure that the plugin has a check mark by it. If it's your first install, you must first restart Unreal Editor for your changes to take effect. But then you can confirm that the plugin is properly installed by searching for the name again and confirming that the check mark is right next to the plugin name. If that screen doesn't immediately pop up, you can go to Edit, Plugins, and then search for the plugin name there.
Importing the Gaussian Splat Into Unreal Engine
For this quick example, I'm going to delete a few of the objects that appear in the template scene and drag and drop one of the PLY files that we downloaded from Supersplat into the content browser. The Luma AI plugin will take care of generating the necessary blueprints for Unreal Engine to interpret our Gaussian splat. To learn more about what's possible with this plugin, check out the documentation page linked in the description of this video. Now, we can finally drag and drop our blueprint into our level and see our Gaussian splat.
Adding Collision to Gaussian Splats
But you'll notice that if we hit the play button, our character actor falls right through the map, and that's because Gaussian splats are not meshes, and so they don't have collisions. But that's okay. We can add those through a clever trick. And for that trick, we'll want to download a GLTF version of that same Gaussian splat to bring into Unreal Engine.
Using GLTF Meshes for Collision
This GLTF trick will afford us a static mesh object for which we can add and edit collisions. To do so, double-click the mesh object to open the mesh view. Then, search for collisions in the search bar and under Collision Complexity, set Use Complex Collision as Simple. Here's a visual representation of both the simple and complex collisions, where the simple collision on the left is denoted by the green lines and the complex collision on the right is denoted by the white lines. For this example, we'll stick with the complex collision as that will give our character a more accurate surface to run on.
Aligning the Collision Mesh
Now that we've got our collision set up, we can drag and drop the GLTF mesh into our level and use the move, rotate, and scale functions to line up our mesh with the splat as best as possible. This might take some trial and error.
Hiding the Collision Mesh
Once you've got them all lined up, select the GLTF mesh and then in the Details panel, search for game and under Rendering, check Actor Hidden in Game to hide the static mesh. Now, when you start the game, you'll see the splat, but the character actor will be walking on the static mesh.
Creating Cinematic Camera Moves
And that's on use in interactive scenes and games. But we can also take advantage of Unreal Engine cinematic capabilities by adding a cine camera actor to the level and setting some parameters for the beginning and ending positions of a camera move in order to create a cinematic like this one. And there you have it, a quick walkthrough on exporting Gaussian splats from Polycam for use in Unreal Engine. Wanna see more videos like this one or get into more advanced use cases in Unreal Engine? Let us know in the comments below. And be sure to check out our Discord and subreddit to see all of the interesting and inspiring ways that the world is using Polycam.