If you've searched "how to convert a 3D scan into a floor plan," you're probably picturing a multi-step process: scan the space with one tool, export a mesh, bring it into CAD or BIM software, manually trace the walls and openings, clean up the geometry, and output a 2D plan. That workflow exists. It's also slow, error-prone, and increasingly unnecessary.
The faster answer is that modern capture apps generate the 2D floor plan directly from the same scan that produces the 3D model. There's no conversion step in the traditional sense. This article walks through both workflows, what's actually involved in each, and why the integrated approach has become the practical default for most documentation work.
Why the Old "Scan, Then Convert" Workflow Was Slow
The traditional pipeline goes roughly like this: capture a 3D mesh with a scanner, export it to CAD or BIM software, manually trace walls and openings from the mesh, clean up the geometry, and eventually output a 2D plan.
Every handoff in that chain introduces an opportunity for error. Tracing a mesh is interpretive work. Someone has to look at a dense cloud of points or a 3D surface and decide where the wall actually is, how thick it is, and where the rough opening starts and ends. That interpretation happens away from the building, after the site visit, with no way to quickly verify whether a call was right. It's the gap between field conditions and the drawing where dimensional drift tends to show up.
The mesh itself isn't a floor plan. It's a 3D record of what the sensors captured. Turning it into a working 2D drawing has historically been a separate professional step that required its own time, software, and skill. That's the friction the rest of this article addresses.
The Modern Workflow: One Scan, Two Outputs
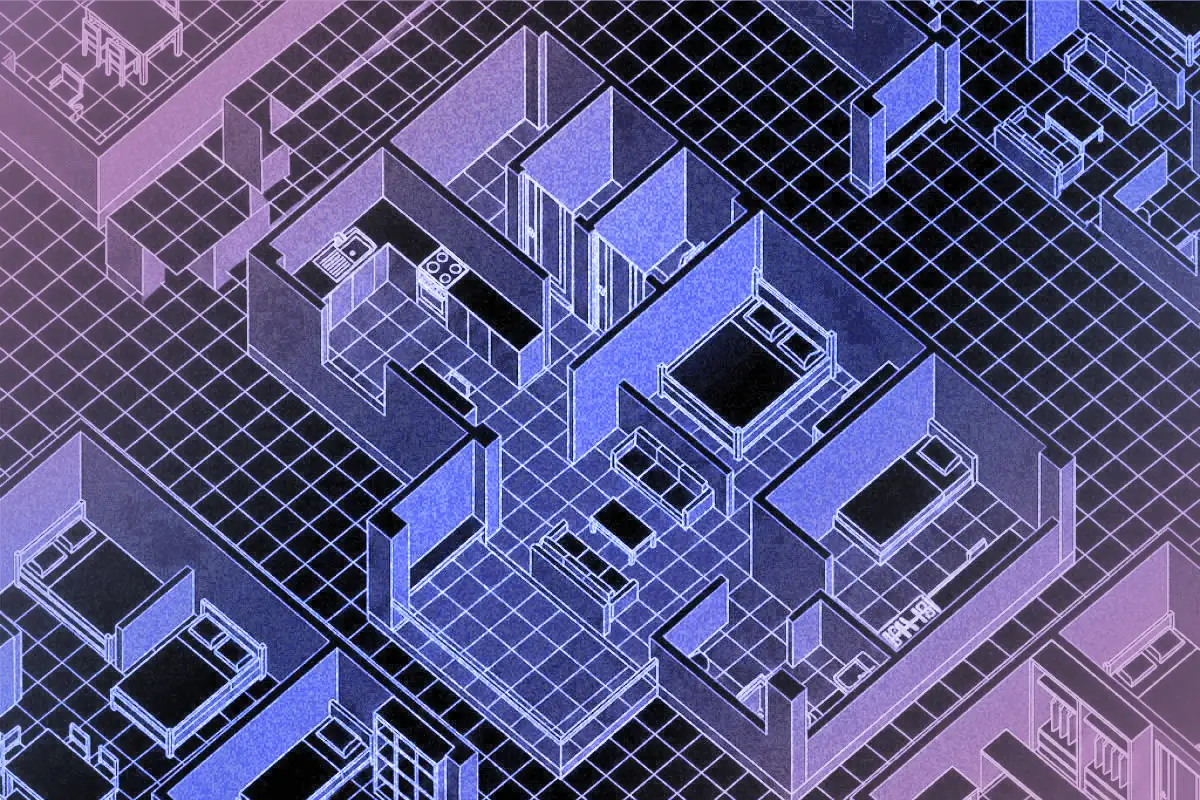
Capture apps that use AI to detect spatial elements during the scan can generate the 2D floor plan automatically alongside the 3D model. The same walk-through produces both: the 3D mesh for visualization, measurements, and project records, and the dimensioned 2D plan for drafting, permits, and CAD import.
There's no separate conversion step, no manual tracing, no third-party software sitting between the field capture and the working drawing. The professional's job shifts from "draft a floor plan from a mesh" to "review and verify the auto-generated plan on-site." That's a much shorter task, and it happens before you leave the building.
Polycam's Space Mode handles this automatically. As you walk the space, the AI detects walls, windows, doors, fixtures, and furniture in real time. By the time the capture is done, the 2D floor plan and 3D model are both ready on your phone, processed on-device with no upload required.
Step-by-Step: From 3D Scan to Usable Floor Plan
Step 1: Capture. Walk the space slowly, moving around the room in one consistent direction. Move the device up and down as you go to capture full vertical coverage. A rough rule of thumb is about two minutes per 100 square feet. Steady movement produces better geometry than stopping and starting.
Step 2: Auto-detection. As the scan builds, the AI identifies walls, openings, fixtures, and furniture in real time. You don't mark anything manually. The detection runs during capture, so by the time you finish walking the space, the system already has a working read on the room.
Step 3: On-site review. Dimensions surface immediately on the screen. Before you leave the building, check wall runs, ceiling heights, rough opening sizes, and room labels. This is the quality control step, and it matters because catching a wrong reading on-site takes about thirty seconds. Catching it back at the office, after work has already been built around it, is a different problem.
Step 4: Edit before export. Anything that doesn't look right can be corrected in the app before the file leaves the building. Wall thickness, room labels, and anything the AI reads incorrectly can all be adjusted directly in the app before you export. For most spaces, this processes on-device. For larger jobs over 5,000 square feet, cloud processing is recommended.
Step 5: Export. Choose the format that fits the job. DXF for AutoCAD or Revit, PDF or PNG for client handoffs, SVG for design tools, or any of the other supported formats. The file is ready before you're back in the car.
What the Floor Plan Output Should Include
Not every tool that claims to produce a floor plan from a 3D scan produces something a professional can actually use. Here's what separates a working deliverable from a picture of one.
The plan should have dimensions you can verify. Room-by-room measurements, wall runs, opening sizes: these need to be readable and correct, not estimated or averaged.
The export format matters. A layered DXF gives a drafter editable geometry they can work with directly in AutoCAD or Revit. A flat PNG gives them a reference image they have to trace. If the output is just an image, the manual drafting step hasn't been removed; it's just been pushed one step later.
A linked 3D model is useful even after the site visit is over. If a question comes up about a measurement that wasn't captured in the 2D plan, the 3D model is where you go to pull it without scheduling a return trip.
And a spatial report that includes room-by-room square footage, wall surface area, and a fixture inventory from the same scan saves a separate step when you're doing takeoffs or putting together project documentation.
Polycam produces all of these from a single capture: a layered DXF, an AI Spatial Report, a 3D model paired with the 2D plan, and 15+ export formats, including DXF, PDF, PNG, SVG, OBJ, FBX, and point cloud formats.
When This Workflow Fits and When It Doesn't
The integrated workflow fits well on jobs where the goal is capturing what's already built: renovation scoping, as-built drawings, permit close-out, bid packages, facilities records, and real estate documentation.
That said, there are jobs where a phone-based scan isn't the right tool: stamped survey work, structural engineering documents requiring a licensed sign-off, and jurisdictions with strict survey tolerances each carry regulatory requirements that sit outside what this workflow is designed for.
Where the line falls for a specific project is a professional judgment call, and the goal here is to give an accurate picture of what the output actually is so that call can be made with the right information. If the project is a good fit, Polycam's Business plan is what unlocks floor plan generation, DXF export, AI Spatial Reports, team sharing, and shareable links for remote review.
See What Comes Out
Polycam has a 7-day free Business trial at poly.cam/pricing. The most direct way to evaluate this is to scan one real room with the phone you already own, watch the 2D plan generate alongside the 3D model, and export the DXF to see whether the output meets the standard your work requires.
There's nothing to rent, no conversion software to set up, and if a dimension looks off you fix it before you leave rather than finding out later. Scan one real room and you'll have a pretty clear sense of whether it works for your projects.