Exporting a Polycam Capture for Blender
Hello and welcome back to the channel. In this video, we'll walk through how, in a few simple steps, you can export any capture from Polycam and import it into Blender, a free and open source 3D creation suite. We'll first cover what you'll learn and what you'll need. So feel free to pause on these slides and be sure to check out the links and resources that we put together in the description of this video. In this demo, we'll be using this great capture by JamesOCtwentyseven. To export your capture, from the capture page, click on Download. We'll use the GLTF format since that'll package all of the individual files that we'll need into a single file that we can then drag and drop into Blender.
https://youtu.be/CQPsJSKHykE?si=P879RBrcTtb2U6qD
Check out our YouTube Tutorial on How to Optimize Polycam 3D Scans in Blender!
Preparing the Blender Scene
Once you've downloaded and installed the latest version of Blender, we'll open up the default scene. This default scene includes the default cube as well as some lighting and a camera. You can choose to keep these if you like, but I'm going to delete them by selecting them all using the A shortcut and deleting them using the X shortcut. In Blender, you can also select by clicking on the object or select multiple objects by clicking and dragging over the group.
Importing the Capture Into Blender
To import your capture, locate the file you downloaded from Polycam and drag and drop it into the Blender scene. This will invoke a pop-up that will allow you to modify the import settings, but we'll leave all of these settings as they are. Click on Import GLTF and you'll see your capture appear in Blender.
Understanding Viewport Shading Modes
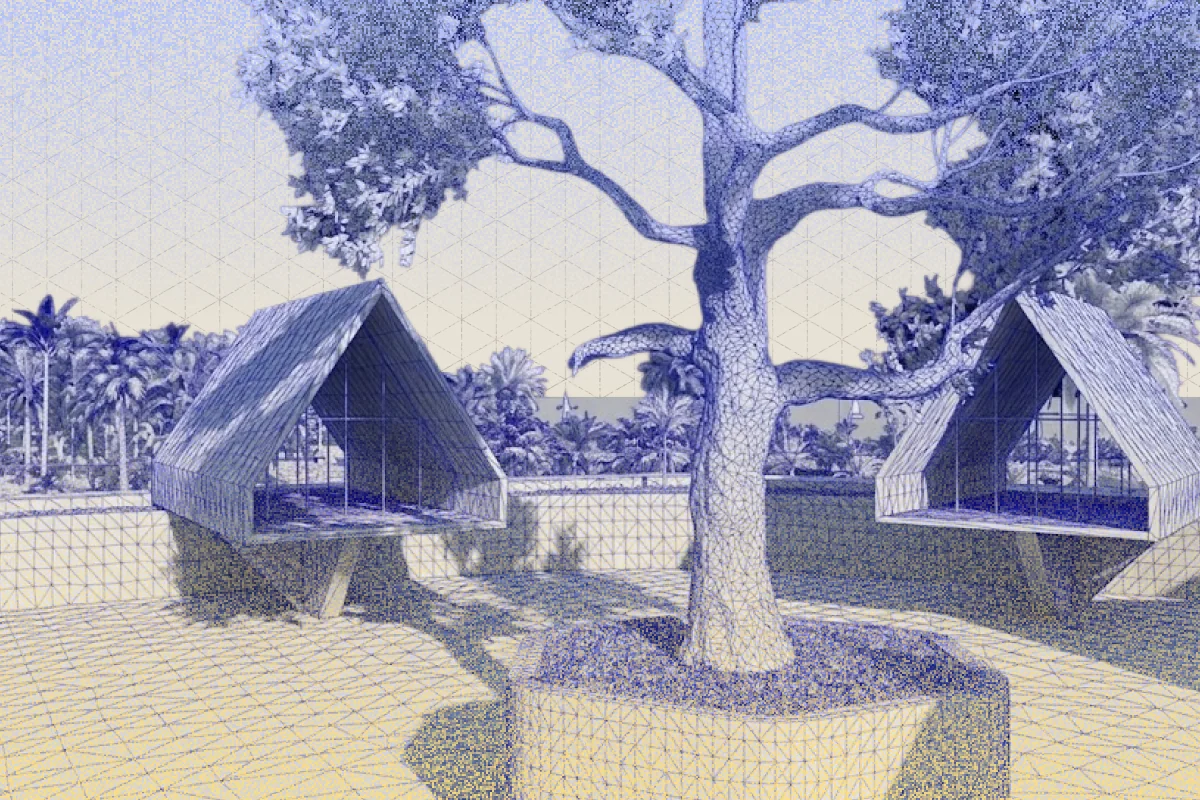
If this is your first time opening Blender, you might notice that everything is gray. Let's talk about the different viewport shading options. Wireframe shading will show you all of the edges of your model. It's also useful for checking topology and hidden geometry, and it's very fast. Solid shading will show solid geometry and simplified lighting, and it's best suited for modeling, sculpting, or basic scene organization. The material preview shading previews materials and textures using Blender's real-time render engine Eevee, and it's a quick way to visualize how your materials and textures will look without fully rendering.
Using Rendered View
Lastly, the rendered shading displays the fully rendered result with all of the lights, shadows, post-processing, and materials in your scene. It's the most accurate of all of the shading previews, but it's also the most demanding on system resources. Each one of these preview modes has its own set of customization options, so be sure to look through the viewport shading menu for more.
Moving, Rotating, and Scaling Objects
And now, onto some transforms. To move an object or model in Blender, we can use the shortcut G for grab. To rotate, we can use the shortcut R, and we can specify the axis that we want to rotate along by then pressing the X, Y, or Z keys while in rotation mode or by simply typing in the desired degrees for rotation and pressing the Enter key. To rescale your model, we can use the shortcut key S for scale. Note that you could do any of these transforms from the object properties in the side panel.
Sculpting and Refining Geometry
Using the sculpting mode in Blender, we can add or subtract detail to our model using a variety of sculpting brushes. These brushes can help define bumps, crevices, and the like. In the shading editor, we can see that the GLTF file format loads into Blender with all of the necessary UV maps, textures, and materials applied, which we can further customize and refine. Like for example, driving up the metallic properties on this object's material to make the model shine.
Optimizing Dense Meshes
Some captures might have a very dense mesh, and we can further refine and optimize this mesh in a couple of ways. One of them is by going into edit mode, selecting all of the vertices in the model by pressing the A shortcut, and then using the M shortcut to bring up the merge menu. There, we'll merge vertices by distance to get rid of any extraneous vertices and reduce our poly count. We can always check exactly how many edges, faces, and other features we might have by toggling on the statistics. We can also further decimate our model by going into the modifiers on the side panel and adding a decimate modifier set to unsubdivide. The face count allows us to see the resulting face count of each iteration, but use this sparingly as it can introduce artifacts and holes into your mesh.
Using Boolean Operations
To clean up our mesh even more, we can use Boolean operations using the Bool Tool add-on to remove parts of our mesh. In this example, I'm using this cube to remove the floor from the mesh. First selecting the cube and then the motor to remove the intersecting parts of the cube from the motor mesh.
Applying Object Transforms
It's a good practice to apply transforms after operations like this one. So select your mesh and hit Control or Command A and then apply transforms to ensure that your mesh and its normals behave accordingly.
Repairing Missing Geometry
Now, let's talk about additive modeling. You may notice that depending on your capture method, the resulting model may have some incomplete or incorrect sections. This is something we can clean up in Blender with some 3D modeling. In this example, I'm closing out the gap in this model by adding a cube and scaling it to bridge the gap. Then I model the cube into a flat rectangle and apply a subdivision modifier, which allows me to better shape the cube to resemble our part. I then add a material with a matching color and join the meshes using Control and J, making sure to apply transforms after doing so.
Filling Holes in the Mesh
If you find holes in your mesh, you can patch them up by selecting consecutive edges and using the F shortcut to fill faces, or alternatively, using the grid fill tool to fill in the hole. Then, in the shader editor, we can adjust the texture of our new geometry by unwrapping the new faces using the U shortcut and matching them up with our original textures. And there you have it. You've learned to export a model from Polycam and bring it into Blender for further refinements. If you'd like to see more content like this, be sure to let us know in the comments below and subscribe for more walkthroughs and tutorials.