A look under the hood at the algorithms that turn a few minutes of walking through a space into a measurable, editable floor plan.
The expensive part of measuring a space by hand is time. Tape measure, graph paper, careful notes, then a redraw in CAD back at the office. It takes patience, and almost always a second trip for the measurement you forgot.
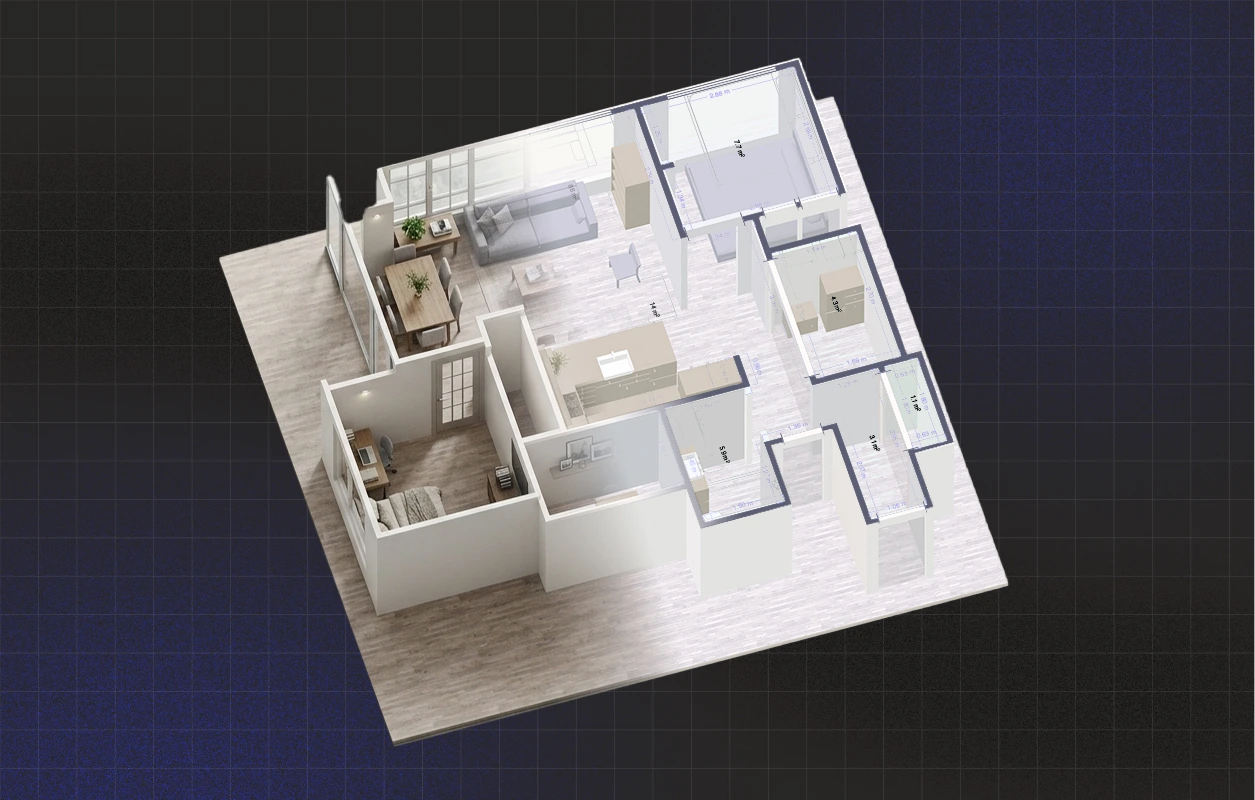
With Polycam, you walk the space with your phone and get a clean, labeled, measurable floor plan in minutes. There's a lot of engineering magic between those two things. The phone's sensors give us a pile of raw spatial data: geometry, color, and a rough sense of where the walls are. But that rough read is not a floor plan. The walls aren't quite straight, and the rooms aren't detected or labeled. Closing that gap is where Polycam's engineering lives.
Step 1: The foundation
Before Polycam can do anything with a scan, it needs to know where the walls are. That first step starts with a tool Apple builds into newer iPhones, called RoomPlan.
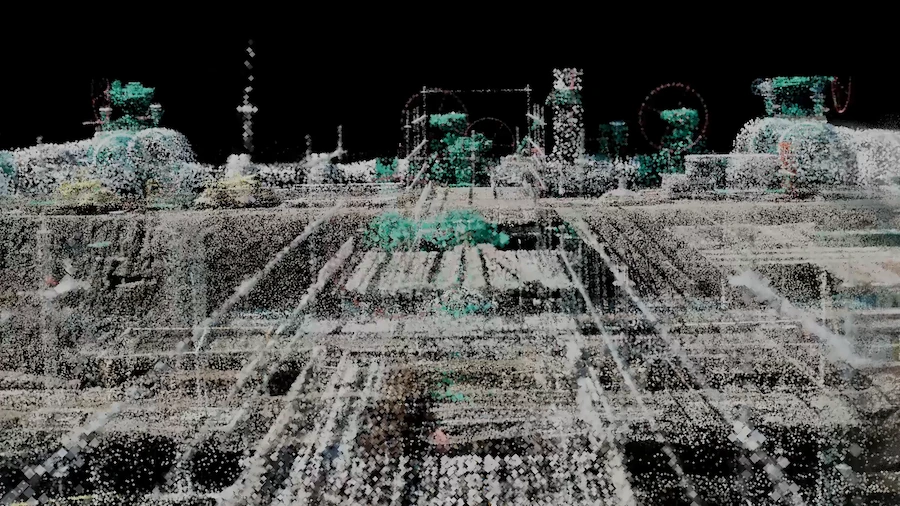
Two terms first. LiDAR is the depth sensor in iPhone 12 Pro and newer. It sends invisible pulses of light and times how long each one takes to bounce back. As you walk, the phone builds a point cloud: the room recreated as a dense cloud of tiny 3D dots.
On its own, a point cloud does not know what a wall is. RoomPlan runs the dots through neural networks trained on example rooms, and hands back a rough list of walls, doors, windows, openings, and furniture, with placement and sizes. It’s a fast first pass, on hardware people already own, which is why we build on top of it instead of reinventing it.
Want to know what happens when your phone doesn't have LiDAR or isn't an Apple device? Non-LiDAR Floorplan is coming soon – We have been developing our own neural networks to replace LiDAR and RoomPlan all in one go.
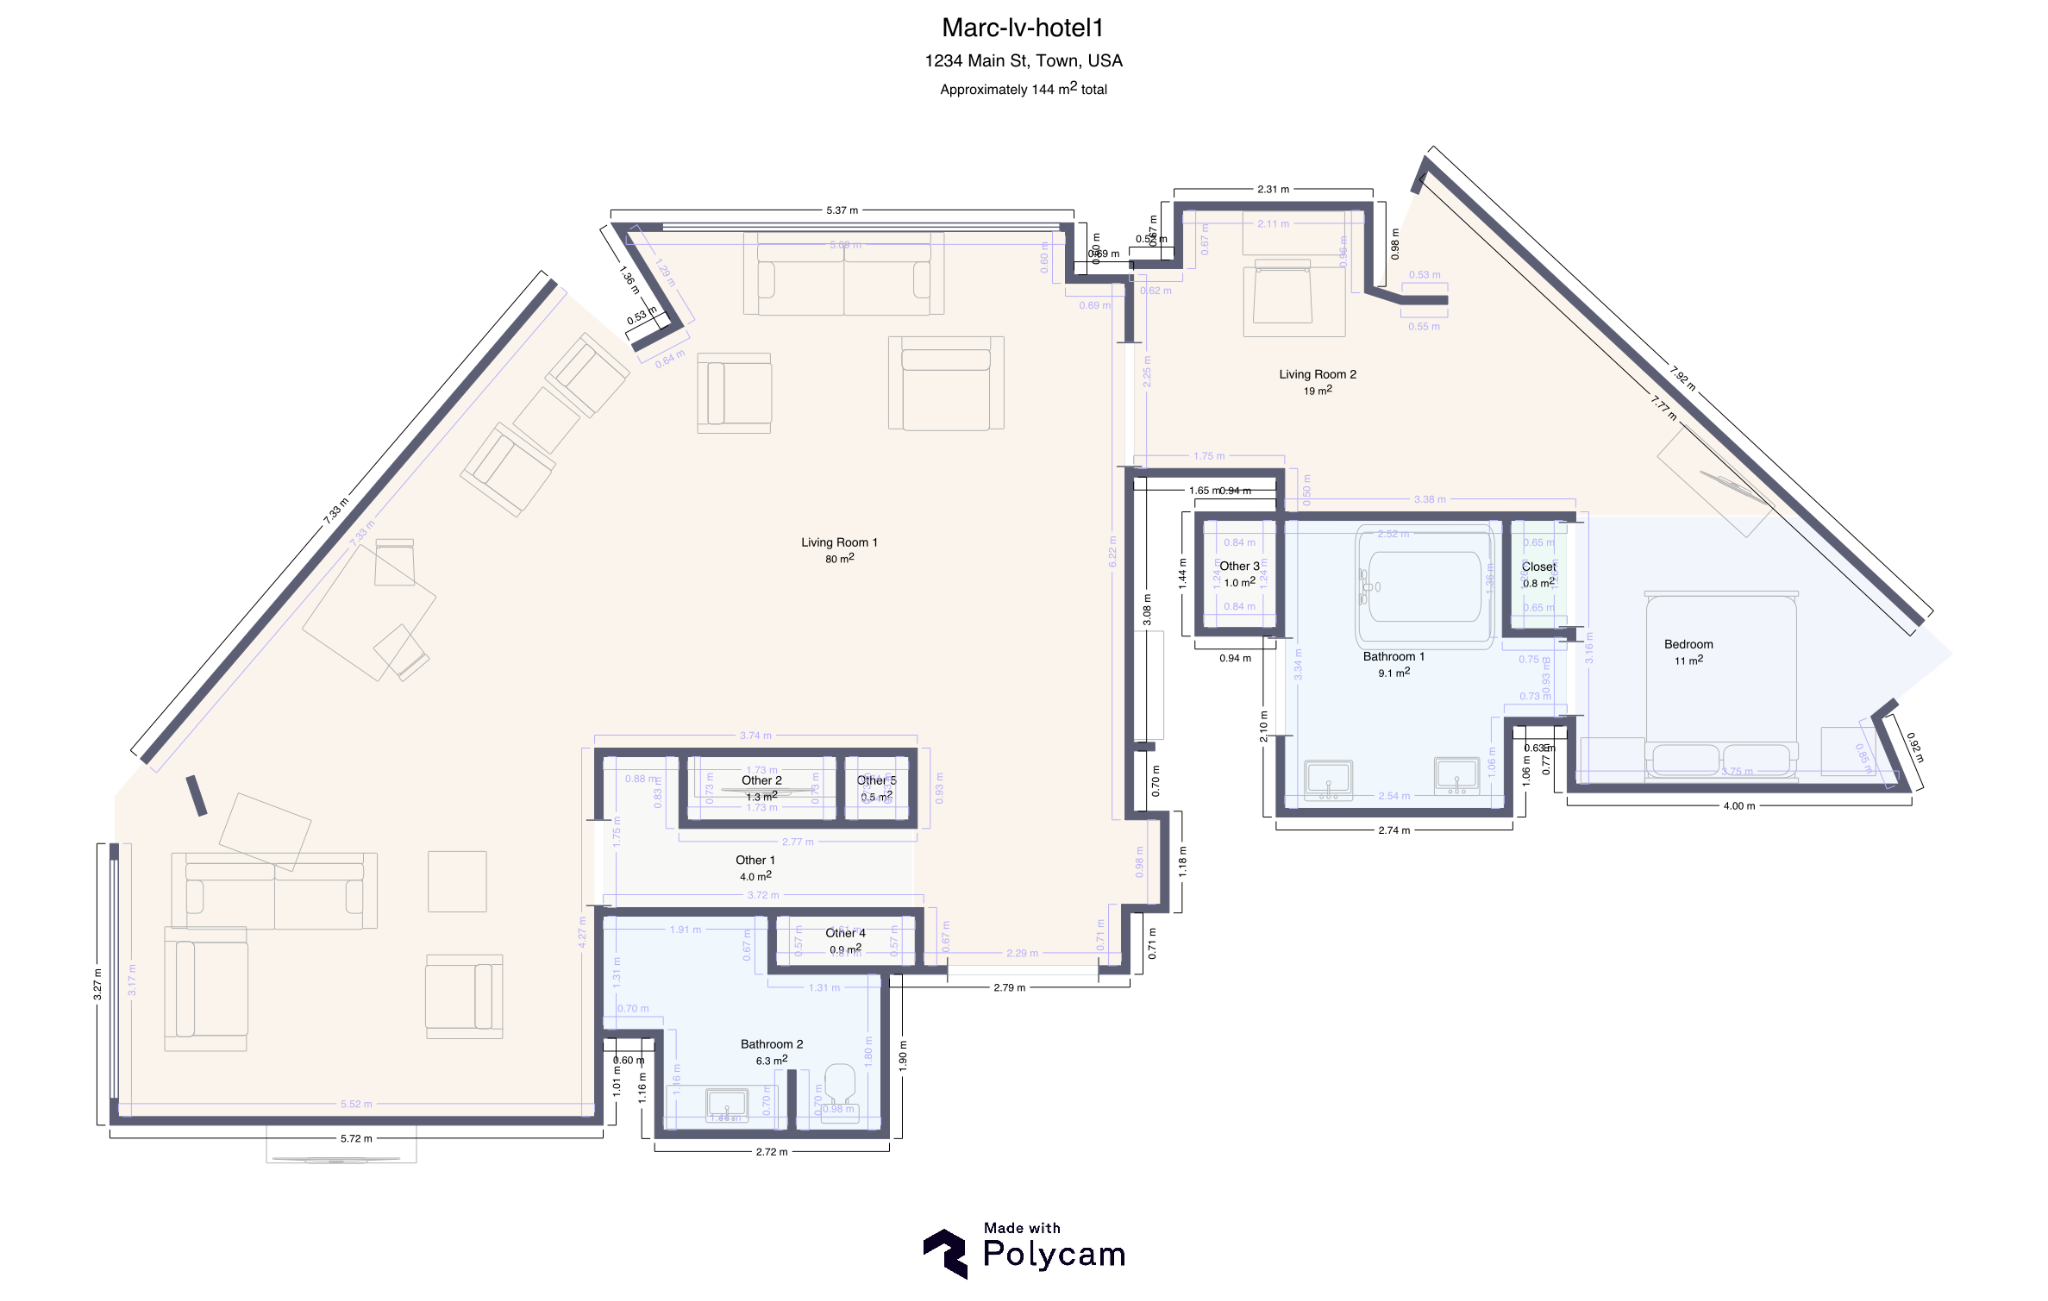
Step 2: Post-processing steps by Polycam
Everything below is the work of our team, built to turn your phone’s raw output into an actual floor plan. There are six algorithms, and they run in sequence.
1. Wall color detection
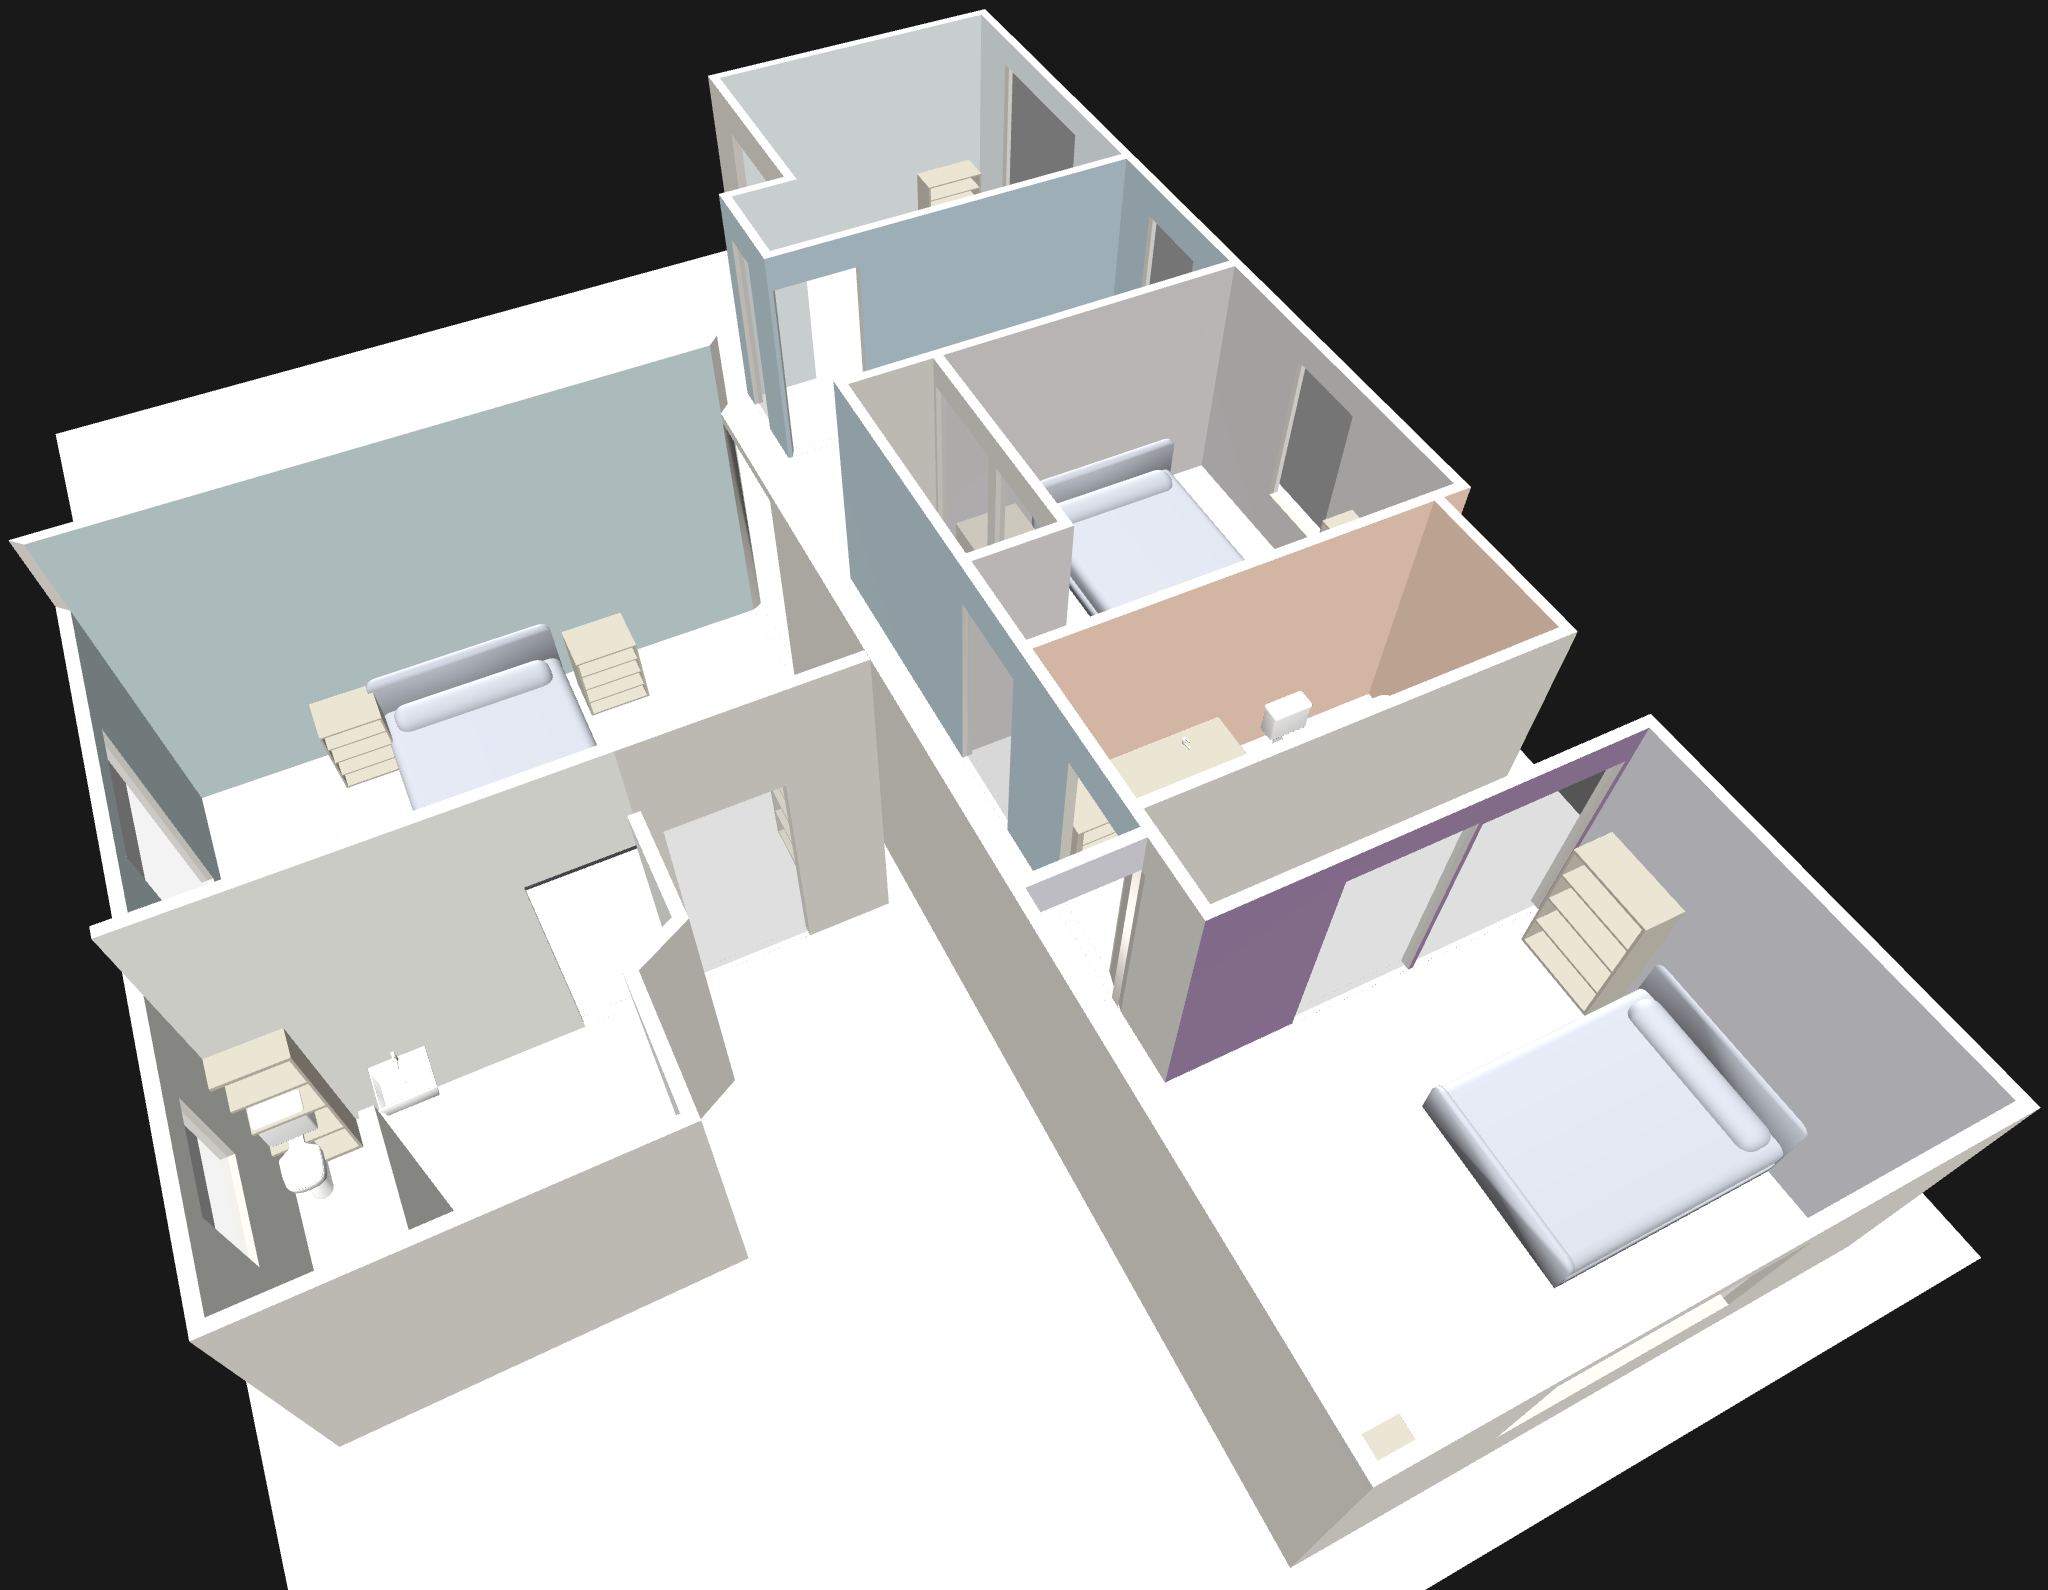
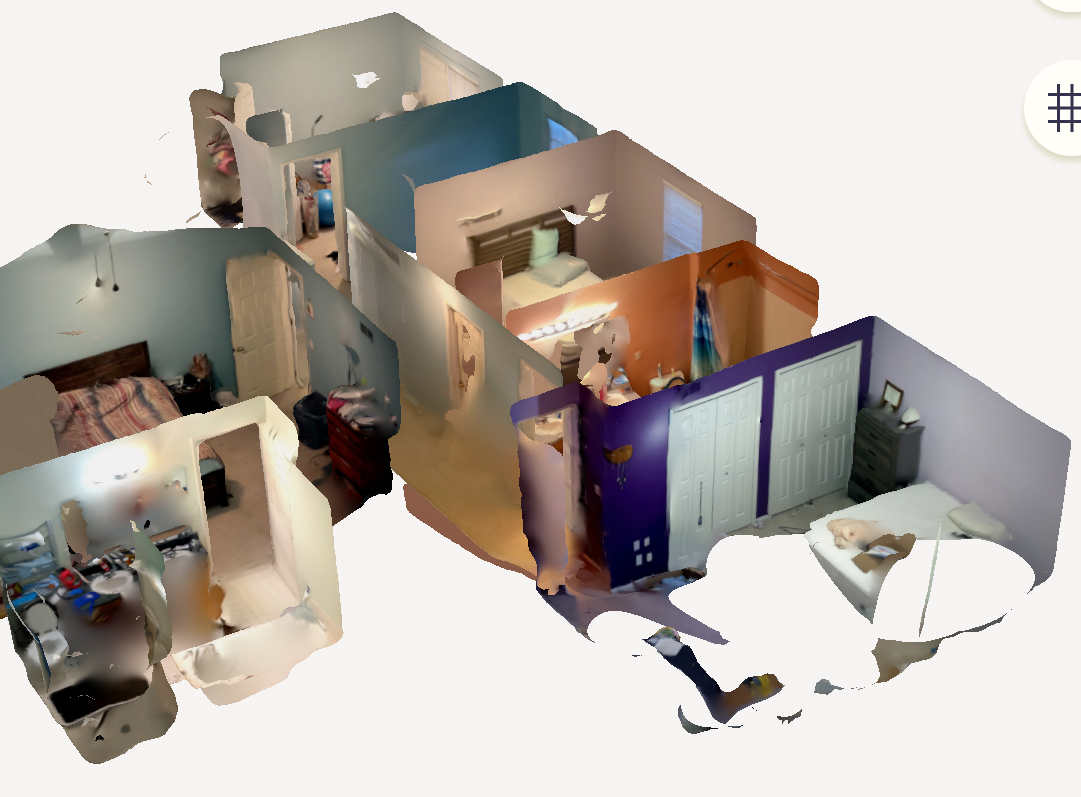
RoomPlan does not give us wall color, and your phone runs its own white balancing on every photo it captures, shifting colors in unpredictable ways. We adjust for that so your floor plan looks like the real space instead of a gray wireframe, with color that survives the lighting instead of getting thrown off by it.
How it works: We use depth, camera angle, and other geometry to read a reliable white reference off the ceiling, then correct each wall against it. While you scan, your phone captures still photos we call keyframes. For each wall, we pick the photos that see it best, sample their colors across a grid, and use the ceiling as a "this should be white" reference to undo the phone's white balancing. We balance the frames so they agree with each other, toss the samples that are clearly shadows or reflections rather than paint, and average what's left. Then we calibrate against real paint chips so the output matches actual colors, and save it to the 3D model. Each wall can carry a different color on each side, so the paint can change correctly from one room to the next.

2. Straightening walls
LiDAR scans drift. Walls that are dead straight in real life can come out slightly crooked, because as your phone moves through a space, it's taking thousands of tiny measurements and constantly tracking its own position. Every one of those readings is off by a hair: small errors in the LiDAR measurements, small errors in tracking, a bit of motion blur. None of it matters on its own. But over a full scan those tiny errors pile up, and a wall that should be ruler-straight ends up slightly bent. Buildings follow rules. Most walls meet at right angles and run parallel to one another. The algorithm finds the building's dominant orientation, rotates the whole scan to line up with it, and snaps walls that are close to horizontal or vertical back to square. It does this carefully, optimizing the wall positions so the total movement from start to finish is as small as possible. Truly angled walls (bay windows, that one weird hallway) are left alone, and objects get snapped to clean angles separately.

3. Finding and classifying the rooms
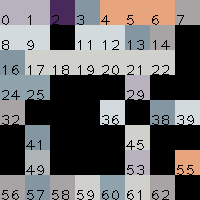
RoomPlan hands us a flat list of walls, and the occasional hint about rooms (without a boundary). It doesn't know where the kitchen ends and the hallway begins, and published methods were too slow for production. We built our own so every room comes out labeled. That's what makes a floor plan useful, and what powers everything downstream: per-room square footage, room-by-room editing, and reports.
How it works, in three phases:
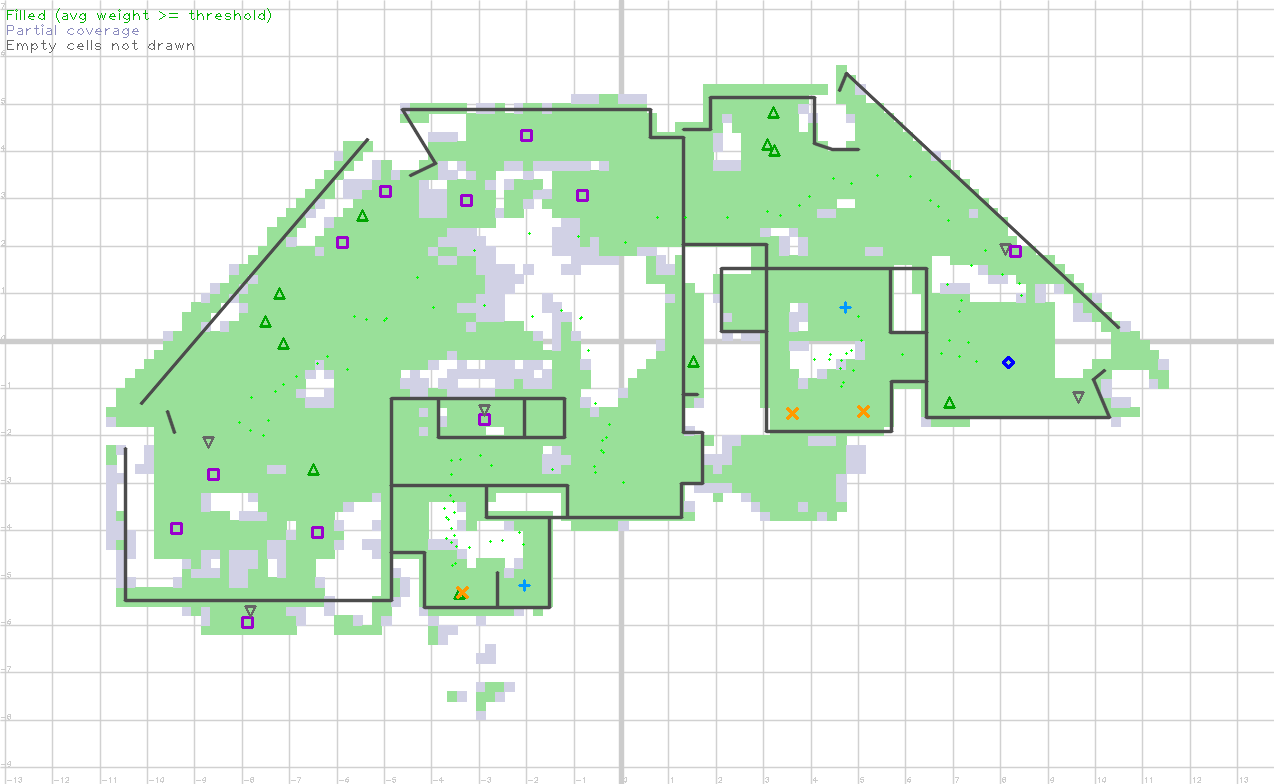
First, build the map. Lay the walls out flat as a top-down diagram: every wall is an edge, every spot where walls meet is a point. That connection map, plus the objects and keyframe positions in the scan, is what the rest works on.
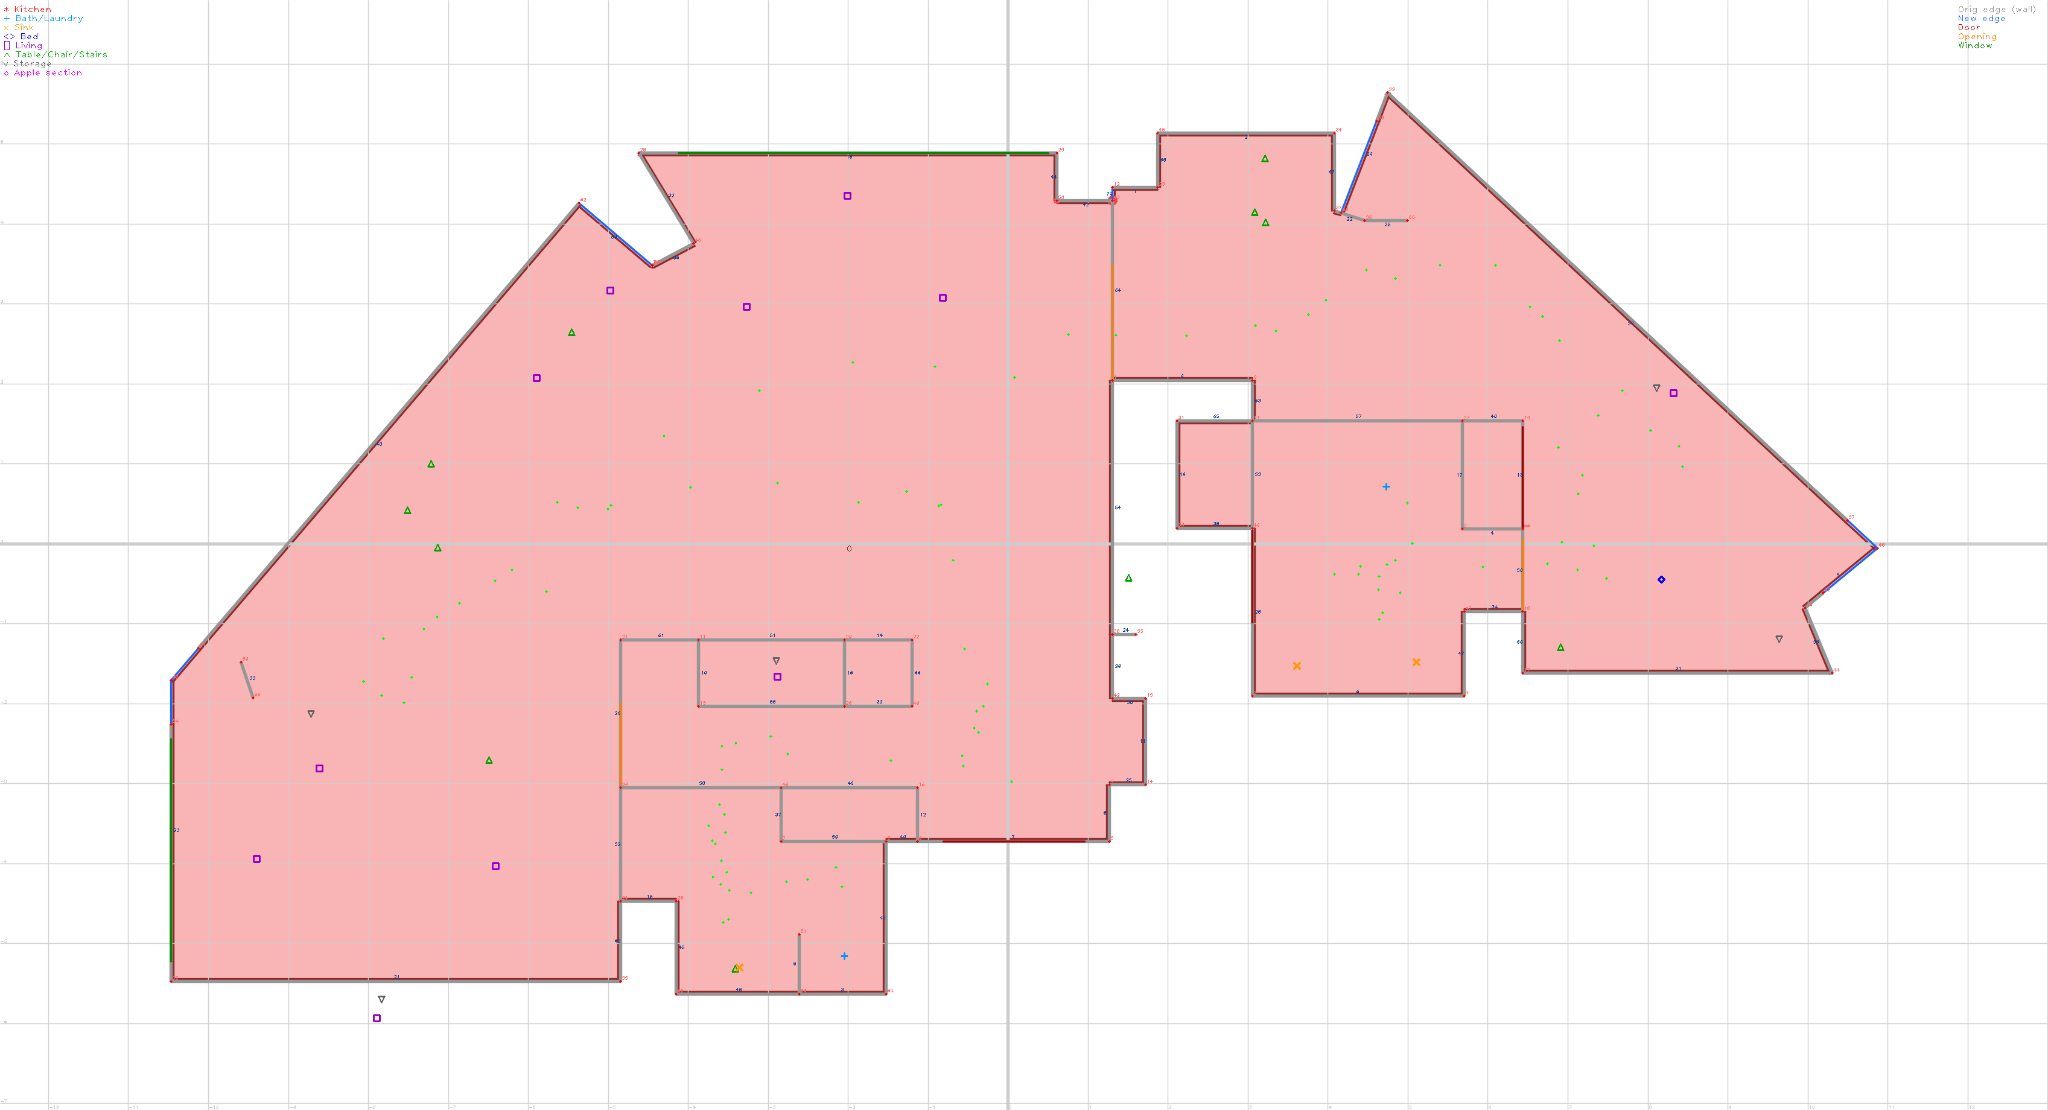
Phase one: draw the outline of the building. Picture the scan as a pile of wall fragments dropped on the floor, then imagine shrink-wrapping a sheet around them until it pulls tight against the outermost walls, hugging every nook and corner. That outline is the building's edge. Since real scans can be messy, we usually stitch a few separate loops into one clean outline, filling the gaps the scan left open.
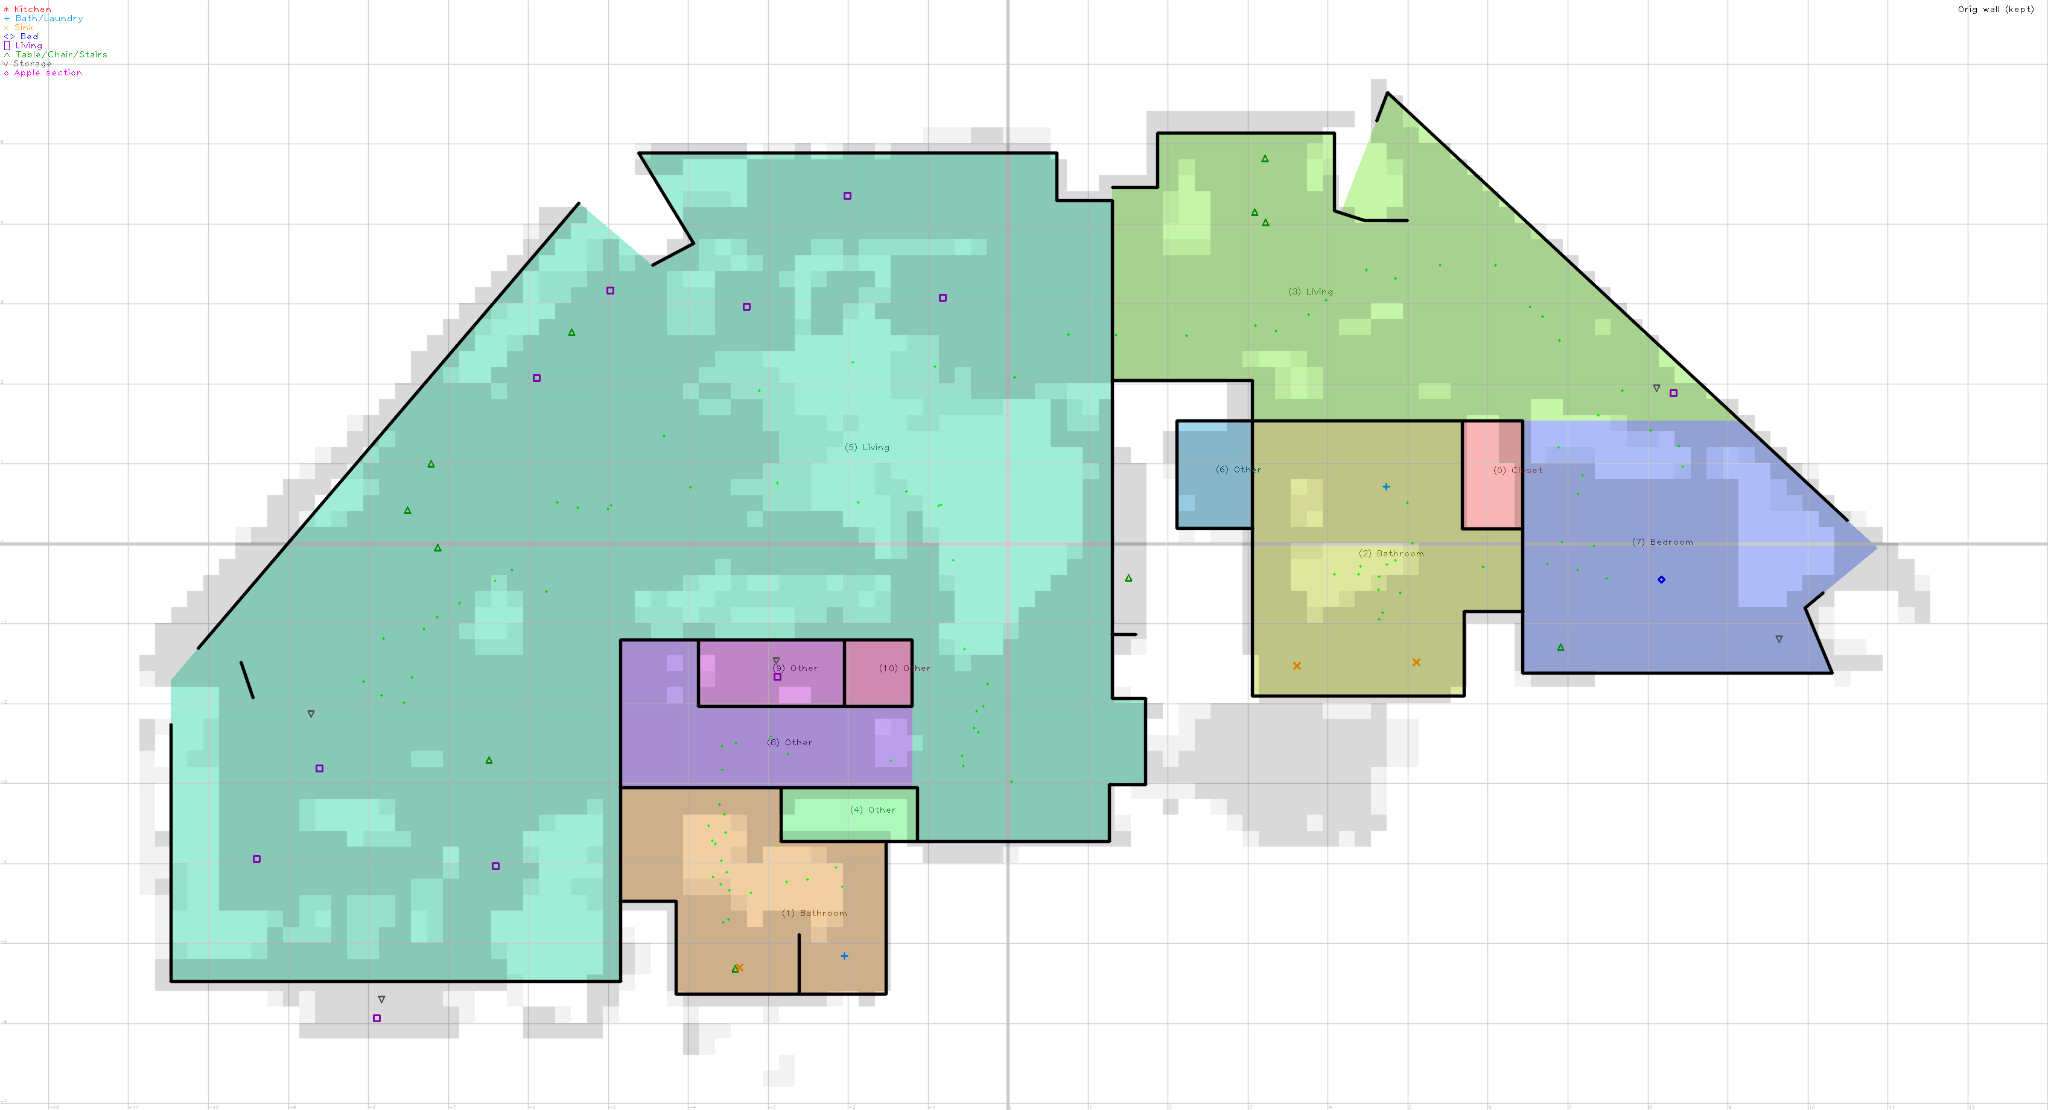
Phase two: divide the inside into rooms. The fully walled rooms come first, since any closed loop of walls is obviously a room. The trickier ones are open spaces, a room that flows into a hallway, or a space defined more by its furniture than its walls. For those, we infer the missing boundaries using the objects and connected walls as clues, and drop anything too small to be a real room.
Phase three: label the rooms. Score each room by what's inside it. Objects vote for the room types they belong to: a toilet votes hard for bathroom, a stove for kitchen. Other than the special cases below, the highest-scoring room type wins.
Two things can override that vote. First, dissonant objects: in the rare case that a room holds things that don't go together, like a washing machine next to an oven, the votes don't add up to a real room and we label it "other." Second, geometry: a space might score highest as "kitchen," but the shape has to agree. A closet has to be small (a bit larger off a bedroom is fine), and a hallway has to be path-like, narrow in the smaller dimension, and potentially longer in the other dimension. When the shape contradicts the label, the shape wins.
4. Floor and ceiling detection
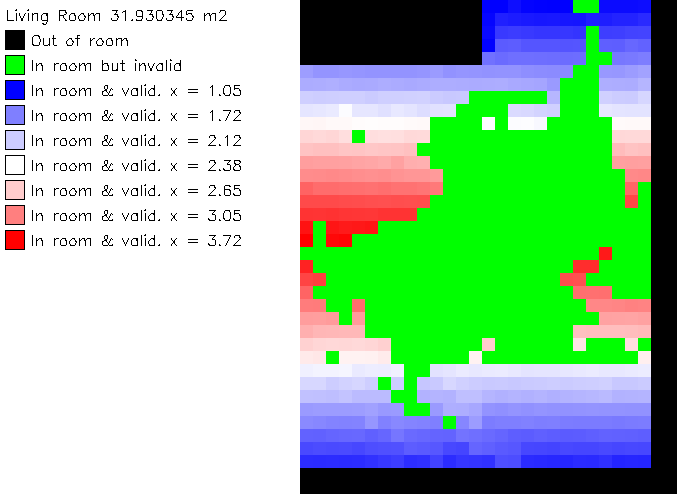
It's tempting to assume a building has one flat floor at one height. Real buildings have sunken living rooms, step-downs, split levels, and multiple stories. We solve each height separately so multi-story and split-level spaces come out correct instead of flattened, each room its own editable piece.
How it works: We solve the floor height for each room on its own from the LiDAR points on the floor. Then we reconcile neighbors, so rooms that are really on the same level snap to a shared height instead of showing a meaningless little step between them. Once a room's floor height is locked in, we snap the bottoms of furniture to it, so objects sit cleanly on the floor instead of hovering or sinking.
Ceilings work much the same way, with one twist. Instead of fitting a single height, we accumulate the ceiling points into a grid, and test a few possible ceiling shapes and keep whichever matches the data best. Often that's a flat ceiling. Sometimes it's an A-shape, like a vaulted ceiling or a sloped loft.
One real-world wrinkle: people tend to capture floors well just by scanning normally, so floor heights come out reliable. Ceilings are harder, because people don't look up as much, which leaves gaps in the ceiling data. If you want a sharper ceiling, tilt your phone up now and then to catch big sections of it as you go, just don't aim straight up and hold it there.
5. Cleaning up objects
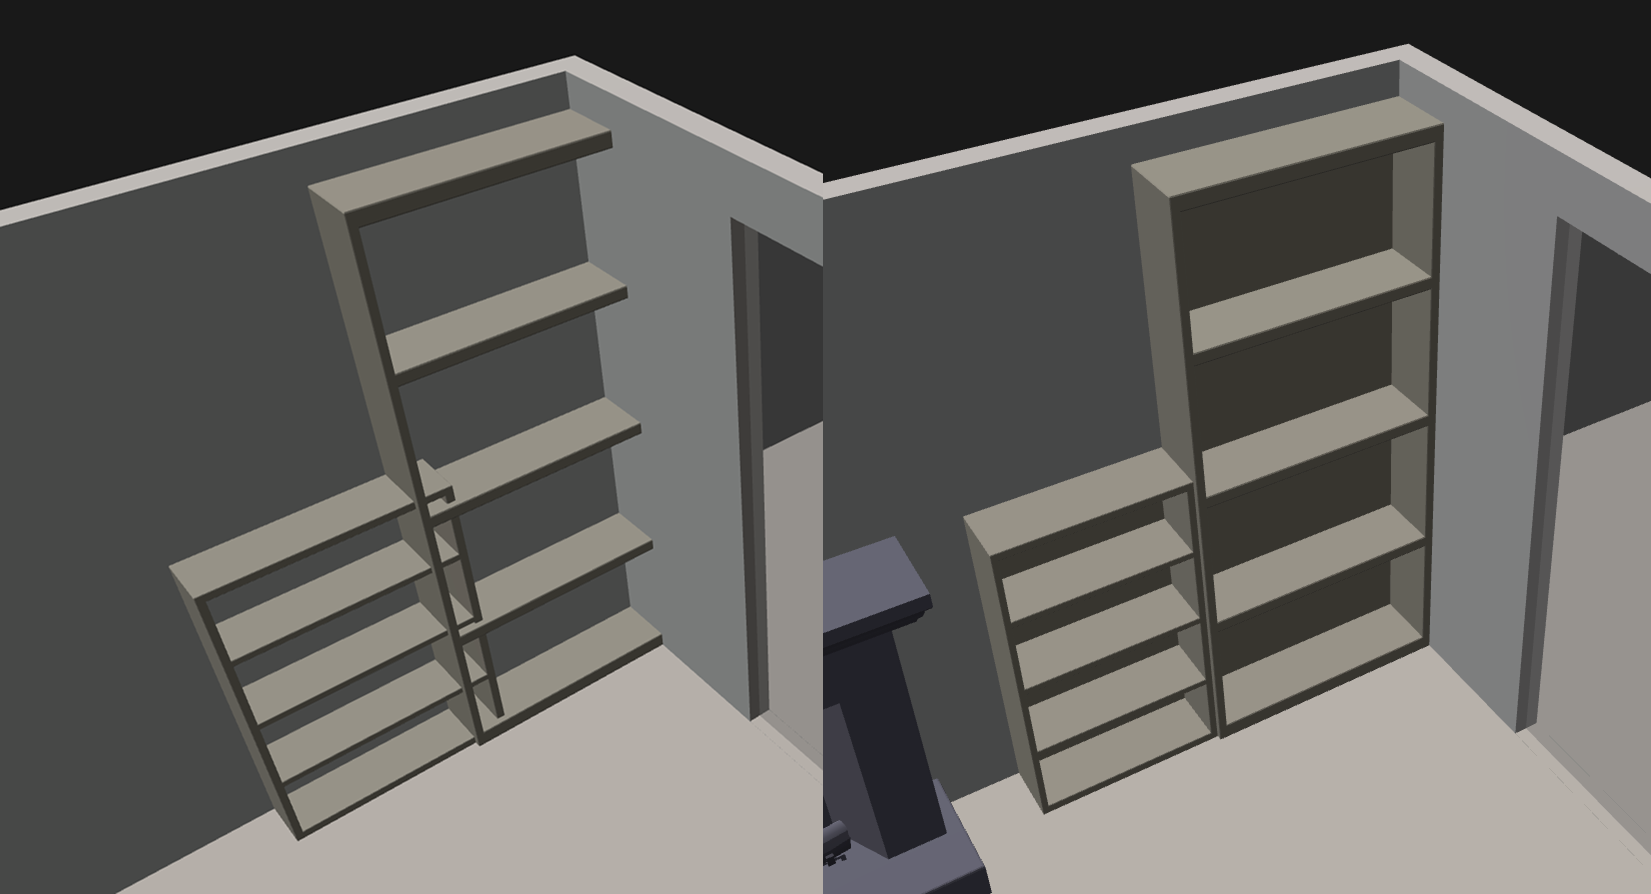
RoomPlan's object detection is good, but objects often clip through walls or overlap each other. We clean that up so your furniture sits where it really sits, and the plan reads like the actual room instead of a collision of boxes.
We fix where objects intersect the walls, snapping them to sit flush against the surface when they're close, and we trim objects that overlap other objects in 3D. When two overlap, one has to give: fixtures and appliances are protected, while lower-stakes things like storage shrink to make room. And when RoomPlan reads a side-by-side washer and dryer as one squat object, we split it back into two, because a laundry room should look like a laundry room.
6. Location and compass heading
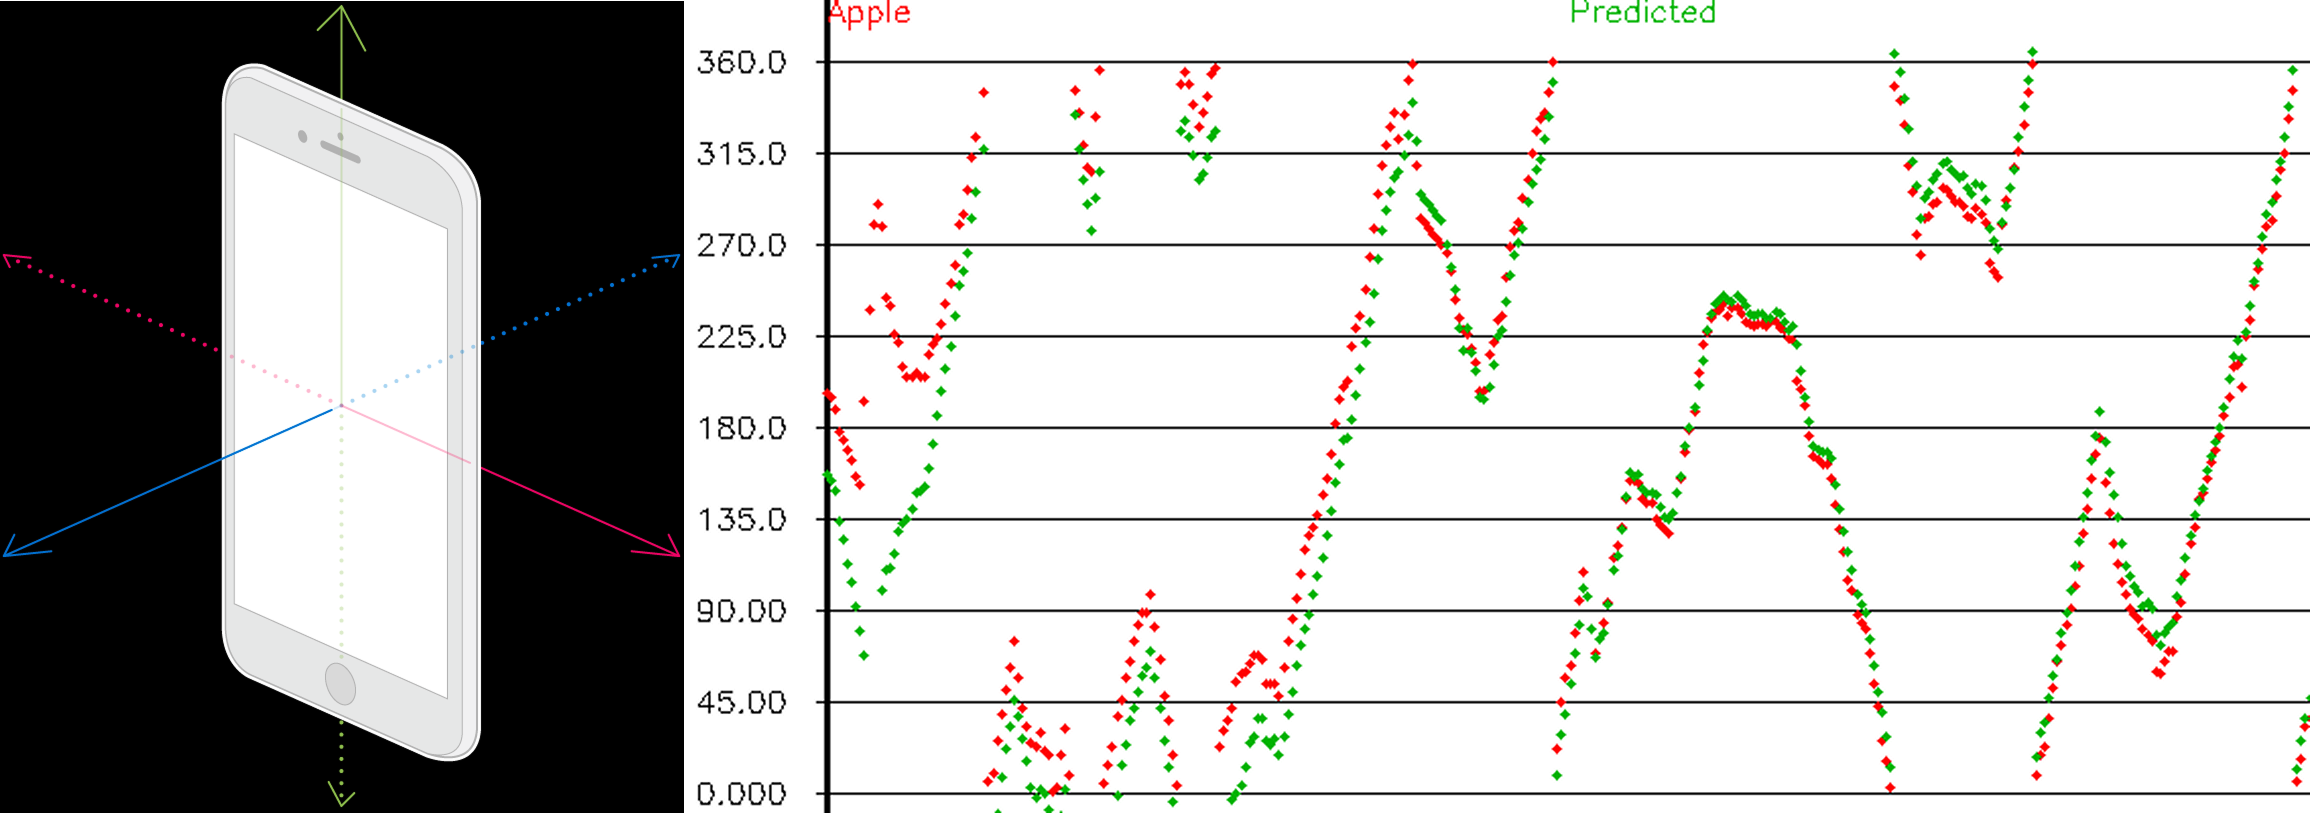
A floor plan that doesn’t know which way is north is a headache the moment it has to coordinate with a site plan or a sun study. And the phone's location data is jumpy: it hops between GPS satellites mid-scan, and each hop can put a hard jump in the recorded position. We work out true north so your plan lines up with the real world the first time it has to talk to another document.
How it works: Each keyframe carries its own GPS reading (latitude, longitude, and altitude) plus its own compass heading. On their own, neither is enough. The GPS points jump as the phone switches satellites, and the headings are noisy. So instead of trusting any single reading, we treat the whole thing as one optimization: we match the string of GPS points to where the scan thinks you were standing, lean on the headings as another signal, and work through the jumps and outliers to settle on the direction we're confident in.
Step 3: Export
Six steps in, you've got one clean model, and now it's yours to use. Export it however you work: 3D, or a 2D plan as PNG, PDF, SVG, or DXF for CAD, plus square footage reports and CSV.
Before you export, the Floor Plan Editor does two jobs. The first is checking our work: move walls in 2D and watch the 3D follow, or overlay your edits on the original scan to confirm measurements and fix anything the AI got wrong. The second is making it yours: draw in what isn't there yet, like a wall you're planning to demo or an addition you're pricing out. Because it's all one model, a fix in one place shows up everywhere.
Soon, you'll also be able to scan on Android and iPhones without LiDAR, so a lot more people can point a phone at a room and walk away with a plan.
Key takeaways
These algorithms are hard for reasons that don't show up in the final plan. The color work is a moving target, since lighting and exposure shift from keyframe to keyframe. Finding rooms means inferring where walls should be when the scan didn't catch them, with no answer key to check against. Compass heading has to survive a phone that changes its mind about which satellite it is listening to mid-scan. And every single piece of this runs on scans captured in under five minutes by someone just walking through a space, no special scanning skill required.
What it all adds up to is a phone scan that comes out the other end clean, labeled, and measurable. Capture takes minutes, the processing that follows takes seconds, and all of it happens on the device in your hand, so a finished plan is ready to hand to a client or a crew almost immediately. The innovation is not any single algorithm. It is the six of them working in sequence to close the gap between "the phone saw a room" and "here is a floor plan you can build from."
Today, this produces a clean floor plan. But the real engine underneath is bigger: turning the spatial data a phone can capture into something structured and usable. That's what we're building Polycam around.