Choosing the Right Scan Mode in Polycam
Now for this, I'm using this Polycam web app, but of course you can use the Polycam mobile app and you can send your scan data directly using email or other methods. In this case, I'm using browser. So you can go to poly.cam, log in with your credentials, and here you'll see all the scans that you have.
When to Use Photo Mode vs. LiDAR Mode
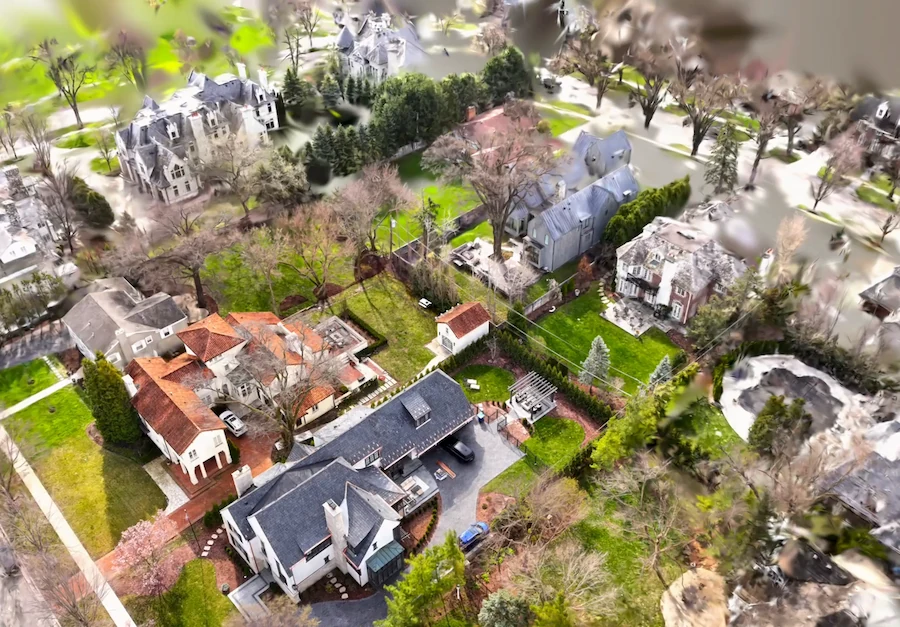
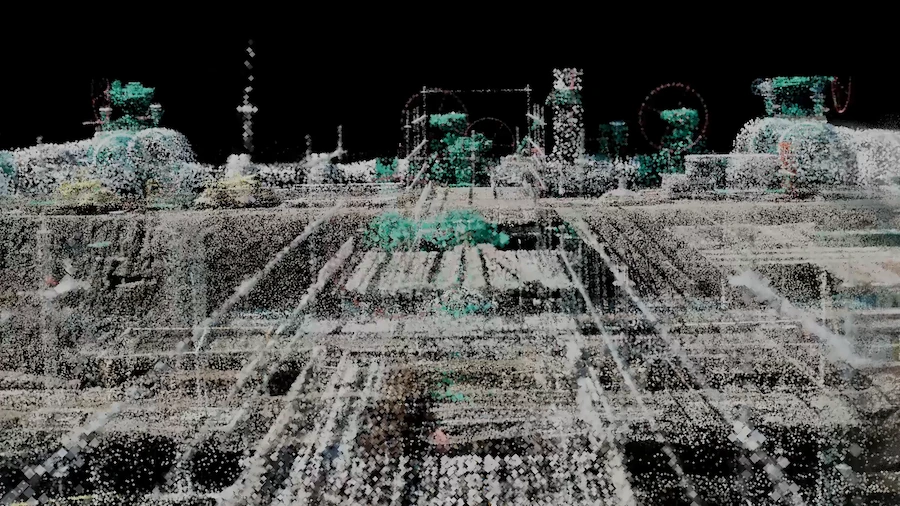
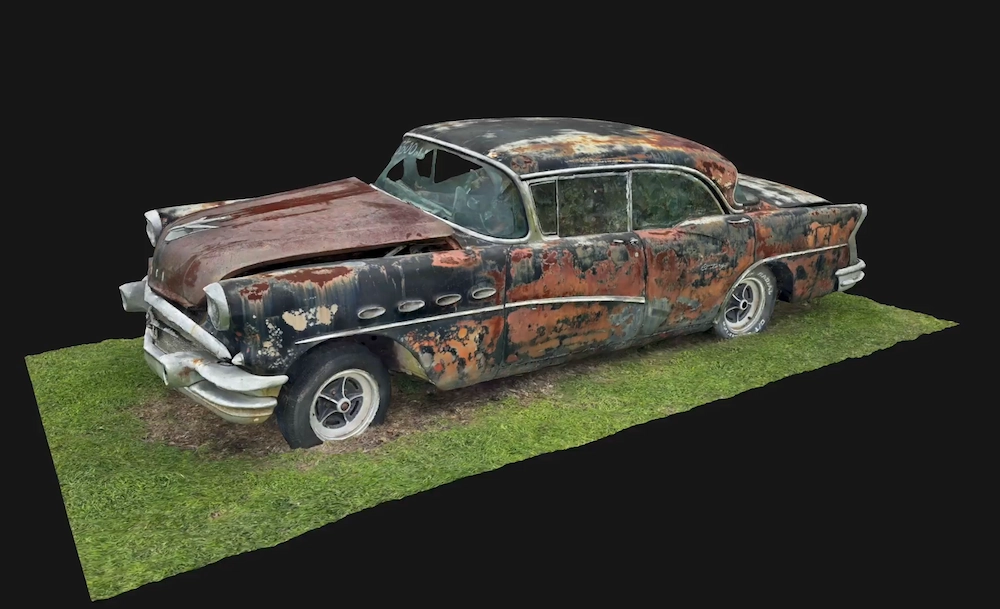
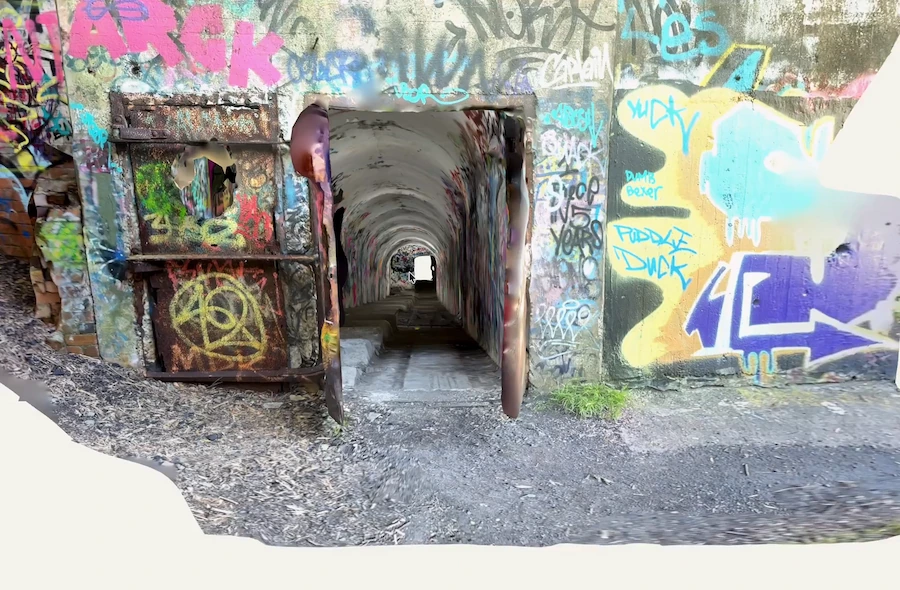
Now if you are scanning a small object like this one, you should use the photo mode. It's the best way to scan smaller objects. But if you are scanning spatial data like this one, or maybe interior of a room or just an exterior, then scan it using LIDAR mode. Now in this case, I'll use the spatial data to explain this thing clearly.
Exporting Point Cloud Data From Polycam
So I'm going to select this room, and this is basically a scan of a studio, the interior view. And here we are. Now this is the interior view, and it has been scanned well using the LIDAR mode. Now I'm going to export it first, and then we'll use it directly in AutoCAD. Just to export it, select Export and select a format. Now AutoCAD supports LAS, PTS, XYZ, and DXF format. Out of all these formats, LAS, PTS, and XYZ can be used as point cloud, whereas DXF can be used as native AutoCAD object. DXF has its own limitations, so we won't be using that, and instead I'll use XYZ format. Select that and click on Start Download. And now the file is downloaded here.
Check out our Polycam to AutoCad YouTube Tutorial
Processing the Scan in Autodesk ReCap
Now we simply cannot use this XYZ file in AutoCAD. We need to process it first using Autodesk ReCap, and we need to convert it into RCP or RCS format, which AutoCAD recognizes.
Importing the Point Cloud Into ReCap
So for that, I'll open Autodesk ReCap. I'll select New Project, Import Point Cloud, and here let's import our point cloud. So select Proceed and select the file. Now I of course have it in download, so I'll go to Download and here is my point cloud. Open, and here are a few settings that you need to take care of.
Important ReCap Import Settings
The first thing is Clip Points. Don't clip points. Just leave the default. Make sure that all the points are available, and also go to Advanced option, and here Decimation Grid Value should be at the minimum. If you add a high decimation grid value, ReCap will basically ignore more points from your point cloud data.
Adjusting the Decimation Grid Value
So just make sure it's at its minimum. Now go to Import Files and let it import it and launch the project. And here we are. The project is launched with all of these scan datas and points and everything is here. Now you can process it here as well, but we are not going to do that. Rather, we'll simply export it from here. So go to Home and select Export. And this will export it in RCP or RCS format, which is the native AutoCAD format. So I'll select RCP for now, and in the Downloads folder, I'm gonna call it space or maybe space data. All right. Now I'll select Save, and let's go unify my project. All right, the file is now exported.
Importing the Point Cloud Into AutoCAD
Let's go to AutoCAD, and here we'll import that RCS file. So go to Insert, Attach, and here we have the file. Actually, it's RCP file, so it hardly matters. AutoCAD can import RCS or RCP files. So here it is RCP. Just select Open and click OK. So with the default settings, I'm just going to insert it. Now you need to specify an insertion point. So click anywhere in the drawing area, and here we are. It is now added.
Correcting the Point Cloud Orientation
The first thing that we need to do here is change the orientation. Right now it is added randomly with any random orientation. As you can see, it is kind of upside down, so we need to just fix it. So select this point cloud, go to Home tab, and from here you can change the settings. But right now we are in 2D workspace, so I just need to switch it first. So I'll go to Gear here on the status bar, and I'll select 3D Modeling. Now I'll select the point cloud again, Home tab, and here we have the rotate gizmo. Let's select it, and let's just rotate it to an angle of 90 degrees like this. Now it's pointing up. Then I'll go to Move Gizmo, which is right here, and I'll move it slightly up using this triad. There we are. Now this is upright.
Cropping Unwanted Scan Data
And we have a problem here. This part of this point cloud data is completely redundant. We don't need it. It's not part of this studio, so we need to remove it.
Using Polygonal Crop
And to remove this, all you need to do is just select the Slice feature. So select the point cloud, and here we are. We have got the cropping, and you can just crop anything that you don't want in your drawing. So let's go to cropping, and there are several options. I think for this example, polygonal will work best. So I'll select Polygonal Crop, and I'll go to top view, and now I'll just make a polygon cropping this entire thing out. So just like this. So here we are. Just make sure that everything that you want to crop is inside this polygon. Now press Enter. There we are. Now it just selected everything inside, but we want things which are outside, so simply select Outside, and everything inside is cropped.
Creating Section Views
All right, so now that thing is cropped, let's go to Section Plane. Now using Section Plane, you can, well, create sectioning, and you can see inside this drawing. So we can create a section plane using top view. So let's select the point cloud, and here we are. We've got the section plane. I'll select Top, and a section plane is added. Now this is the default section plane location, but you can change that too. So select only the section plane, which is this one. Now the triad will show up, and just move this triad wherever you want. So I'll maybe just move it kind of like this, and here you can see it. So this is the section plane.Now I'll go to top view, and now you can see the walls as well.
Extracting Section Lines
After creating the sectioning view, if you want to extract these walls, then you can do that, too. For that, simply select Escape and select the point cloud, not the section. So here we are. Now, with that selected, go to Section Lines on Extract panel, and this will extract the section lines.
Adjusting Section Line Settings
Now, you can set the properties of this section line. For example, you can change the color. It is set to green. You can just make it anything else that you want. You can also add the minimum length of sectioning line. If you want longer sectioning line, you can just choose it here, and you can also add the tolerance value. In this case, I'll just leave the default values, and with that, I'll click on Create. And here we are. So we've got this plan view created. Now, if you are satisfied with this setting, you can just accept it, or you can go to Settings, and you can just make changes. For example, maybe you can just increase the minimum line length to ten, or you can just decrease the tolerance value if you want it even finer. So with that, I'll create it again. And now, once you are satisfied, click on Accept, and here we are.
Using the 2D Outline as a Drafting Reference
We have got this plan view created. Now, we can hide this section plane and the point cloud. So I'll select both of these. I'll go to Isolate and Hide Object. And all we have is this 2D outline. Now, this 2D outline is, of course, not perfect, but with different tolerance values and different line lengths, you can make it even better.
And also, this is just a starting point. So once you have a starting point, you can start with polyline or other tools, and you can just start over these drawings, and you can just make it kind of like this. So this will act like a starting point, and instead of just starting from scratch, you now have at least a starting point to make your drawings. So in this way, you can just make your drawing. You can finish it. Once you are done, you can hide all of these lines. You can just put it on a layer and then hide that layer as well. So that's how you can import and process PolyCam point cloud data in AutoCAD.