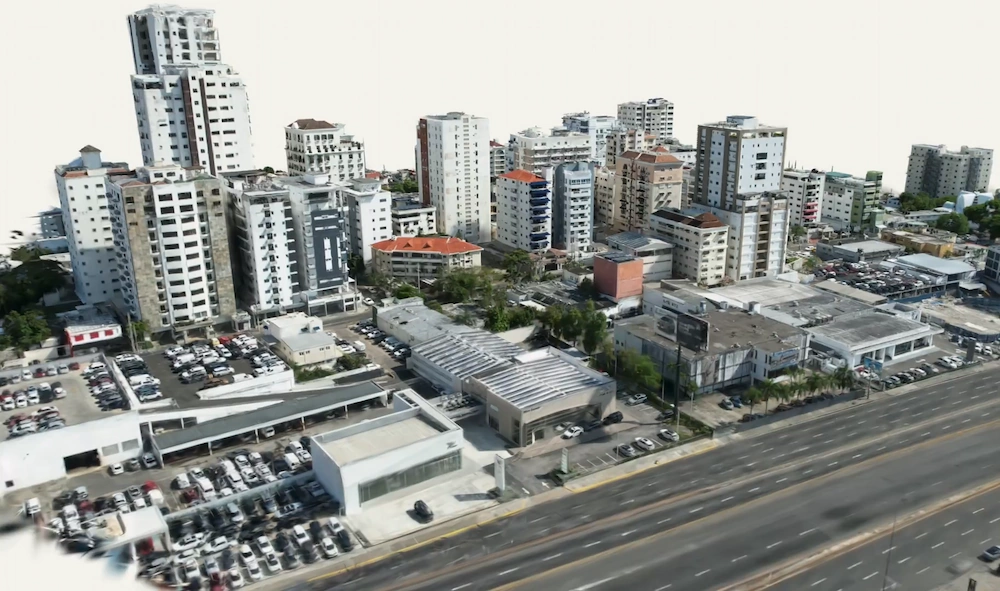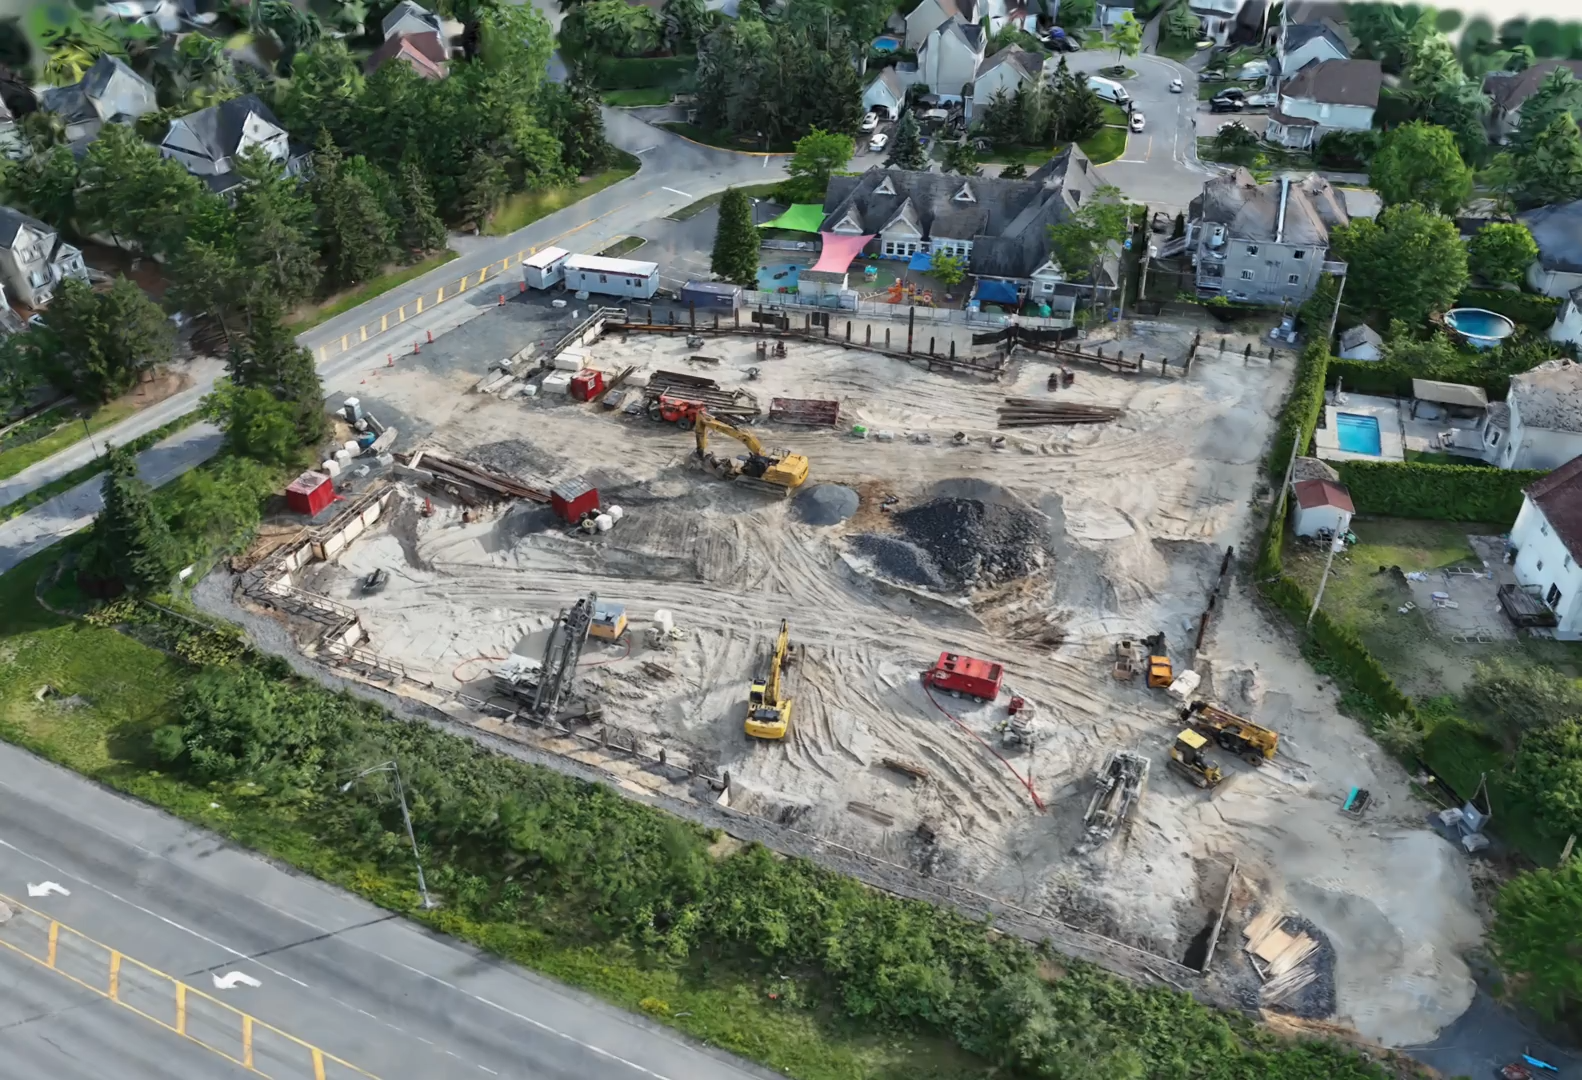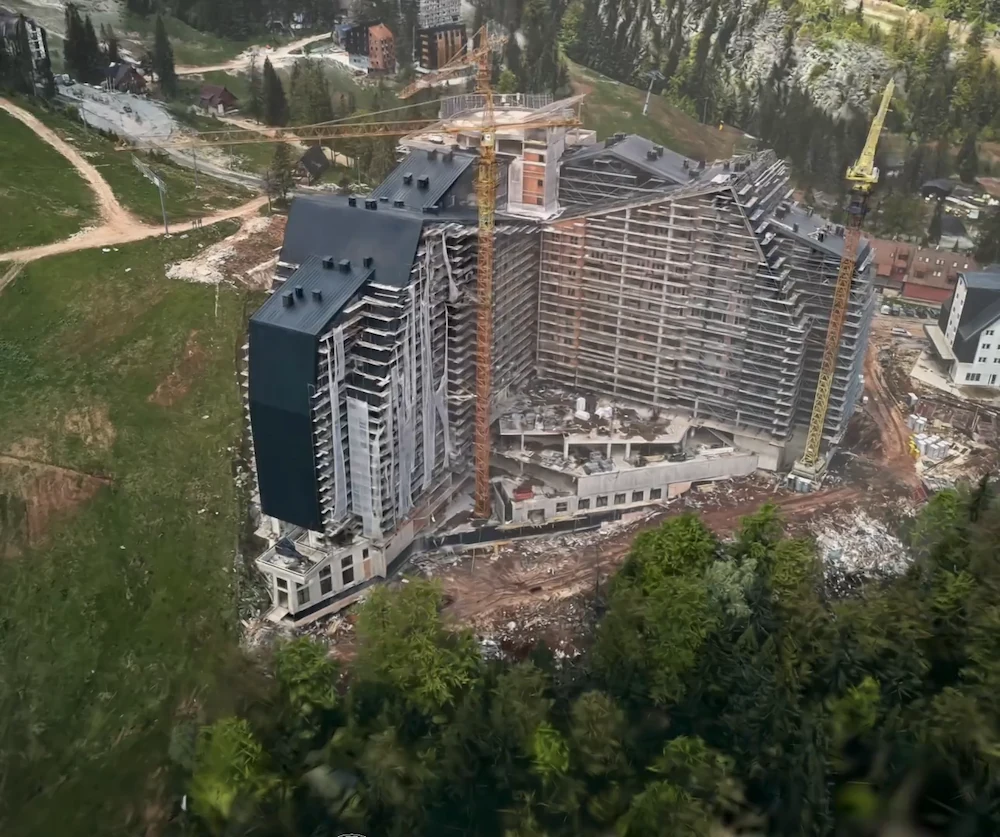
Glass and mirrors cause problems for 3D scanners in two main ways. With LiDAR, the laser can pass through clear glass and measure what’s behind it, or bounce off a mirror and create a false room in the scan. Photogrammetry has its own issue: reflections shift as the camera moves, so there’s nothing consistent to match between photos. Solutions range from using matting sprays to cropping out unwanted artifacts after scanning.
Mitigation Methods at a Glance
The Physics: Why LiDAR and Photogrammetry Fail Differently
These two scanning methods fail on reflective surfaces for different reasons, so knowing which one you’re using helps you choose the right solution.
What happens to a LiDAR pulse
LiDAR works by measuring how long it takes for a laser pulse to return, assuming the pulse bounces straight back from the surface. Reflective surfaces break this rule in three ways.
The pulse passes through. Clear glass transmits most of the beam, so the scanner measures whatever sits behind the window instead. The glazing never appears in the point cloud, which is why scans of glass-fronted buildings show open space where a curtain wall should be.
Sometimes the pulse bounces off a mirror at an angle, hits another object, and then returns. The scanner doesn’t know the path changed, so it records the object at the total distance traveled, creating a mirror image of the room behind the mirror. Researchers call this fabricated data, because the scan now shows something that isn’t really there, mirrored across the reflective surface. These errors are risky because they look real.
Sometimes the pulse never returns. If a mirror sends the beam away from the sensor, nothing comes back, so the scanner thinks there is empty space. This means a wall or fixture that should appear in the scan is missing, because the light was sent off in another direction. Researchers call this type of missing data the opposite of fabrication.
A mirrored wall can make a room look twice as deep, and a glass partition can disappear completely. These errors don’t announce themselves, so careful review is important.
Incident angle changes the outcome.
People often say to scan glass at steep angles to avoid reflections, but research shows the opposite. Tests found that beams hitting the surface more directly are more likely to detect the glass or mirror itself. As the angle gets shallower, this chance drops, and shallow angles actually create more false geometry from bounced returns.
A direct return is best, since it means the scanner picked up the glass itself, not what’s behind it. Shallow angles send the beam toward other objects, which creates false geometry.
There isn’t a perfect angle for scanning. Very shallow angles make things worse, and scanning a mirror straight on can overwhelm the sensor. Moderate, more frontal angles give the best results, but no angle completely solves the problem.
Why photogrammetry fails
Photogrammetry uses no laser. It reconstructs geometry by finding the same visual feature across overlapping photographs and triangulating from how that feature shifts between viewpoints.
Reflections cause problems because they don’t stay in one place on the surface. As you move, the reflection moves differently from real objects, so the software can’t find a real position for it. With clean glass, there are almost no features to match, so that area is left out of the scan.
Both scanning methods work best with surfaces that scatter light evenly, called diffuse reflection. Surface preparation helps create this effect.
Method 1: Physical Surface Preparation
Applying a coating is the only way to fix the problem at its source. It turns a shiny surface into a diffuse one, which both scanning methods can read accurately.
Vanishing scanning spray
Purpose-made sprays are the professional option, and the important property for site work is that the good ones disappear on their own. AESUB blue lays down a thin white coating, roughly 8 to 15 microns thick, which then sublimates on its own. The manufacturer’s technical datasheet cites third-party testing confirming no residue is left behind once it does. The formula also omits pigments, which is why it’s cleared for use in laboratories and production environments where stray particulate would be a problem, and why nothing needs wiping down afterward.
The coating only lasts for about one to two hours. You can extend this by reapplying to certain areas as the spray starts to disappear. Spray from 15 to 20 cm away in even strokes, and start scanning once the coating is dry. For large areas, work in sections so you don’t lose the coating before you finish.
Know which you’re holding. AESUB’s range isn’t interchangeable: blue is self-vanishing, transparent temporarily mattes glossy surfaces, and white is permanent. Each type has specific surface compatibility. AESUB blue is safe for most non-porous and delicate surfaces, making it suitable for finished interiors and client spaces where residue must not remain. AESUB transparent is also residue-free and suitable for glossy finishes but should be tested on specialty coatings. AESUB white, being permanent, is only appropriate for production parts or surfaces where removal is not needed.
Never use any spray on antique glass, artwork, specialty coatings like low-e or UV films, etched or decorative glass, historic finishes, or any surface where even temporary residue or interaction could cause damage. These surfaces should always be protected and only scanned with non-contact methods. On a finished interior or a client handoff, the wrong can is a serious mistake.
Using matting sprays is common in object scanning, especially with systems like Artec 3D. It works better for small areas than large ones. Coating a bathroom mirror is practical, but spraying a whole curtain wall isn’t. For big glass or mirrored surfaces where spraying isn’t possible, rely on scanning techniques and post-processing. Choose your capture positions and angles carefully to make artifacts easier to spot, and plan to clean up the scan digitally. Some gaps or artifacts are unavoidable and will need editing. This approach helps when you can’t prepare the surface on site.
Painter’s tape
Low-tack tape doesn’t capture the glass itself, but it shows the scanner where the surface is. Taping around the edge of a mirror or making a grid on a large pane gives both scanning methods a real reference point, so you can find the boundary during cleanup. It’s quick, doesn’t damage anything, and is often enough if you just need to locate the opening instead of modeling the glass.
Dry shampoo and improvised powders
Aerosol dry shampoo can work by leaving a fine matte powder that scatters light. However, it’s not made for this purpose, leaves residue, needs to be wiped off, and can stain porous or finished surfaces. Only use it on your own equipment if you have no other option, and never on a client’s finished space. Vanishing sprays are made to avoid these cleanup issues.
Method 2: Standoff Distance and Capture Position
When you can’t use a coating, which is often the case with large glass areas, your scanning technique becomes the main way to reduce problems.
Use moderate angles instead of very shallow ones. Scanning across glass at a shallow angle creates more false reflections, not fewer. Angles closer to straight on give you better results from the glass itself.
Change your scanning position on purpose. This is a helpful habit because it makes errors easier to spot. A real wall looks the same from every angle, but a reflection moves depending on where you stand. Scanning the same glass area from several positions helps you tell the difference later.
Pay attention to your distance from the mirror. If you’re too close, the return signal is very strong. Stepping back reduces the intensity.
Make a note of what you see. Taking a phone photo of the glass area or writing down which walls are mirrored can help you later when you’re checking if a corridor in the model is real.
Method 3: Post-Capture Digital Cleanup
You can fix some artifacts while scanning, but you’ll need to delete others later. This is normal and doesn’t mean you made a mistake.
Start by cropping in Polycam. Mirror artifacts are usually easy to find because they appear outside the building’s real boundaries, like a room that extends past an exterior wall or a duplicate of the space you’re in. Cropping to the correct outline removes most of these in one step.
Use CloudCompare for selective work. When artifacts are entangled with real geometry rather than cleanly outside it, CloudCompare’s segmentation tools isolate and delete specific regions. Some software, including plugins for CloudCompare and tools in specialized point cloud platforms, now offer options for automatically detecting phantom geometry from mirrors or glass based on common patterns or symmetry, which can speed up cleanup for large or repetitive errors. It also reads PLY natively and preserves custom scalar fields, which matters when moving between tools. Format choices for that handoff are covered in Point Cloud Export Formats Explained.
Clean up your scan before importing it into ReCap or Revit. Autodesk ReCap will include whatever you give it, so any phantom geometry that makes it into the RCP file will cause problems for the modeler later. It’s much easier to delete a false room in the point cloud than to fix it after the fact.
Be prepared for gaps. Cropping removes bad data but doesn’t add new information. If a glass wall was there, you’ll see an opening in the scan. If the model needs that wall, someone will have to draw it in using the tape line or frame you captured. This is the limit of current field methods. When talking to clients, explain that transparent and mirrored surfaces are a known challenge for all scanning technologies, so gaps or missing glass are normal and will be filled in manually using reference points. Setting this expectation early helps prevent surprises later.
To make more complete models, some workflows involve manually adding missing glass surfaces in CAD or BIM software, using reference points from the scan. There are also advanced AI tools that can suggest or fill in likely shapes for missing glass, especially in standard cases like curtain walls or partitions. However, these need careful checking and can’t replace real scan data.
How Polycam Features Help
Certain steps in the workflow help you spot and fix reflection errors more easily.
Virtual walkthrough photo overlays are the verification step. If the model shows a corridor and the photo shows a mirror, you’ve found your artifact.
The 2D floorplan editor is often where mirror artifacts become obvious, since a phantom room produces a plan that doesn’t match the building’s footprint. Correcting the plan is faster than editing the 3D data.
FAQ
How do you handle reflective glass and mirrors in 3D scans?
There are three main approaches often used together. First, coat the surface with a temporary matting spray if possible. Second, scan from several positions at moderate angles so you can tell reflections from real objects. Finally, crop out any remaining phantom artifacts during cleanup.
Why does my 3D scan show a double room behind a mirror?
The scanner’s beam hit the mirror, bounced onto another object, and then came back. Since the sensor only measures the total distance, it places that object as if it’s behind the mirror, creating a mirror image of the room. This is a false reading, not a mistake you can fix by rescanning the same way.
Why does glass disappear from my scan entirely?
Clear glass lets most of the laser pulse pass through, so the scanner measures what’s behind the window instead of the glass itself. Photogrammetry has a similar issue, because clean glass has almost no features to track, so that area is left out of the scan.
Does scanning spray damage surfaces?
Vanishing sprays like AESUB blue are built specifically to avoid it. The coating sublimates away and, per third-party testing cited in the manufacturer’s datasheet, leaves nothing behind. It’s also pigment-free, which is what makes it acceptable in labs and clean production areas. The real risk is grabbing the wrong product, since AESUB white is designed to be permanent.
Should I scan glass at a 45-degree angle?
You’ll often hear that you should scan glass at a 45-degree angle, but research doesn’t support this. Shallow angles actually create more false reflections, because the beam bounces off toward other objects. Angles closer to straight on give better results from the glass itself. Scanning a mirror straight on can also cause issues, so moderate angles are the best choice.
Do professional scanners handle this better?
Professional scanners handle this better, but they’re not immune. All scanners face the same physics, since it’s about how light behaves on shiny surfaces, not the device itself. High-end systems have more options for filtering returns, but glass and mirrors are still a known challenge.
Reflective surfaces are tricky because their problems aren’t obvious. A phantom room looks real, and a missing glass wall just looks like an open space. The most important habit is to review your work. Scan from enough positions to gather evidence, then compare the model to what you actually saw on site.