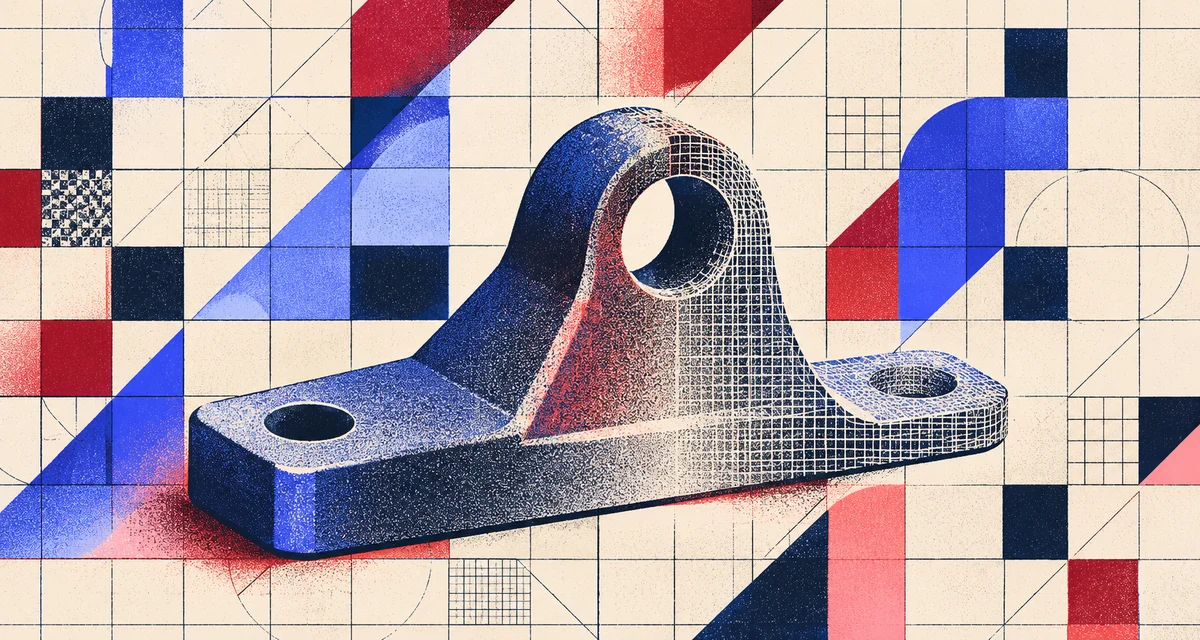
The plastic bracket that holds a bike light to the handlebar has cracked, and the light's maker doesn't sell the bracket separately. Modeling it from scratch would mean an evening with calipers and CAD for a part about 40 mm long.
When you scan objects for 3D printing, Polycam builds the mesh from your photos, so the curves come from the part itself rather than your sketch. Photos record shape but not size, and on Polycam Business and Enterprise, a printed AprilTag next to the part sets the scale automatically, typically to better than 99% accuracy. On a 40 mm bracket, that's within about 0.4 mm, close enough for a cover or a knob. Anything that snaps, threads, or clamps onto something else, like this bracket, still needs a caliper check on the features that have to fit.
Key Takeaways
- A phone scan saves you modeling a part from caliper measurements without a reference, but features that have to fit still need a caliper check.
- On Polycam Business and Enterprise, one printed AprilTag in at least eight photos automatically scales the scan. Hand-sized parts use the small tags, such as 4 × 6 in (A6).
- STL is the printing format, and it carries no units. Check the part's size in your slicer before you print.
- Threads, snap fits, and shiny or clear surfaces rarely come through a photo scan cleanly. Model the fit features in CAD.
- What You'll Need
- The part you want to scan, clean and dry
- A phone with the Polycam app
- A printed Polycam AprilTag (the 2 × 3 in or 4 × 6 in size for most hand-sized parts), mounted flat on cardstock
- A Polycam Business or Enterprise plan for automatic scaling
- Calipers for the features that have to fit
- Mesh software for print prep, such as MeshLab, and your slicer
Why Scale Matters More for Printing Than Anything Else
A clip or a bushing has to fit something else, so a part that prints a fraction of a millimeter too big may not fit at all. That's why scale matters more when you print a scan than for almost any other use.
A photo-based scan gets its shape from the photos and its size from something else in the scene. Before tags, that meant taking a caliper reading and entering it in the Rescale tool. Now, because a printed AprilTag has a fixed size, Polycam works out the scale from how big the tag looks in your photos and applies it to the whole mesh, with nothing to turn on.
On other plans, or when you forget the tag, Rescale still works. Pick two points as far apart as the part allows, caliper the distance between them, and enter it on the model. The longer that span, the less a small caliper error throws off the whole part.
How to Scan an Object for 3D Printing, Step by Step
- Pick a small tag. For hand-sized parts and other close-range captures, the smaller tags work best: the 2 × 3 in tag (nine to a US Letter sheet) or the 4 × 6 in tag (A6 in metric). If you're unsure, size up, since an oversized tag still scales and an undersized one may not be read at all.
- Print it at 100% and check it. Turn off "Fit to page" before you print, then measure the scale line under the tag with a ruler. If it doesn't match its label, reprint.
- Prepare the part. Clean it and set it on a matte surface with a subtle pattern, in soft, even light. If the part is shiny or very dark, a light coat of removable scanning spray gives the photos something to grip.
- Place the tag flat beside the part. Mount it on cardstock so it can't curl, and put it where you'll see it from most angles. Keep it to one tag; a second tag anywhere in the scene stops the scan from scaling.
- Capture in Object Mode. Choose photogrammetry (not Gaussian splats), since splat captures aren't scaled. Shoot the part from every side, low and high, moving slowly so each photo overlaps the last. Lay the tag flat on the table beside the part so it's in the frame as you circle. It needs to come out in focus and fully in frame in at least eight shots from different sides of the part.
- Check it against your calipers. When processing finishes, measure one feature on the model with the Ruler and compare it to your caliper reading. If it's off by more than the part can take, check the tag's print size and flatness before you rescan.
The Best Format When You Scan Objects for 3D Printing
STL is the format most slicers expect and the simplest one Polycam exports for printing, holding the shape and nothing else: no color, no textures, no units. A slicer reading an STL has to assume a unit, so a part that's perfect in Polycam can open far too small or too large. Before you slice, check the part's overall length in the slicer against your caliper reading, and fix the unit setting if they don't match.
OBJ is the better export if you want to keep the texture for reference or bring the part into mesh software to edit and repair it before printing. Our format guide compares the main export formats in more detail. STL and OBJ exports need Basic or higher, since the Free plan exports glTF only.
Read more: OBJ vs FBX vs GLB: Which 3D Scan Format Should You Export?
Getting a Scan Ready to Print
A scan is a surface built from photos, so it usually needs a little work before a printer can use it. Most slicers want a closed, watertight mesh, and a scan can have small holes where the camera couldn't see, like the underside where the part sat on the table. Fill those in mesh software such as MeshLab, then cut the base flat so the part sits square on the bed.
Before you export, run the Remesh tool in Polycam so you're working with a lighter, cleaner mesh. Open the capture from your Library, choose Remesh, and lower the polygon count with the slider, keeping enough to hold the part's edges and holes. Adaptive Topology puts smaller triangles where the surface gets complicated, which suits a bracket or a knob better than an even grid. Remesh saves a new version next to the original, so the full-detail scan stays in your Library. See the steps in How to use the Remesh tool.
Read more: How to Clean & Optimize 3D Scans in MeshLab: Polycam Export Tutorial
Fine features are the other thing to check, since threads, snap-fit hooks, and thin walls rarely come through a photo scan cleanly enough to print as-is. A practical approach is to scan the part body for overall shape and size, then model the threads or clips in CAD on top of it. You still skip the hardest part of the job, which is measuring and drawing every curve by hand.
Universal Rocks, a Dallas company that builds artificial rock for landscapes, film sets, and themed spaces, works this way. Co-owner Ben Dunne's team scans smaller, detailed pieces in Object Mode and prints custom parts from the scans for prototyping, including copies of plumbing components for hot tub installs, which reduces measuring by hand and install mistakes. Their old setup was a $15,000 Canon camera rig with a turntable that took weeks and thousands of photos. Dunne says the scanning time "has gone from days of laborious processes to mere minutes, including processing." Read the Universal Rocks story.
Want to try it yourself?
FAQ
Can you 3D scan an object with your phone and print it?
Yes. Capture the part in Object Mode with photogrammetry chosen (not Gaussian splats) and export an STL or OBJ. Then clean up the mesh and slice it. On Business and Enterprise, a printed AprilTag next to the part scales the scan automatically. Check one dimension against calipers before printing anything that has to fit another part.
How accurate is a phone scan for 3D printing?
With an AprilTag printed at 100%, kept flat, and in at least eight photos, Polycam's scaled captures are typically better than 99% accurate. On a 40 mm part, that's within about 0.4 mm. That's fine for covers, knobs, and housings. For threads and snap fits, model those features in CAD.
What is the best file format for 3D printing a scan?
STL is the standard for slicers. It carries the shape but no units or color, so check the part's size in your slicer before printing. Use OBJ when you want to repair or edit the mesh first, or keep the texture for reference. Both come from the same Polycam capture.
Why is my scanned part the wrong size in the slicer?
Usually one of two things. Either the scan was never scaled, or the slicer guessed the wrong unit for an STL, which carries none. Scale the capture with an AprilTag or the Rescale tool, then compare the part's length in the slicer to your caliper reading and fix the unit setting.