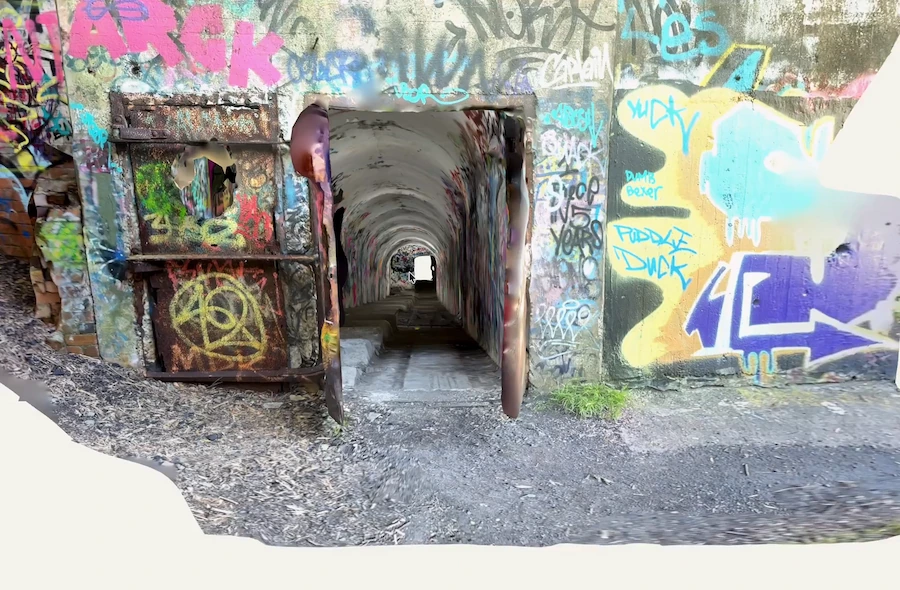
Getting access to a heritage building is often difficult. Maybe scaffolding is only up for a week, the church is only open on Tuesdays, or you have just one afternoon when someone else has the keys. Figure out which standard your deliverable needs to meet, plan the building in overlapping sessions, use LiDAR for the main structure and photogrammetry for the details, and note anything you could not reach.
Scanning itself is straightforward. But if you choose the wrong standard, you might end up buying expensive equipment you don't need, or realize too late that your records aren't good enough after you have lost access to the building. Finding a gap while you are still on site is quick to fix, but finding it later means another visit.
The Sequence
Step 1: Establish Which Standard Applies
Find out who sets the standard for your project before you choose your method, since it is usually not your decision.
In the US, archival documentation follows the Secretary of the Interior’s Standards and Guidelines for Architectural and Engineering Documentation, which is what records in the Historic American Buildings Survey are held to. The National Park Service, which runs that survey, describes the original teams measuring buildings to within an eighth of an inch, spending weeks per structure with tape measures and building levels.
Archival measured drawings and federally funded undertakings need terrestrial scanning equipment and somebody trained to run it, whether that is a documentation firm you engage or capability you build in-house. The Georgia O’Keeffe Museum took the second route, training two people with no prior 3D experience over a matter of weeks. Condition records, planning studies, grant applications and contractor references sit comfortably within phone capture, and that covers most restoration work.
Everything outside the archival case is set by somebody closer to you: a State Historic Preservation Office, a local landmarks commission, a grant condition or the client. Ask which applies rather than assuming, since the answer changes your budget and not just your method. Terrestrial scanning and a phone are not the same order of cost.
Interpretative recording against metric survey. Interpretative recording establishes what a building is, how it was built and what changed, and does not necessarily need measured data at all. Metric survey produces spatial data to a technical specification. Their guidance is written for England rather than the US, but the distinction travels, and knowing which one your project needs tells you whether you are commissioning a survey or sending somebody with a phone and a notebook.
Step 2: Plan the Building as Sessions
You usually cannot scan a heritage building in one go. Deciding where to break up the sessions is an important part of planning.
Split sessions at floor levels and doorways, not in the middle of a room. Boundaries in open spaces are hard to match up later. Rooms, corridors, and stairs are good places to divide your sessions.
Make sure each session overlaps with the next. Capture doorways or thresholds from both sides so the sessions share some mesh, as this helps the system stitch together rooms.
Walk through the building before you start scanning. Look for tricky areas, like a nave where you cannot keep the same distance from the walls, stairs with repeating shapes, dark cellars, or rooms filled with furniture. These spots may take more time or require a different approach, so it is better to find them before you start.
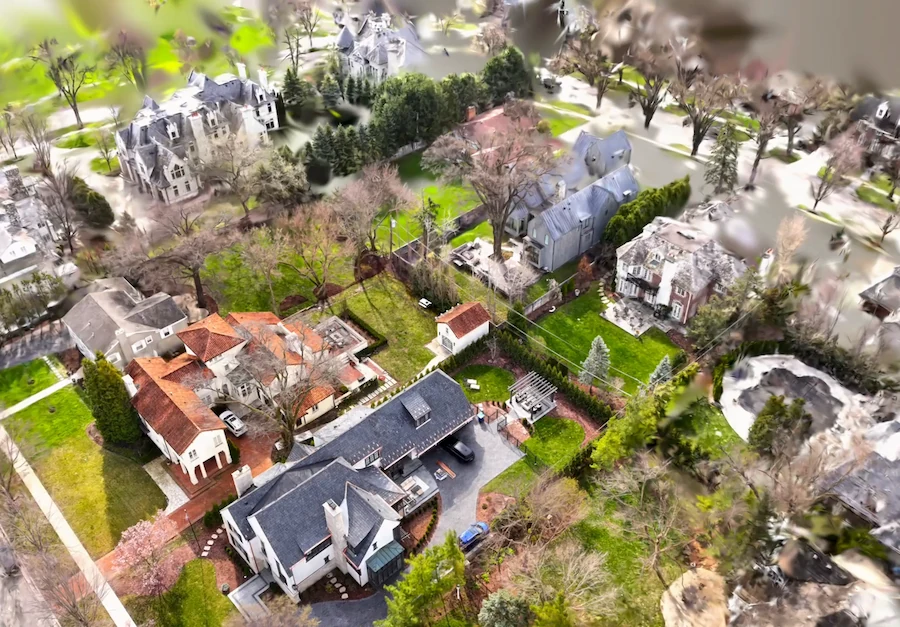
Plan to scan the outside separately. If you can only photograph a wall from across the street, use photogrammetry instead of LiDAR. For facades higher than two stories, you may need a drone or a longer lens.
Step 3: Capture the Envelope
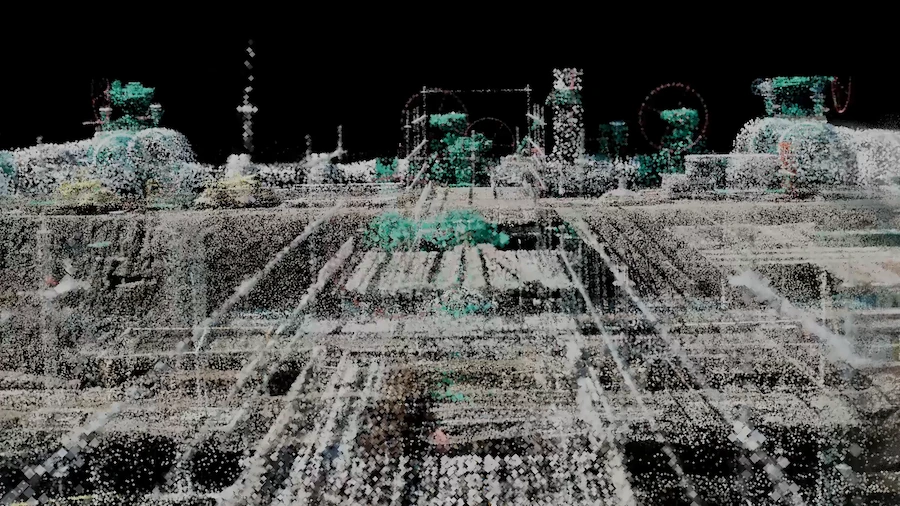
Start by capturing the building’s shape with LiDAR, room by room, and finish each one before moving to the next.
Walk slowly around the edges of each room, keeping your device pointed toward the center.
Scan from the floor up to the ceiling. If you only scan at eye level, you will miss details like the base of the wall or changes in ceiling height, which are important in historic buildings.
Work from the ground and use safe access points. If you need a closer look at a detail you cannot reach, use photogrammetry with a longer lens instead of putting a ladder against old surfaces.
Review your scans before you leave each area. If you find a missing spot while you are still there, it only takes a few minutes to fix. If you find it later at your desk, you might have to wait weeks to get back in.
Step 4: Capture the Detail Separately
When possible, capture decorative details separately, since scanning a whole room will not pick up the fine shapes of carvings or ornament.
For things like carved capitals, plaster moldings, memorial inscriptions, and decorative ironwork, use Polycam’s Object Mode. Walk around the object, take lots of overlapping photos from different angles, and process it as a separate model.
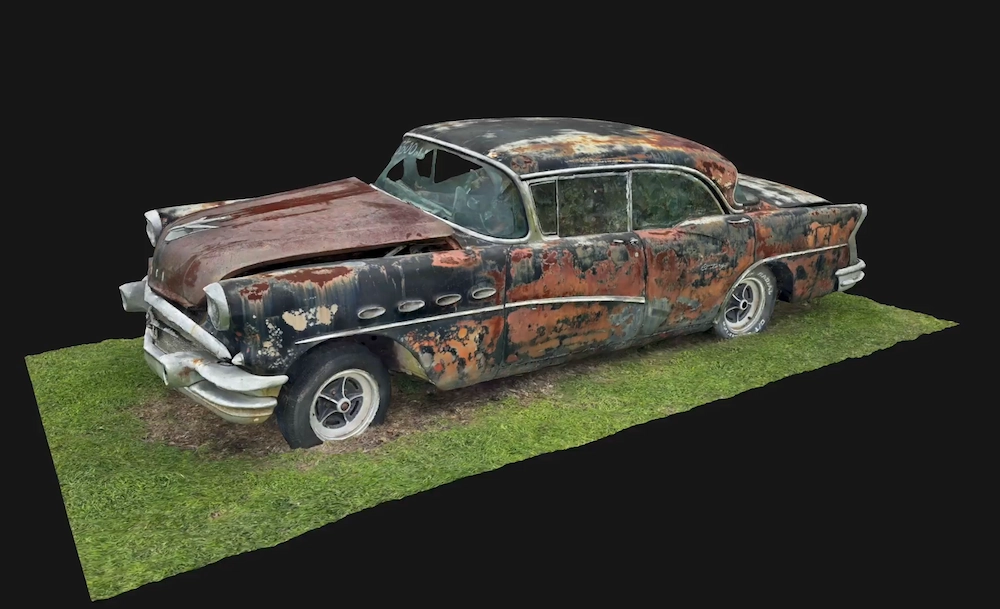
Pick the reconstruction method that fits the capture’s purpose. Photogrammetry gives you an editable mesh, which a stonemason or joiner can use. Gaussian splats give you a photorealistic record, which is best when the surface finish, patina, or paint layer is important. Historic England has guidance on photogrammetric applications for cultural heritage, especially structure-from-motion techniques, which is how a phone works.
Never use scanning spray on historic surfaces. Matting sprays are common for shiny or transparent objects and can help produce a detailed mesh, but don't use them on original materials, painted surfaces, or anything with a patina. If you have trouble with glass or polished stone, adjust your capture angles or lighting, or clean up the scan afterward. For more on this, see How to Handle Reflective Glass and Mirrors in 3D Scans.
Step 5: Record What You Could Not Reach or Don’t Have Access to
Make a note of any rooms you could not get into, such as surfaces blocked by scaffolding, details that were too high to scan, or anything you skipped because the space was too crowded to provide you with a good capture. It is better to clearly state what is missing, so anyone using your record later knows exactly what was covered.
To help with organization, note the conditions too. A capture taken in poor light, or with the contents of the building still in place, produces a different quality of data than one taken in a cleared, lit space, and whoever uses it should know which they have.
Step 6: Verify Before You Leave
In each area, take at least one measurement by hand if it is safe.
This one measurement lets you check your model’s accuracy, and in photogrammetry, it sets the scale for everything else. Choose something clear, like a door opening or a straight wall, and write down exactly where you measured.
Rather than measuring afterward, put the scale reference into the frame: a line of markers at known, equal spacing, run level across the subject. The scale then lives in the photographs themselves rather than in a note somebody has to find later, which matters when the model will be compared against a capture taken years later.
If you'll use a measurement to make something new, measure it by hand too. Relying solely on the scan could mean the new piece will not fit.
Step 7: Hand It Off
Export your files in the format that works best for the person who will use them, not just what is easiest for you.
A conservation architect or drafter usually wants a DXF file (editable linework) or a point cloud as LAS, converted through Autodesk ReCap for Revit. Historic England also offers guidance on developing a Historic Building Information Model (HBIM), but for most restoration work, a measured 2D plan and a set of elevations are more useful than a full model. This is the same question discussed in Scan to CAD vs Scan to BIM.
A stonemason or joiner will want the detailed scans exported as a mesh they can use for their work.
A funding body or public audience often wants a walkthrough. A virtual tour of an interior that is unsafe, closed, or remote can help secure funding.
If you plan to store your records in an archive, consider the file format as well as the geometry. Open formats keep the data accessible and under the institution’s control, while proprietary formats can hide processing steps and tie the archive to one vendor’s software. For organizations keeping records for decades, this is more important than which mesh looks best right now.
FAQ
How do you scan a historic building for restoration?
Establish which standard your deliverable answers to, break the building into overlapping sessions, capture the envelope with LiDAR room by room, capture ornament separately with photogrammetry or Gaussian splats, record what you could not reach, take one hand measurement per space, and export to match whoever draws or builds from it.
How do you break a large building into scanning sessions?
Break at floor levels and doorways rather than in open space, and capture each threshold from both sides so neighboring sessions share geometry. Rooms, corridors and stair flights make natural units, and walking the building first tells you which spaces will need extra time.
Is 3D scanning safe for fragile historic buildings?
The capture itself is non-contact, which removes the ladders, tapes and physical access that traditional measurement requires. The remaining risks are ordinary building-access risks. Do not use scanning spray on historic surfaces, since matting products belong on industrial parts rather than original fabric.
How do you capture carved stone and ornamental detail?
Separately from the room, using Object Mode. Circle the element with many overlapping angles and process it as its own model. Photogrammetry gives an editable mesh for fabrication, and Gaussian splats give a photorealistic record where the finish or patina carries the significance.
What if the building is at risk of being lost?
Capture it now with whatever you have. A phone record of a building that later burns is worth immeasurably more than a perfect survey that was never commissioned, and you can always scan again to a higher standard while the building is still standing.