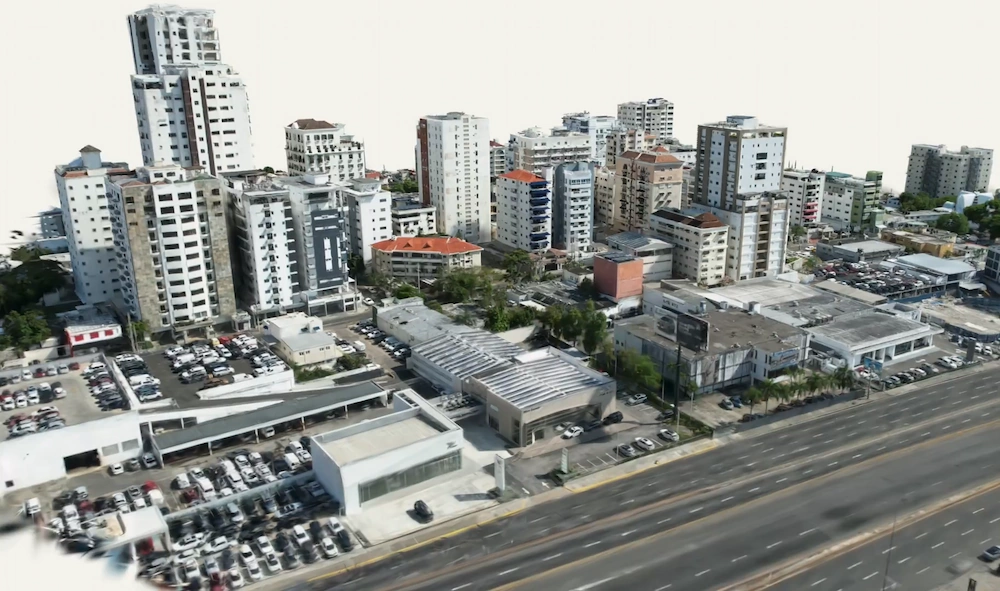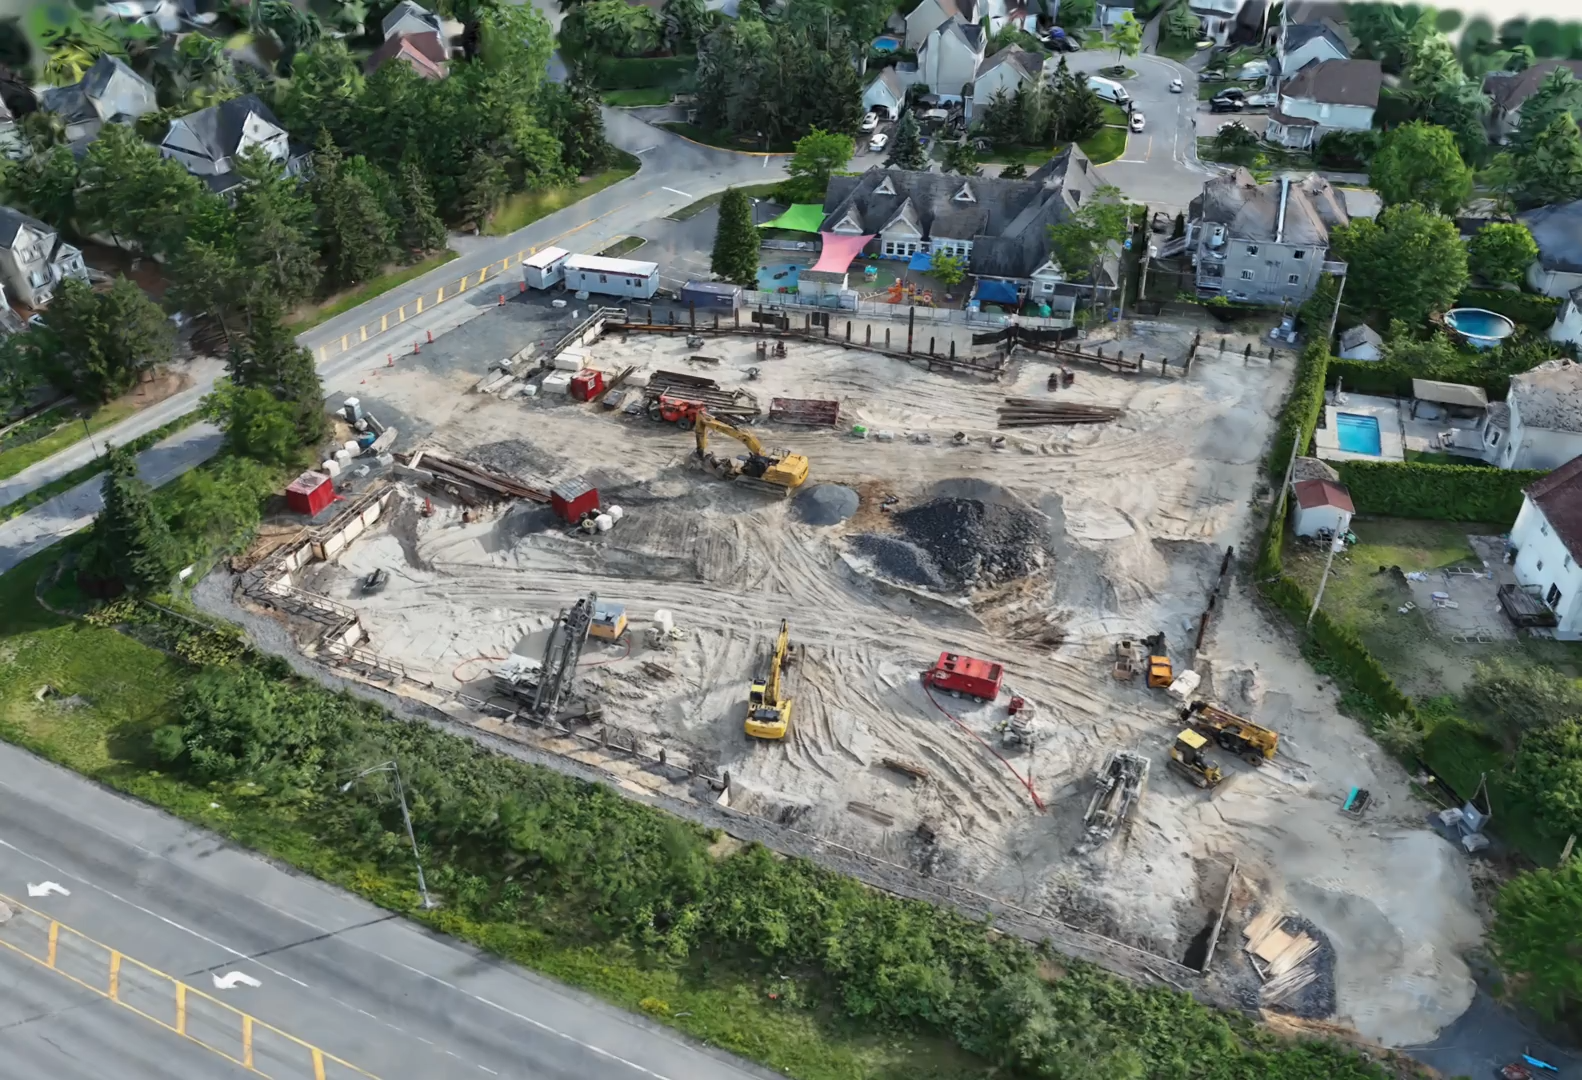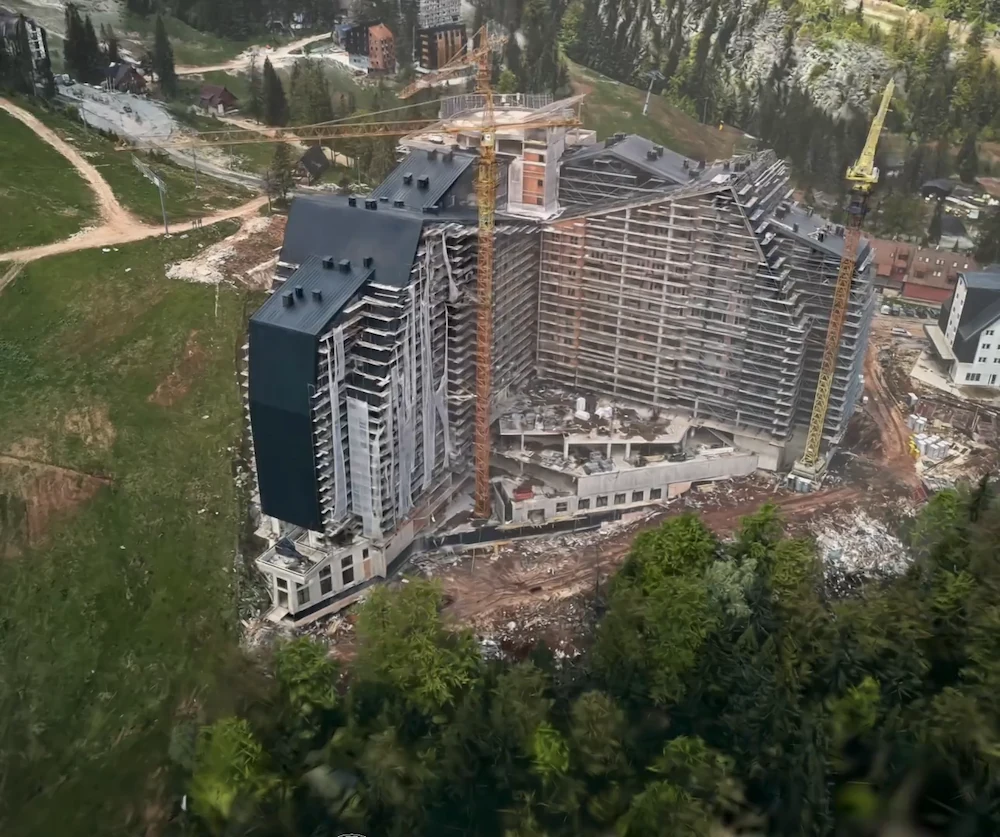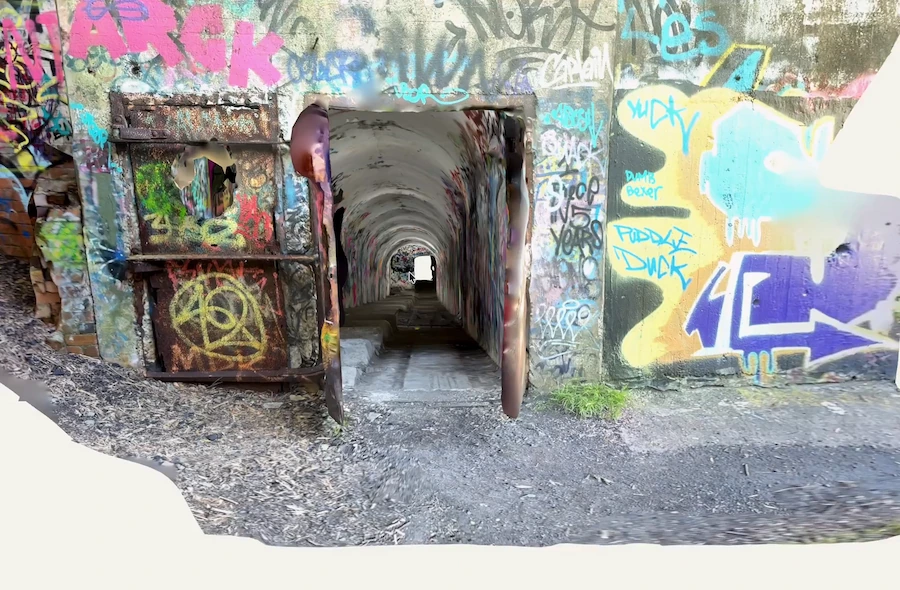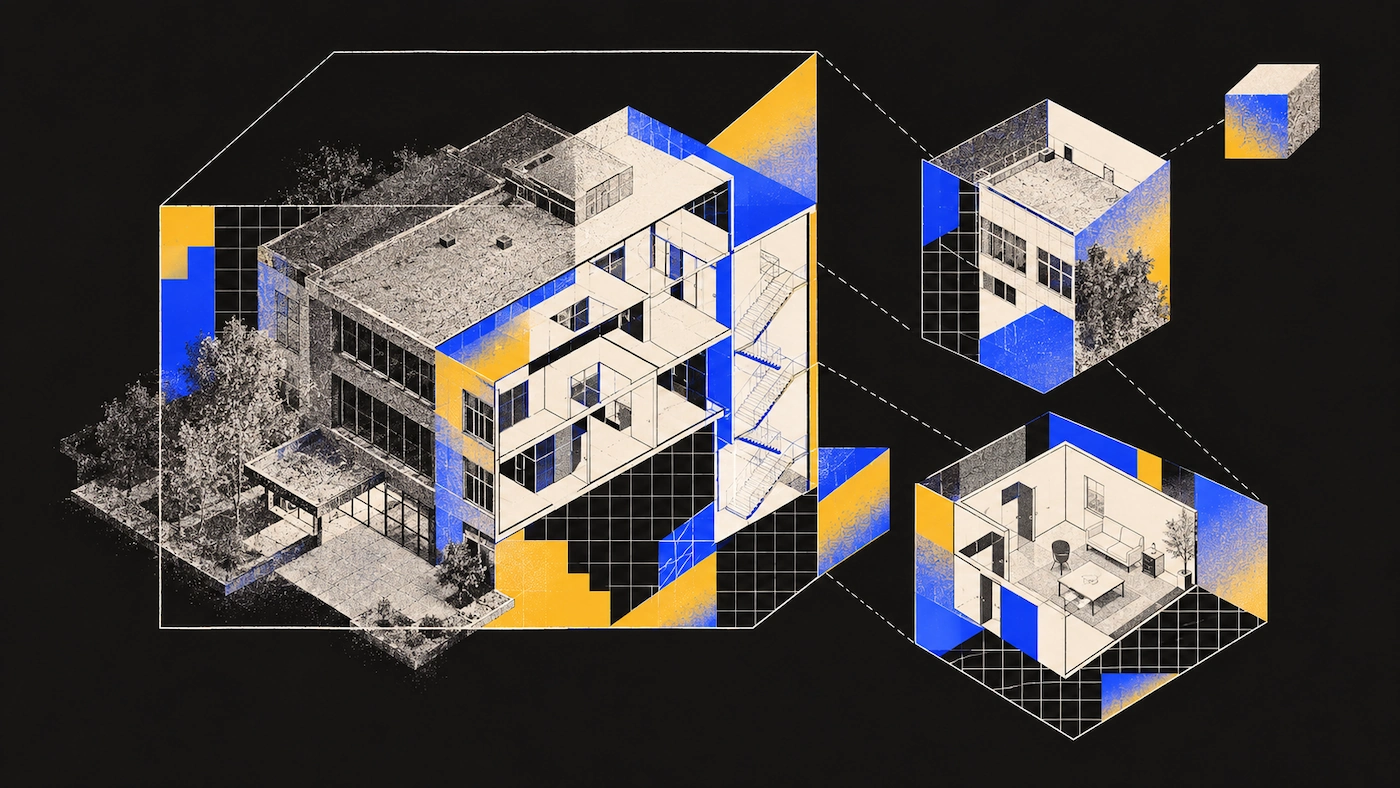
Each type of building presents its own scanning challenges. Bathrooms can be tricky because of tight spaces, stairwells often lose tracking between floors, and facades are affected by harsh midday shadows. This guide covers each scenario with clear patterns for achieving good results, so you can easily reference it on your phone while on-site.
Interior scanning patterns by room type
The main rule is always the same: move slowly and steadily, keep a clear view of the surfaces you are scanning, and physically raise, lower, or crouch to capture from floor to ceiling instead of just tilting your phone. The only thing that changes from room to room is the path you take.
Bathrooms are small and boxy, with fixtures close to the walls, so it's easy to make mistakes if you rush. Begin at the doorway, which is usually the easiest reference point, and walk a tight loop around the room. Slow down around the tub, vanity, and toilet, since these areas have less open space and can cause gaps in your scan. If a wall isn't being captured clearly, hold your phone close to your chest and slowly lean back away from the wall instead of moving closer. This gives the sensor enough distance to capture it accurately.
Hallways. Think of a hallway as a single, continuous route, not a space you circle or double back through. Walk steadily down the centerline and sweep the camera toward each wall as you go, rather than keeping it pointed straight ahead. Try to make only one pass. Walking over the same area more than once can introduce errors and reduce the quality of your scan. Careful planning is important. Decide how you will move through the hallway before you begin so you can capture everything you need with a single walk. If the hallway leads to a stairwell, treat the end of the hall as a transition to the next level rather than a stopping point.
Open-plan spaces. Large, open rooms need a wide perimeter loop first to establish the room's overall shape, followed by an interior pass through the middle to capture kitchen islands, furniture clusters, or structural columns the perimeter loop won't entirely resolve. Skipping the interior pass is the most common reason an otherwise-clean open-plan scan comes back with a gap in the middle.
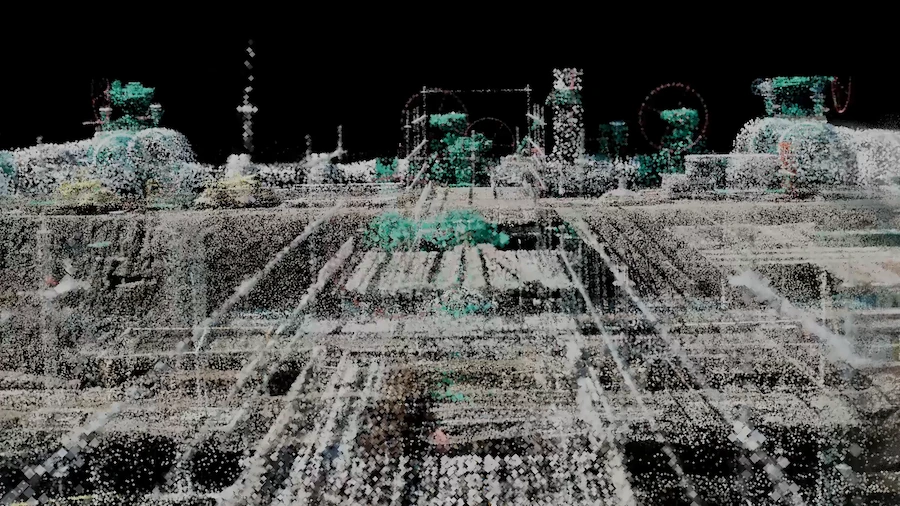
Mechanical rooms. These are dense, cluttered, and often poorly lit, all three of which work against a clean capture. Walk a slower perimeter loop than you would in a normal room, and capture it in a single pass at multiple angles, varying the height and angle of the phone as you move rather than looping back for separate passes, so pipes, conduits, and panels at different elevations all get resolved in that one walkthrough. If you need a more detailed mesh of specific equipment than that single pass can deliver, use photogrammetry as a supplementary capture on that equipment rather than adding more passes with the primary scan. For very dark spaces like basements and crawl spaces, bring an external light source if you need an accurate 3D mesh out of the capture, not just a LiDAR-based floor plan: low light limits how well the reconstruction can resolve surface detail, even though the LiDAR sensor itself doesn't depend on ambient light to measure distance.
Stairwells. Walk the stair run itself, not just the landings, and raise or lower the phone as you go, rather than just tilting it, so both the treads and the walls on either side get captured from genuinely different heights. This is also the zone where tracking is most likely to break during a multi-story scan, covered in more detail next.
Multi-story approach
The core problem in a multi-story scan isn't capturing either floor individually; it's keeping vertical alignment between them. If you start an entirely new, separate scan on the next floor instead of linking it to the first, the app has no way to know how those two captures relate to each other in space, and they'll need to be manually aligned afterward, if they can be aligned cleanly at all.
The recommended sequence is to capture and finish one full floor first, stop the scan, and let it process. From there, reopen that same capture using Polycam's Extend tool rather than starting a fresh session, a feature specific to Polycam, not a universal capability across scanning apps. Begin the extended scan right where the first one ended, ideally at a distinctive, already-captured feature like the bottom of the stairs, then carry it up through the stairwell and onto the next floor. Move at a deliberately slower pace through the stairwell itself, since that's where tracking is most likely to be lost, and confirm the app shows a successful relocalization before continuing. Once the extended capture is done, reprocess it so the new floor and stairwell are merged into the existing, rather than left as a separate file that needs manual alignment.
Always start at the bottom floor and work your way up, not the other way around. Treat this as the default order for any multi-story capture.
Exterior facade scanning
Lighting matters more outdoors than anywhere else in this guide. Harsh, direct overhead sun creates deep shadows and blown-out highlights that make surfaces harder to resolve cleanly, so early morning or late afternoon light, once shadows are soft and even, gives a noticeably better result than a midday capture. Overcast days work well for the same reason: cloud cover diffuses the light and removes hard shadows almost entirely.
If you can reach the facade with a handheld device, walk parallel to the building at a steady distance and keep the camera facing straight at the wall. This helps the sensor capture flat surfaces accurately. For taller buildings, use a drone to fly horizontal passes at different heights from bottom to top, keeping the camera straight at the facade each time. Calm weather is important for drone flight, since wind over about 15 mph may blur images and make flying harder.
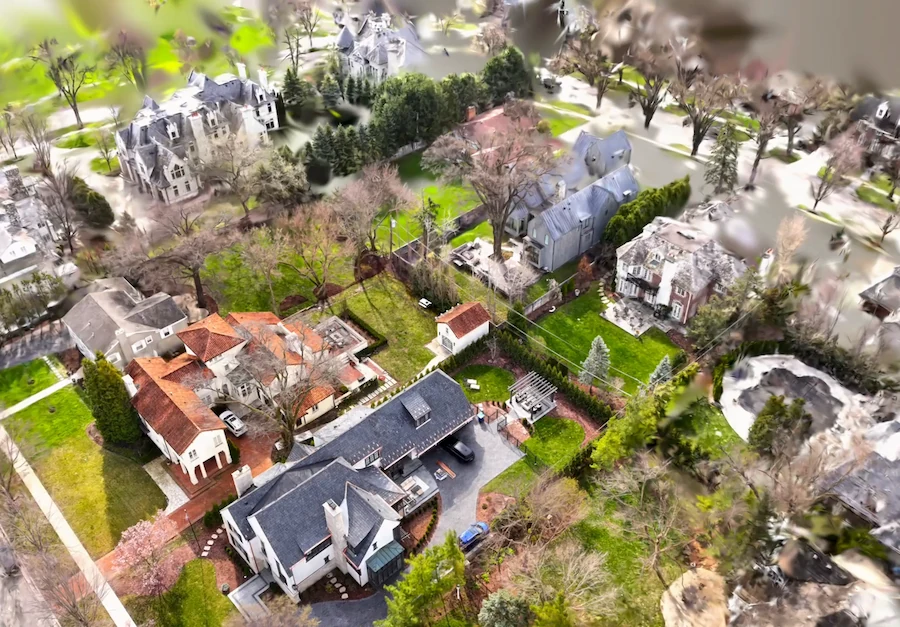
Use a drone when the facade, roofline, or site boundary is too large or high to cover safely on foot. Rooftops, tall elevations, or large sites are good reasons to use a drone. For single-story facades or small exteriors, handheld scanning is usually enough and quicker to set up than a drone.
Heritage site considerations
Heritage documentation has different priorities compared to a standard renovation scan. The focus is on non-invasive techniques, archival-quality results, and meeting specific standards.
In the U.S., heritage documentation typically follows the Secretary of the Interior's Standards and Guidelines for Architectural and Engineering Documentation. These rules govern national programs such as the Historic American Buildings Survey (HABS), the Historic American Engineering Record (HAER), and the Historic American Landscapes Survey (HALS), all managed by the National Park Service. The guidelines define three documentation levels based on the historical significance of the structure. They also require that submitted records include measured drawings and photographs that are suitable for long-term archiving.
Internationally, the 1996 Principles for the Recording of Monuments, Groups of Buildings and Sites by ICOMOS highlight the importance of documentation. Careful record-keeping is a primary way to preserve the value of heritage sites and make information available for future research, even if the physical structure changes or is lost over time.
Non-contact capture is the practical advantage reality capture brings to this kind of work. LiDAR and photogrammetry both document a surface without touching it, which matters on structures too fragile for repeated physical contact or measurement. That said, neither tool replaces a licensed surveyor nor a certified HABS/HAER measured drawing when documentation is required to meet that official standard. Reality capture is best positioned as the fast, repeatable first layer, an accurate baseline that can inform where certified, more time-intensive documentation actually needs to happen, rather than a substitute for it.
Stitching across sessions
You can't always scan a whole building in one go. Sometimes the space is too big, or you have to come back on different days. When you need to scan in separate sessions, three things are important for putting them together smoothly.
Begin each new scanning session at a spot you have already captured. The most important thing for a clean stitch is to start at a clear, recognizable feature from your last scan, like a doorway, corner, or built-in furniture, rather than a random place. This overlap helps the software match and align the new scan with the old one.
Look for the alignment confirmation in Polycam. The app will tell you when a new session using Extend has successfully matched with the previous scan. If you don't see this confirmation, slowly move your phone in the area where you last scanned until it can identify your location.
Name each scan session by its location, not by the date. If your project has many separate scans, using names based on floor, wing, or room makes it much easier to spot missing or misaligned sections later than using dates.
If you’ve captured different objects or areas that aren’t meant to connect as a single seamless walk, use Polycam’s Scenes tool to arrange them in a single space. Unlike session stitching with the extend tool, which continues an in-progress scan, the Scenes tool lets you organize finished captures next to each other, ideal for displaying related but separate scans in one view.
Common mistakes
- Starting mid-wall instead of at a corner. Corners give the sensor two reference planes immediately; starting mid-wall gives it one, which slows orientation and increases drift.
- Moving too fast. This is the single most common cause of a distorted or misaligned scan. The sensor needs time to accumulate points on each surface before you move past it.
- Skipping the interior pass in open-plan spaces. A perimeter-only loop leaves islands, columns, and furniture clusters under-captured.
- Scanning dark or reflective surfaces without adjusting. Dark walls absorb signal and reflective floors scatter it; both need extra attention, better lighting, or a slower pass to resolve cleanly.
- Walking over the same area twice. Re-scanning a spot you already covered can create conflicting data that degrades the model rather than improving it.
- Letting a notification interrupt the scan. A brief pop-up can cause tracking to be lost mid-session. Enable Do Not Disturb before starting.
- Starting a scan with low storage or a low battery. Both can cause processing to fail partway through, especially on larger or multi-level captures.
- Starting a disconnected new scan for the next floor instead of using Extend. The recommended sequence is to finish and process one floor, then use the Extend tool to continue that same capture through the stairwell. Starting an entirely separate scan for the next floor breaks that link and usually means manually aligning the two captures afterward.
- Scanning a facade at midday. Harsh overhead light creates shadows and blown highlights that a scan taken an hour later or earlier would avoid entirely.
- Only tilting the phone instead of moving your body for floor-to-ceiling coverage. Tilting changes the angle but not the sensor's actual vantage point. Physically raising, lowering, or crouching gives the sensor genuinely new perspectives on ceiling detail and the wall-to-floor junction, both of which the reconstruction has to estimate rather than measure if they're never captured directly.
FAQ
How do I scan a building interior with my phone? Move slowly, keep a clear line of sight to what you're capturing, and physically raise, lower, or crouch to cover floor-to-ceiling rather than just tilting the phone at a fixed height. Start in a corner or another identifiable reference point, and walk a deliberate perimeter loop for each room, adding an interior pass for any open, large, or cluttered space.
What are the best exterior facade scanning tips? Scan during early morning or late afternoon, or on an overcast day, to avoid the harsh shadows and blown highlights that direct midday sun creates. Keep the camera angled perpendicular to the wall surface, and bring in a drone once the facade or roofline exceeds what a handheld device can safely and completely cover on foot.
How do I scan a multi-story building efficiently? Always start at the bottom floor and work your way up, not top-down. Capture and finish that floor first, stop the scan, and let it process. Then use the Extend tool to reopen that same capture, starting from the bottom of the stairs where the first scan ended, and carry it slowly upward through the stairwell and onto the next floor. Starting an entirely new, disconnected scan for each floor usually means manually aligning the captures afterward.
What's the global standard for scanning heritage sites? There isn't a single global standard, but two frameworks define most professional practice: the Secretary of the Interior's Standards and Guidelines for Architectural and Engineering Documentation, which govern the U.S. HABS/HAER/HALS programs, and ICOMOS's Principles for the Recording of Monuments, Groups of Buildings and Sites internationally. Both emphasize non-invasive, archival-quality documentation appropriate to the site's significance.
What's a step-by-step workflow for scanning a whole building? Start with a plan: which rooms, which floors, and where exterior capture (handheld or drone) fits in. Capture interiors room by room using the pattern that fits each space; finish and process one floor at a time; use Extend to carry the capture through each stairwell rather than starting disconnected scans on each floor; and handle exteriors separately, with attention to lighting. For any part of the building you couldn't reach in one visit, start that follow-up session by physically standing at a spot the earlier scan already captured, a doorway or corner you recognize in the app, rather than an arbitrary new location, and confirm the app shows a successful alignment prior to you continuing to walk.
Do I need a tripod or a terrestrial scanner to get a clean interior scan? No, for most interior documentation, a handheld device with a steady, deliberate capture pattern is sufficient. A tripod-mounted terrestrial scanner earns its cost for certified accuracy or long-range work, not for typical room-by-room interior documentation.
How do I combine multiple scans of the same building into one model? The cleanest method is continuing one session across the whole building rather than capturing separate sessions to begin with. When that's not possible, start each new session from a point clearly captured in a previous one, and confirm alignment before continuing, rather than assuming it will resolve automatically during processing.
What tools are commonly used alongside phone-based scanning for this kind of work? Mobile apps like Polycam handle most interior and building-scale documentation. Terrestrial scanners from FARO or Leica Geosystems, or platforms like Matterport, come in for certified-accuracy or presentation-focused work. On the CAD and BIM side, exports typically move into Autodesk software for drafting and coordination.