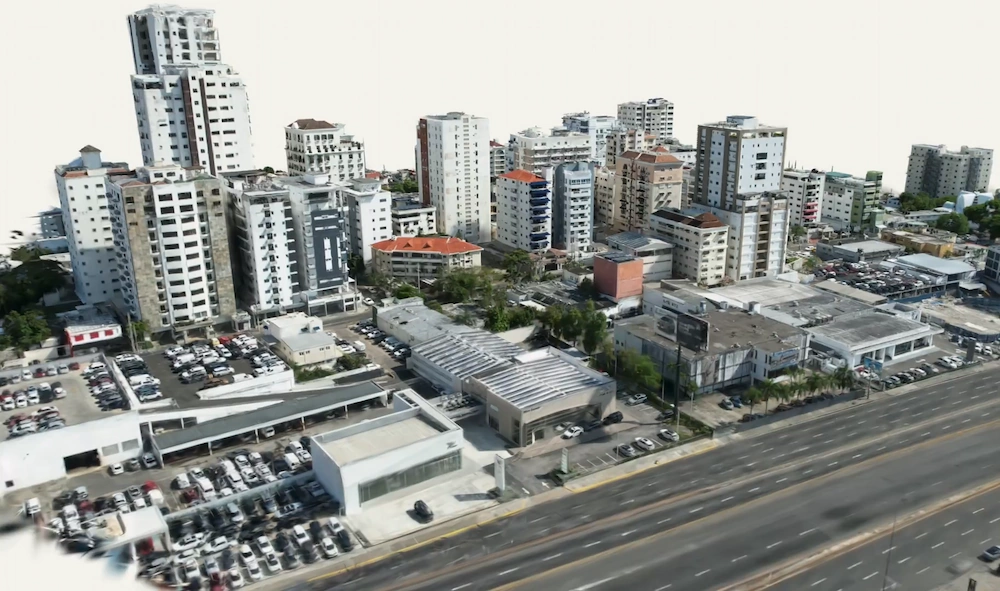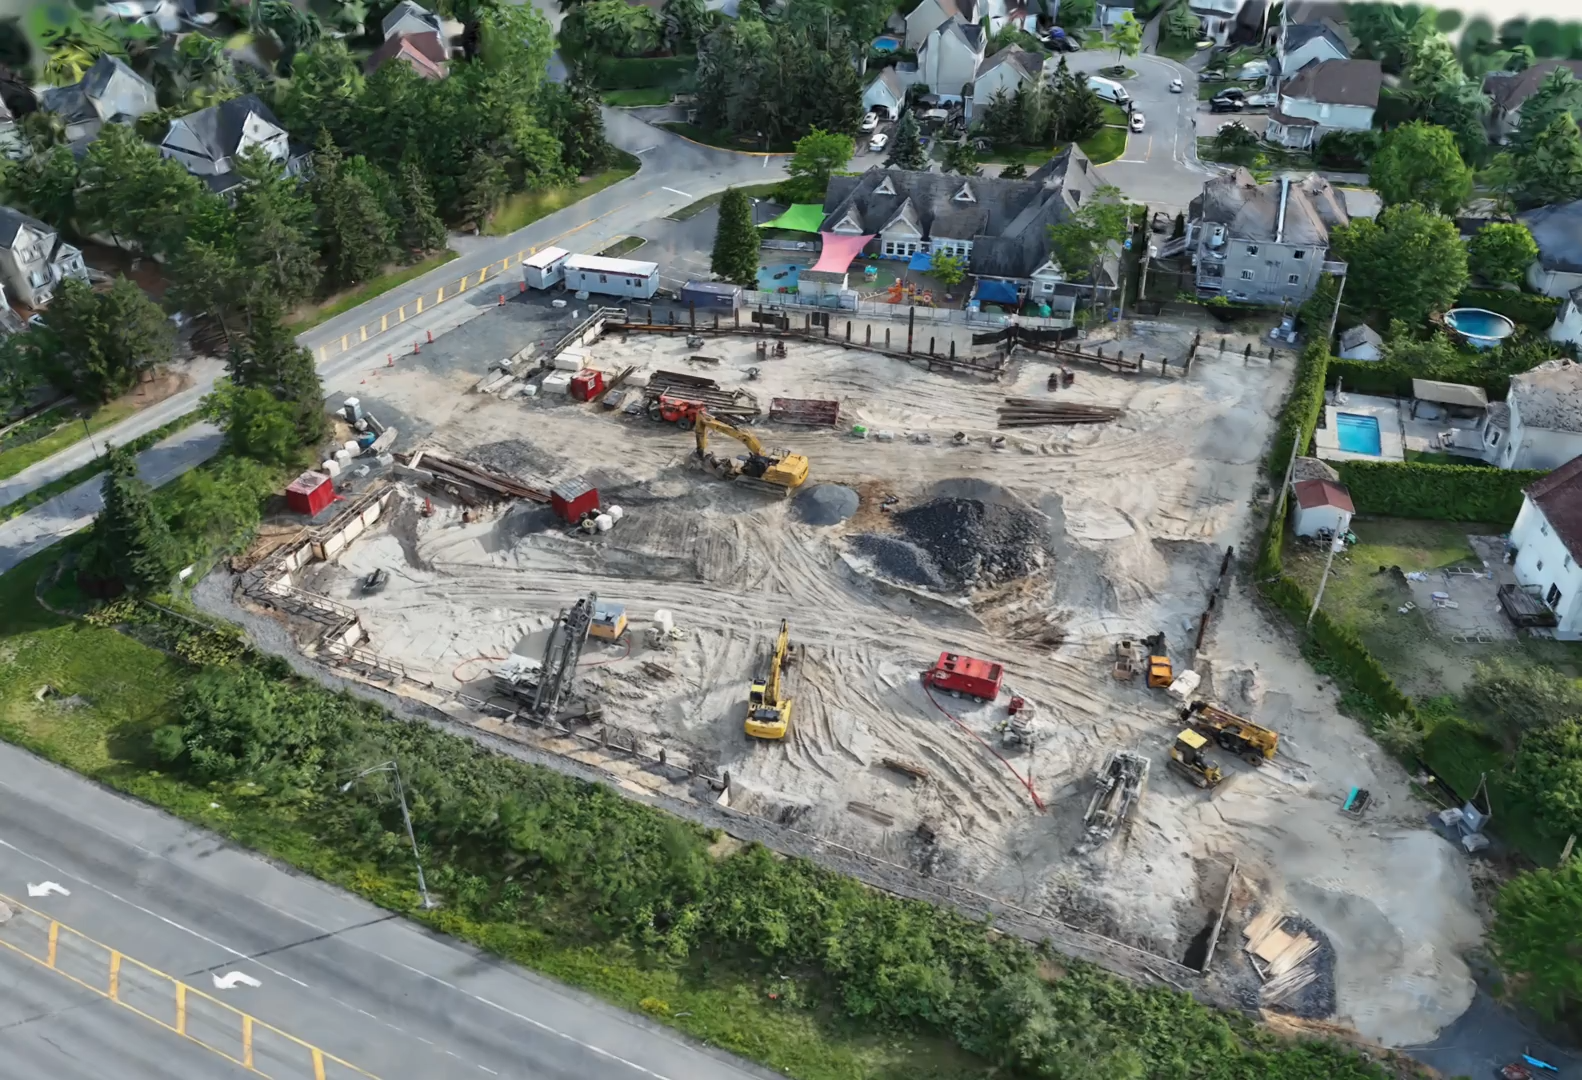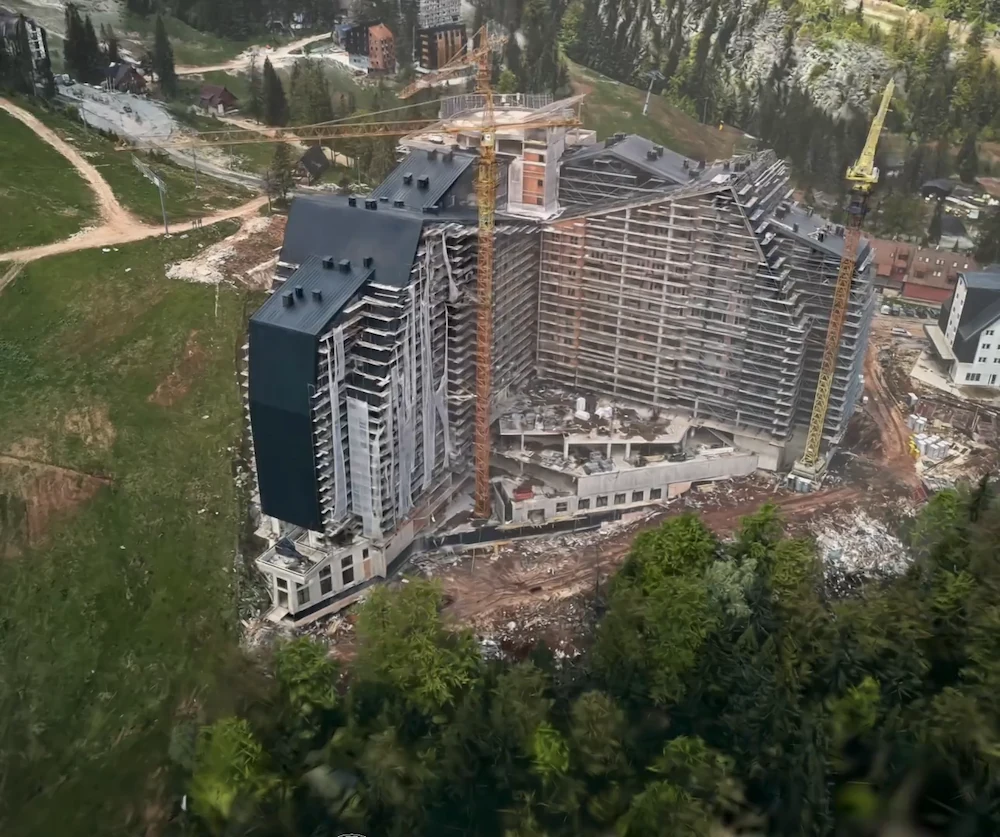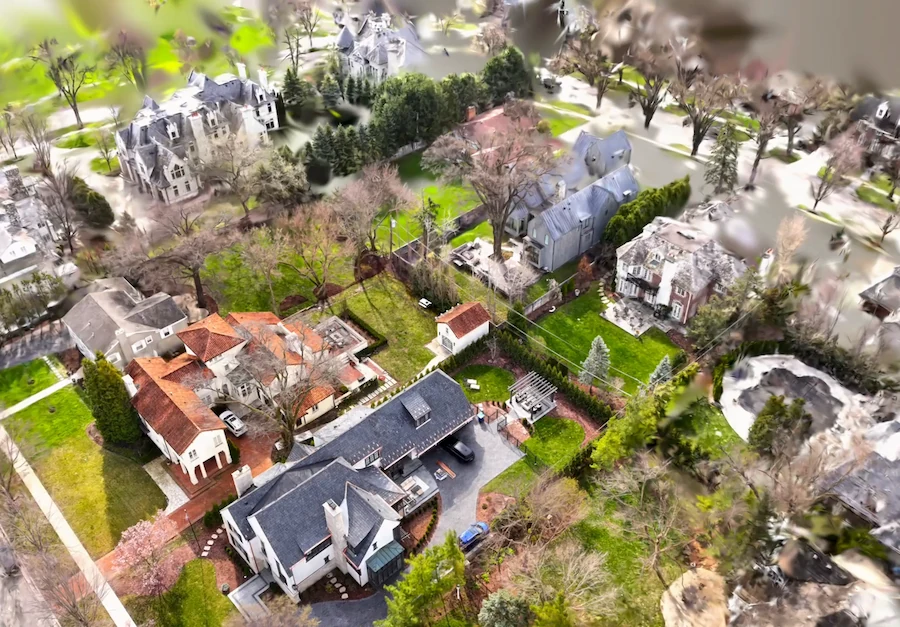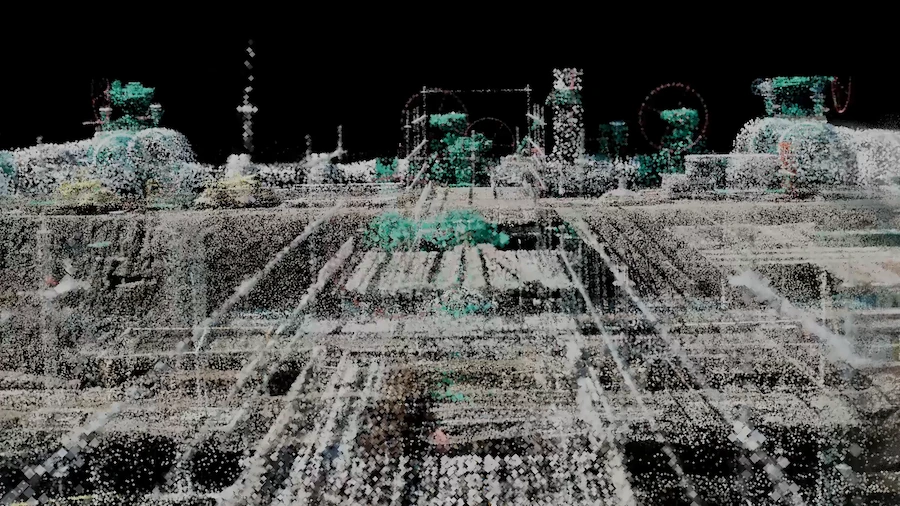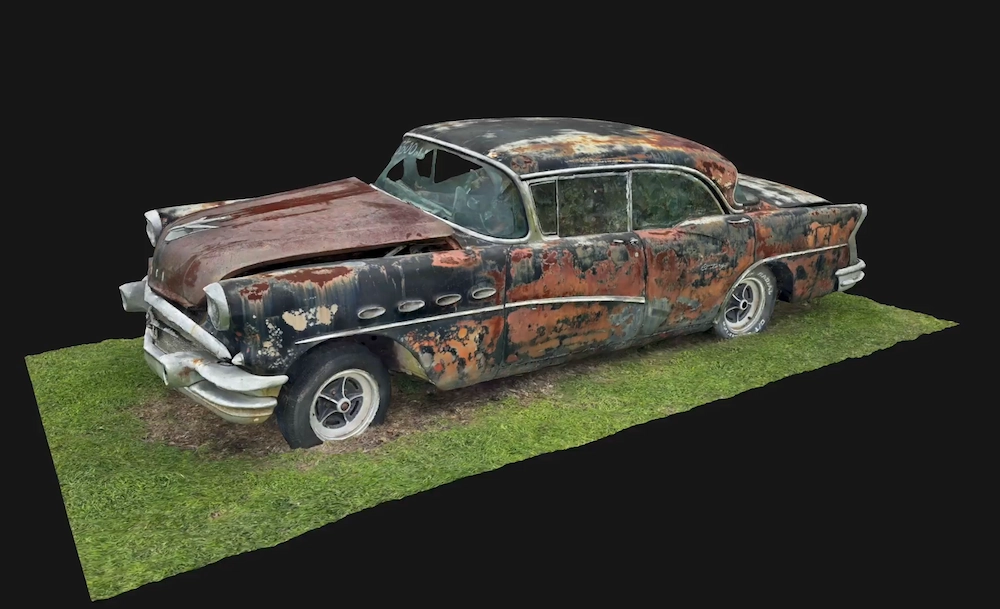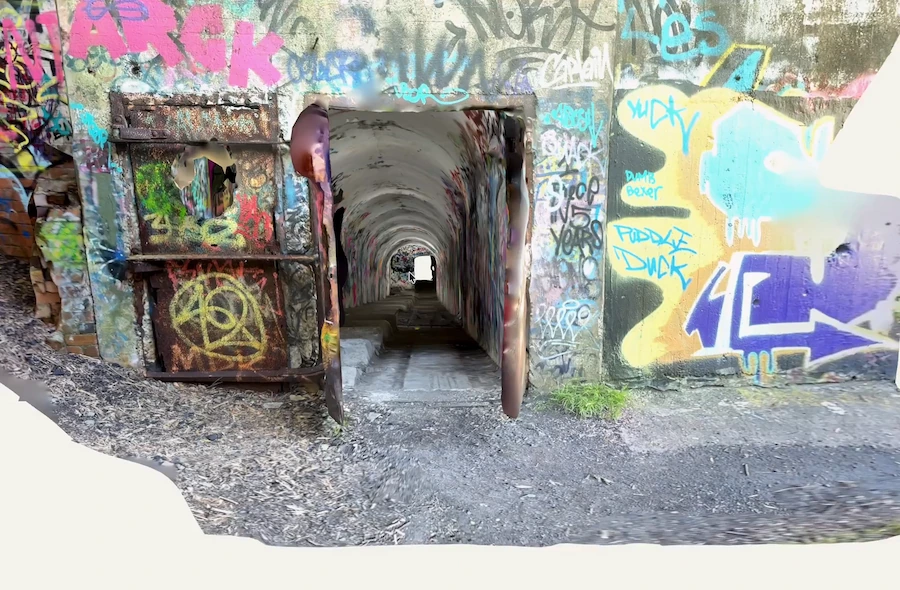
A phone capture reaches a Revit-ready point cloud in five steps: scan, clean up, export, convert in ReCap, and link in Revit. No registration software, no separate desktop processing application, no specialist operator. This guide walks through each step in detail, with format choices, QA checks, and what to do once the point cloud is sitting in your Revit model.
Polycam vs Matterport vs NavVis vs Terrestrial Scanners for Revit
Step 1: Scan in Polycam
The capture itself determines how much rework happens later. A clean scan means less time fighting noisy geometry in the office; a rushed one creates rework at every step.
Plan your scan before you start. Decide if you need to capture a whole building, just one floor, or a specific area for coordination. This will help you break the scan into sessions.
For general building scans, use Space mode. Begin in one corner, point toward the opposite corner, and move steadily, scanning from floor to ceiling. Finish scanning each room before you move on.
Focus your device on the important parts for the Revit model, like columns, beams, shear walls, MEP routes if needed, and anything that will become a Revit family or wall type. Scanning these carefully gives cleaner reference data for the modeler.
Before you leave the site, check the mesh preview and make sure you covered everything in your plan. It’s quick to fix gaps while you’re still there, but much harder if you find them back at the office.
Step 2: Clean Up the Point Cloud or Mesh
Raw capture output needs cleanup before it's ready to export. Some of this happens in Polycam; more involved cleanup happens in CloudCompare.
In Polycam, crop your scan to just the area you need. Remove anything outside the building, like sky, nearby structures, or ground noise. Check the mesh for obvious issues, such as motion blur from people walking through or reflections from glass.
For deeper cleanup in CloudCompare, use a statistical outlier-removal filter to remove noise from the point cloud. If you have scans from several sessions, start with a rough alignment using point-pair picking, then use ICP fine registration to merge them. Set the coordinate system if your project needs georeferenced data.
Cleaning up before export keeps the file size smaller, makes ReCap run faster, and gives the Revit modeler a cleaner reference to work with.
Step 3: Export Format Choice
If you export in the wrong format, you might not notice until later when something fails to load.
Export your scan as LAS from Polycam. This format works well with Autodesk ReCap. Since Polycam doesn’t export RCS or E57 directly, LAS is the format you’ll need.
For a full breakdown of point cloud and mesh formats, see Polycam's Point Cloud Export Formats guide.
Step 4: Bring Into Autodesk ReCap
- Open Autodesk ReCap and import your LAS file. ReCap will automatically index the point cloud as it brings it in.
- Let ReCap process the file into an RCS. Each LAS file turns into one RCS file. If you have several scans, import each LAS file on its own, then make an RCP project file to link them together.
- If needed, use limit boxes to crop the point cloud to just the floor or area the Revit modeler needs. This way, they have less data to handle.
- Set the coordinate system if your project uses georeferencing, and make sure it matches the settings in your Revit project.
- Export as RCS if you have one scan, or as RCP if your project uses several RCS files. This is the file the Revit modeler will link.
Step 5: Bring Into Revit
- Open your Revit project, go to Insert, and select Point Cloud. Pick the RCS or RCP file you exported from ReCap.
- Check the origin. If your point cloud uses real-world coordinates, align the project base point and survey point. If it uses local coordinates, visually match the point cloud to a known spot in the Revit model, such as a column grid, wall corner, or level.
- Make sure the point cloud’s units match those in your Revit project. If they don’t, the model may look correct, but the measurements will be wrong.
- Align the point cloud’s floor to the correct Revit level. This way, floor heights and level-based elements will reference the right plane.
- Adjust how the point cloud looks in Revit. You can display it by elevation, intensity, RGB color, or a single color. For modeling, single color or elevation-based views are usually the easiest.
Modeling Against the Scan
For walls, make a section box around the point cloud on each floor and trace the wall shapes in plan view. At LOD 300, you can measure wall positions and thicknesses directly. For floors and ceilings, use vertical section views to get accurate heights before placing elements.
For structural elements like columns, beams, and shear walls, find their shapes in both plan and section views of the point cloud. Check their sizes against the scan before making a Revit family. Don’t rely on just one plan view—use two or more section cuts to catch any out-of-plumb issues. Check dimensions, bay spacing, and clearances in several views before finalizing. If the point cloud is thin or noisy in some areas, flag those elements instead of guessing. It’s better to mark uncertainty than to use a wrong measurement.
QA: Scan-to-Model Deviation
The appropriate deviation tolerance depends on the LOD target agreed at the start of the project. That agreement gets documented per element using an AIA model element table; the current AIA documents for this are G204-2022 (or the abbreviated G205-2022). There's no single published tolerance that covers every project, so use the LOD framework and whatever model element table your project has agreed to as your guide rather than a fixed number.
- Make section cuts through the modeled elements where they overlap the point cloud. Check each section to make sure the model matches the scan.
- Set your tolerance based on the LOD and your project’s model element table. LOD 200 elements are approximate and don’t need tight alignment. LOD 300 elements should match closely, and you should check and fix any differences. For LOD 350 and above, use a denser, more accurate point cloud than what mobile capture usually gives.
- Flag any elements that come from areas with poor scan coverage. If the scan is thin, noisy, or missing, mark those elements in the model or in a QA note. This helps the team know which elements are accurate and which are estimates.
- Record your QA check in the project’s model element table, and add notes about any differences you found during the scan comparison.
Family Creation From Scan
It’s often helpful to capture certain assets individually instead of modeling them from scratch. This works well for equipment that repeats, fixtures with complex shapes, or anything that needs exact documentation for future maintenance.
Capture an asset as a family if it shows up in several places, has complex shapes that are hard to model, or needs to be documented accurately for future maintenance or replacement.
To capture an asset, use Polycam’s Object mode for a close-up, high-quality scan. Choose photogrammetry or Gaussian splatting based on what you need. Use the scan as a visual and size reference, not for direct import, since Revit’s Family Editor uses vector CAD geometry, not mesh files. Build the family in the Revit Family Editor, checking the Polycam scan for dimensions and proportions as you work.
Be sure to scan all sides of the asset, any moving parts in their normal position, and any mounting or connection details needed for installation.
FAQ
What is the best scan-to-Revit workflow for architects?
The fastest mobile-first path is: capture in Polycam Space mode, clean up and crop the model, export as LAS, convert to RCS or RCP in Autodesk ReCap, then link into Revit via Insert > Point Cloud. A terrestrial scanner like the Leica RTC360 adds a registration step first: Leica's own Cyclone REGISTER 360 workflow runs through four major stages: import, review and optimize, finalize, and report, before the data reaches ReCap.
What are the top LiDAR and photogrammetry apps for Revit models?
Polycam supports both capture methods (Space mode and photogrammetry-based Object mode) and exports LAS directly for the ReCap-to-Revit pipeline. Matterport exports E57 point clouds through a paid add-on and has a dedicated Revit plugin for direct import; its BIM File add-on produces LOD 200 models as a purchasable deliverable, making it a capable option for visual documentation and coordination. The practical difference from Polycam for a standard Revit workflow is that Matterport's E57 export requires dedicated hardware (a Pro3 or BLK360 camera) plus that paid add-on, while Polycam's LAS export is included in its standard workflow. NavVis offers professional mobile mapping hardware that exports RCS, E57, and LAS directly from NavVis IVION for Revit workflows, delivering survey-grade accuracy for larger, more complex projects. The right choice depends on the LOD target and project scale.
How do you convert site scans into Revit families?
Capture the individual asset in Polycam's Object mode for a close-range, detailed result. Use the capture as a dimensional reference to build a native Revit family with accurate geometry and proportions in the Family Editor. This is most worthwhile for assets that repeat across a project or have complex geometry that would otherwise take significant time to model from scratch.
What are the alternatives to Matterport for Revit workflows?
Polycam exports LAS directly for the ReCap-to-Revit pipeline without requiring dedicated hardware or a paid point cloud add-on. Matterport offers E57 export and a Revit plugin, but the E57 export requires a Pro3 or BLK360 camera and a paid add-on. NavVis offers professional-grade mobile mapping with direct RCS and E57 export and a dedicated Revit Add-In for live connections between captures and BIM models. For high-accuracy terrestrial capture, Leica Geosystems and FARO scanners paired with their respective registration software remain the standard for LOD 350 and above.
Which mobile LiDAR is best for Revit as-built work?
For most LOD 200 to 300 as-built projects, Polycam’s Space mode with the ReCap workflow is a quick, user-friendly option that does not require specialist hardware. If you need higher accuracy or denser point clouds, NavVis mobile mapping delivers survey-grade results (about 5mm) but involves a more complex process, especially at LOD 300. Choose based on what matters most for your deliverable: speed and simplicity, or maximum point density and accuracy.
How long does the Polycam to Revit workflow take?
It scales with the size and complexity of the space; a full-building capture takes longer than a single-floor capture, and cleanup, export, and ReCap conversion each add time on top of the capture itself. There's no fixed published benchmark for this, since it depends heavily on project scope; plan the capture session with your specific deliverable and timeline in mind rather than a general estimate.
What LOD can a Polycam scan support in Revit?
A Polycam capture comfortably supports LOD 200 and most LOD 300 modeling for architectural and structural elements. For LOD 350 dense MEP coordination or LOD 400 fabrication-level detail, a denser, higher-accuracy point cloud from a terrestrial scanner or a professional mobile mapping system like NavVis is the more appropriate input. See Polycam's Scan to BIM guide for a full breakdown of LOD targets and capture methods.