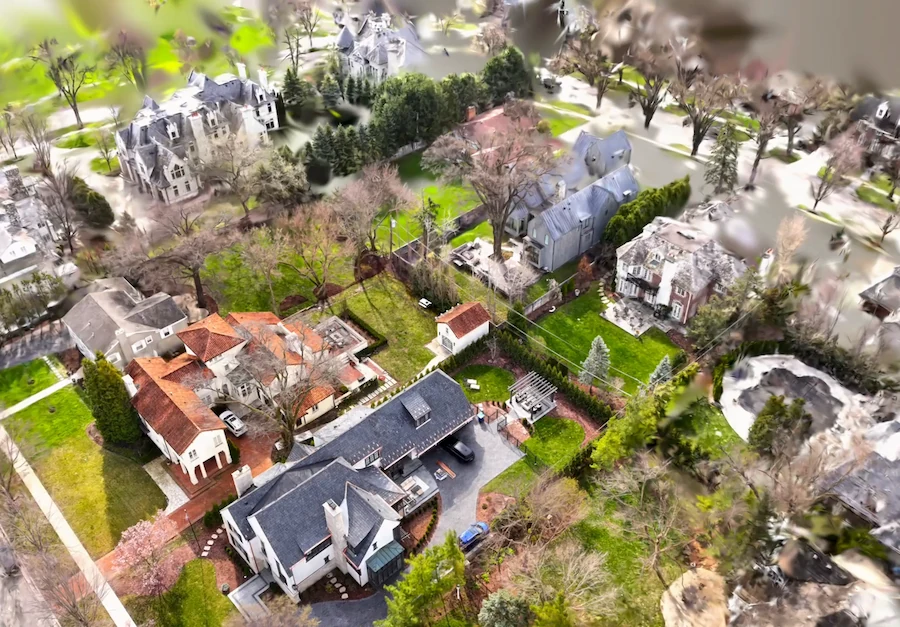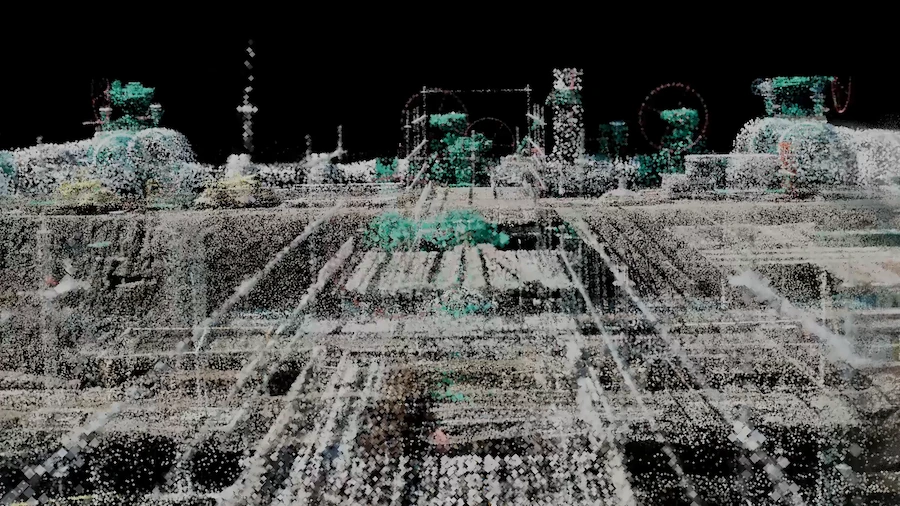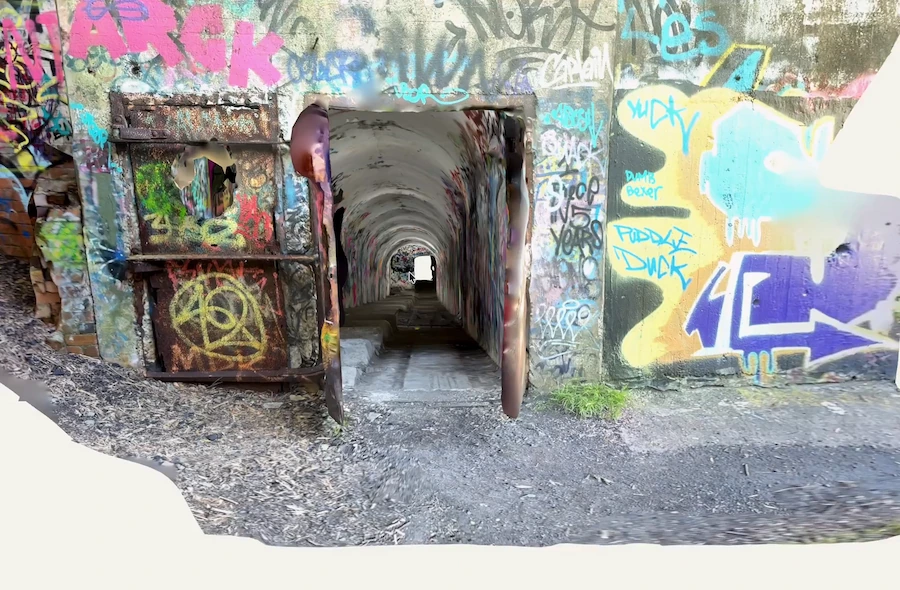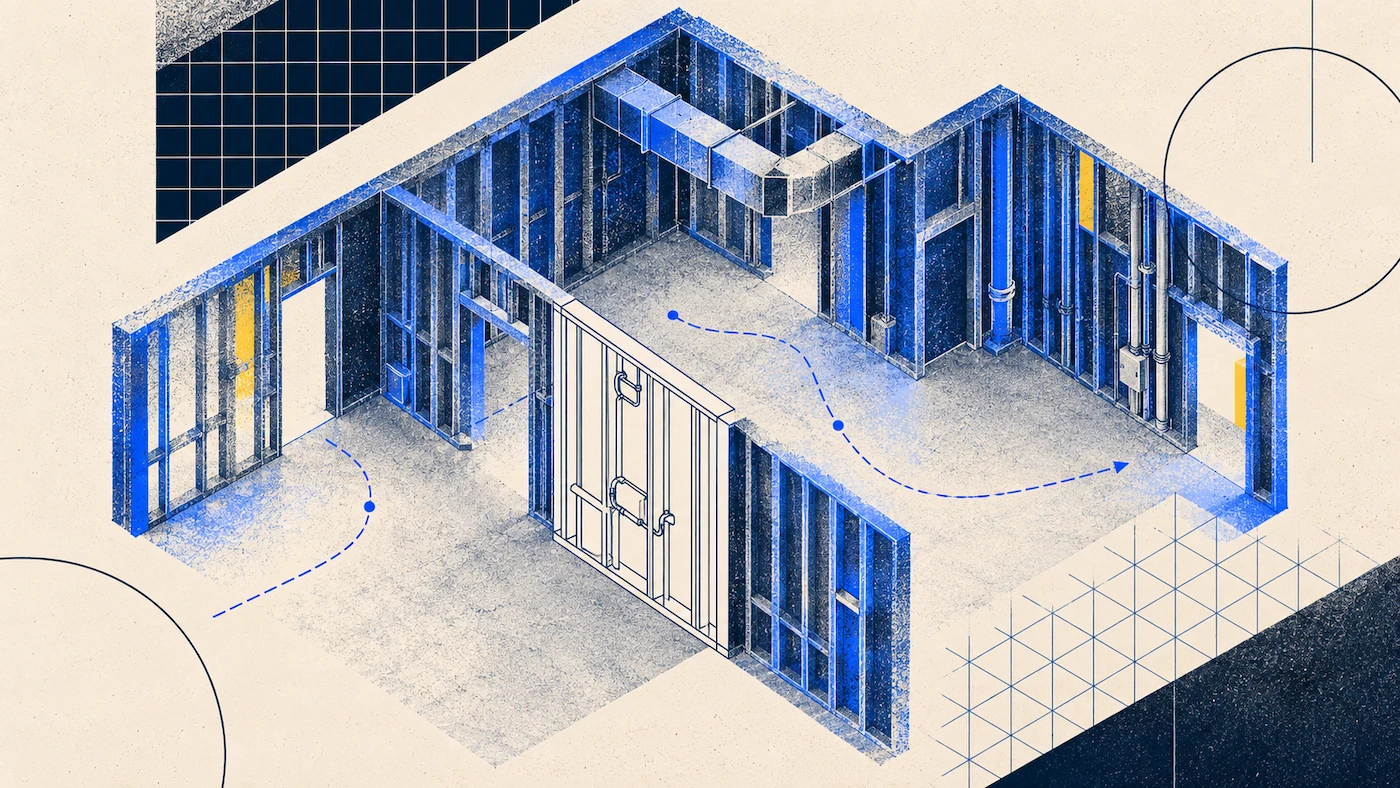
A drone covers the roof and the site perimeter. A terrestrial scanner covers a plant room with millimeter precision. Walking the building with a phone covers everything in between: the floors, the rooms, the rough-in work, the spaces nobody wants to set up a tripod for every week. This guide covers the patterns, conditions, and pitfalls specific to that middle ground.
Which Tool Covers Which Part of the Site
Polycam (mobile)Drone (DJI + Polycam)Terrestrial scannerBest forInteriors, rough-in, facades at ground levelRoofs, site perimeter, large laydown yardsPlant rooms, structural monitoring, certified deliverablesSpeedFast, fits into a normal site visitFast for large outdoor areas, slow for tight spacesSlow, tripod setup at every positionAccuracyPractical accuracy, sufficient for coordination and documentationGood for large-area geometry, not millimeter-certifiedCertified, millimeter-gradeHardwareA phone or iPad you likely already ownA DJI drone; Polycam processes the footage directlyDedicated scanner
When to Scan
Certain points in a project's timeline get disproportionate value from a scan. Here's where to prioritize if you're not scanning continuously.
Existing conditions, before design starts. Capture the building or site as it stands before any design work begins. This becomes the baseline against which every subsequent decision is measured.
Pre-pour, before a slab goes down. Once concrete is poured, anything below it (conduit, plumbing rough-in, rebar placement) is invisible. A scan immediately before pour creates a permanent record of exactly what's there.
Post-rough-in, before walls close up. The same logic applies above the floor. Once drywall goes up, MEP rough-in is hidden. A scan after rough-in and before close-up documents service routing that would otherwise require demolition to verify later.
Post-construction validation. After completion, a final scan confirms what was actually built against what was designed. This is the record that matters for facilities management, warranty disputes, and future renovation work.
LiDAR vs Photogrammetry on Site
Polycam supports both capture methods. The best choice depends on what the space requires.
Space mode is best for most job site documentation. It captures geometry quickly during a walk-through and does not rely on surface texture like photogrammetry. On a LiDAR-enabled device, it also works well in low light. For rough concrete, exposed structures, and most interior spaces during construction, Space mode is the go-to method. The capture patterns below are based on this approach.
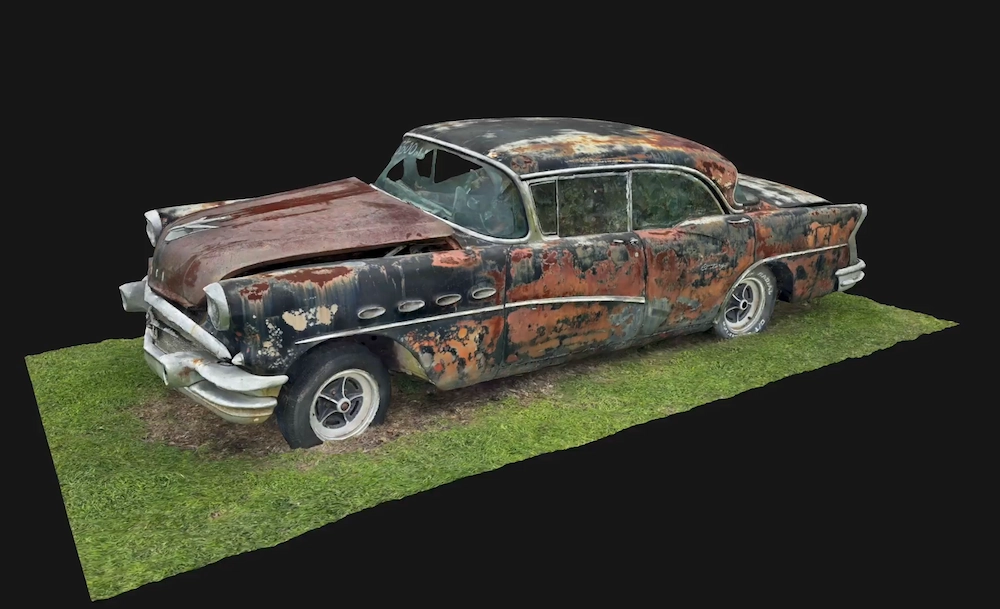
Photogrammetry, found in Polycam's Object mode, is better when you need detailed surface texture and accurate colors instead of speed. Use Object mode for capturing specific finishes, closely inspecting damaged surfaces, or documenting objects with fine details. It gives richer results than LiDAR in these cases.
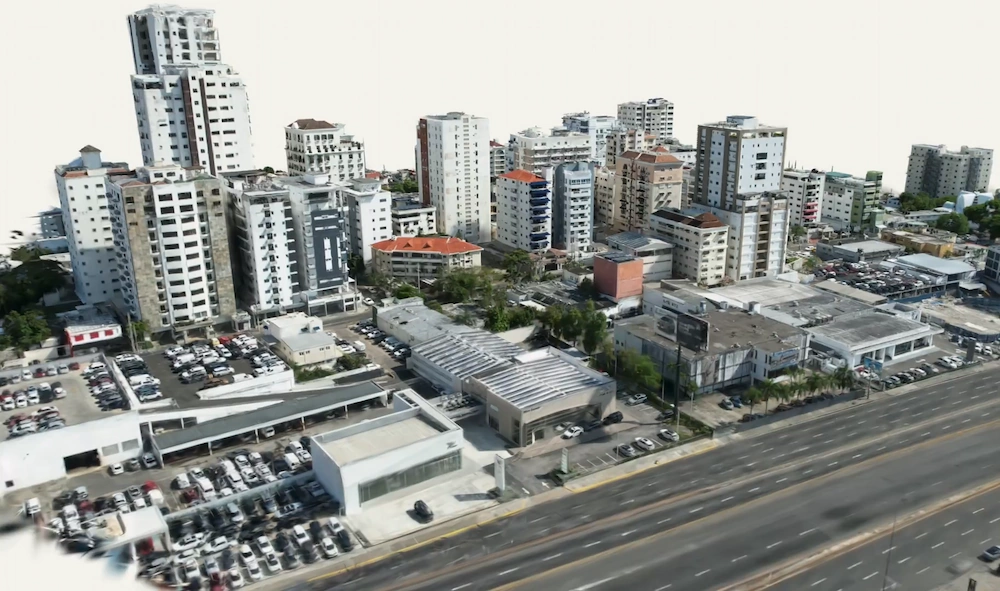
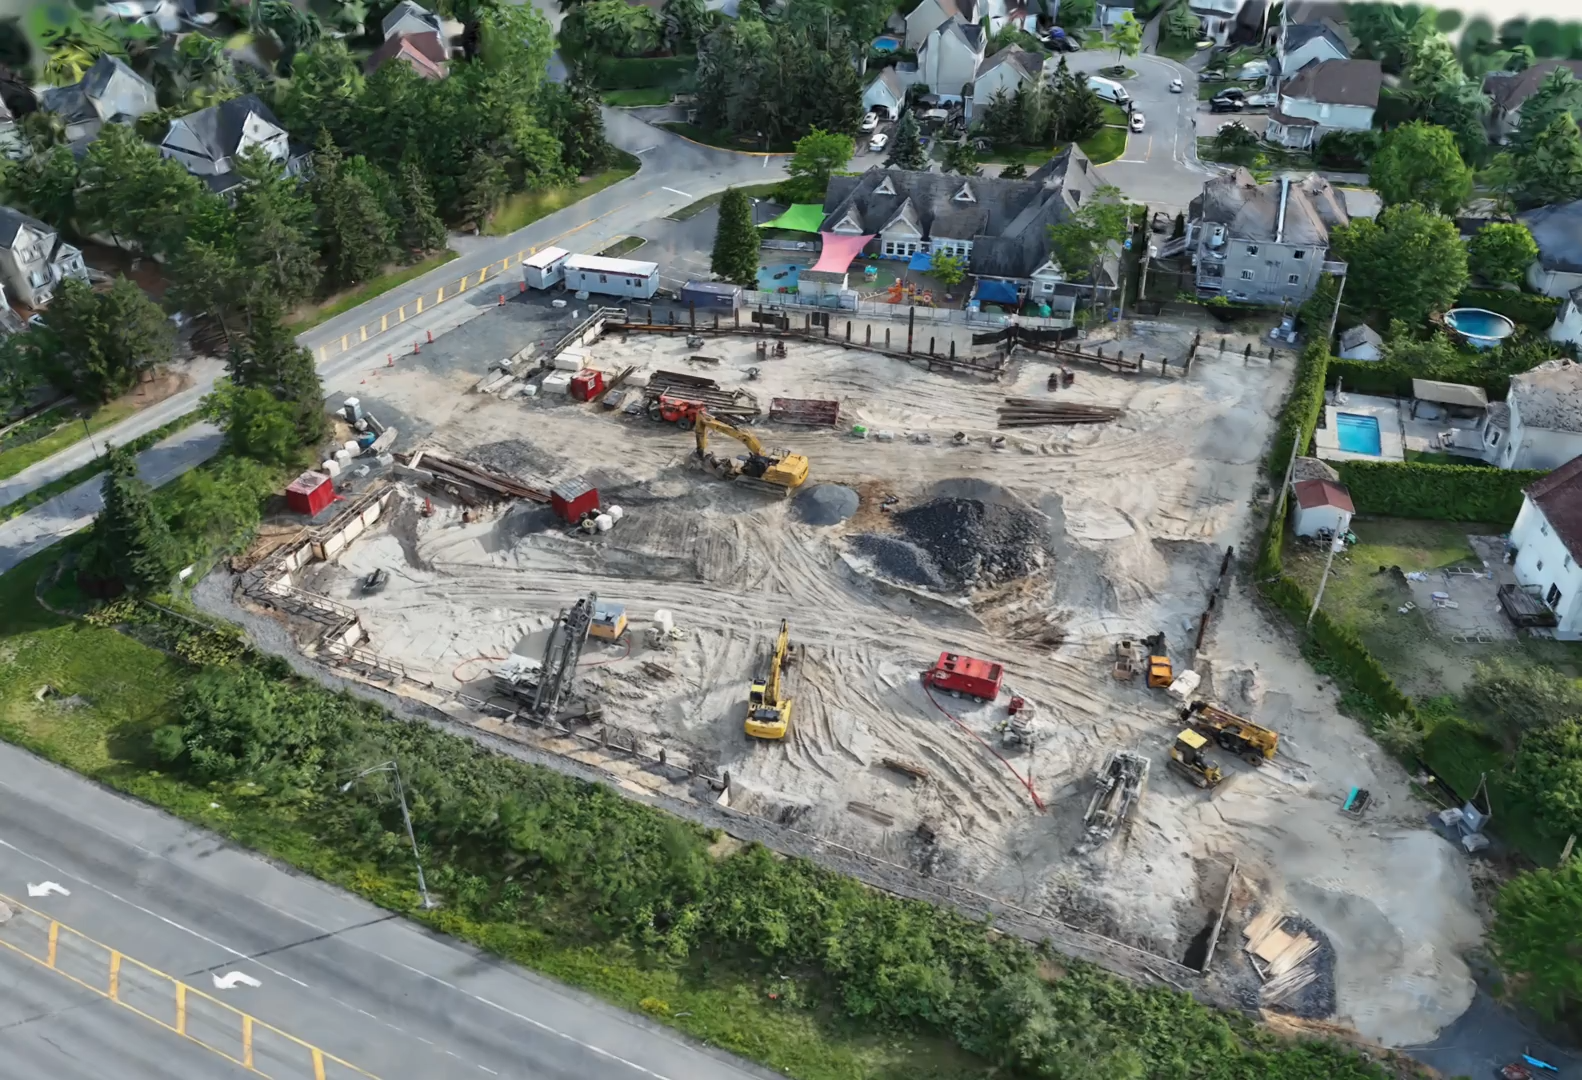
For large outdoor areas like site perimeters, roofs, or laydown yards, ground-level scanning is not efficient. In these cases, use a drone. Polycam can process footage from most commercial drones directly, including PNG, JPG, MP4, MOV, AVI, and M4V files. This covers big areas much faster than walking and creates detailed aerial scans that work well with ground-level captures.
Capture Patterns
A room sweep is ineffective for slab decks, and a facade pattern is not suitable for MEP rough-in. Four main patterns cover most scanning needs on a job site.
Pattern 1: Room-by-Room Interior. For interior spaces at any stage of construction, work through rooms individually rather than trying to capture an entire floor in one continuous sweep. Start in a corner of the room, aim the device at the opposite corner, and move through the space at a steady pace, scanning from floor to ceiling. Complete each room before moving to the next, working through a floor methodically rather than backtracking.
Pattern 2: Pre-Pour Slab. Before a slab pour, the goal is documenting everything on the deck: conduit runs, plumbing stub-ups, rebar placement, embeds. Walk the deck in a single continuous path, keeping the device angled down toward the deck surface rather than at eye level. Plan a route before starting so one pass covers the full deck area without backtracking.
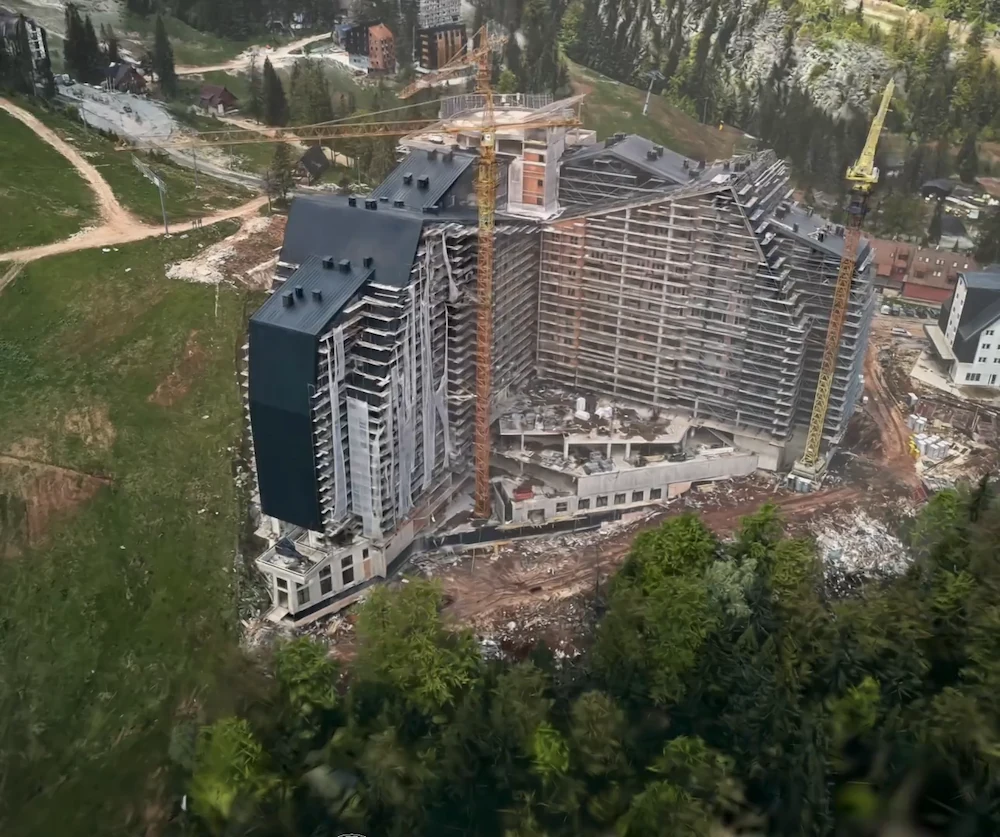
Pattern 3: Exterior Facade. Walk parallel to each facade, capturing from ground level to the top. Polycam's own accuracy documentation puts the sensor's sweet spot at roughly 3 to 6 feet (about 1 to 2 meters) from a surface, with reliable geometry dropping off past an effective range of about 16 feet (5 meters), so stay inside that range rather than backing further away for a wider view. Move along the full length of one facade before moving to the next, and slow down at corners to ensure the scan cleanly captures the junction between adjacent facades.
Pattern 4: MEP Rough-In. After rough-in and before close-up, capture each space with deliberate attention to overhead and wall-mounted services. Move through the room as in the standard room-by-room pattern, but tilt the device upward more frequently to capture ceiling-level conduit, ductwork, and pipe runs along the way.
Lighting and Conditions
Job sites often have less-than-ideal scanning conditions, but there are solutions for the four most common issues.
Direct sun. Strong directional sunlight through windows or open facades can create harsh contrast, affecting photogrammetry-based capture more than LiDAR-based capture. Where possible, schedule exterior captures for overcast conditions or early morning and late afternoon when the sun angle is lower.
Low light. Space mode captures reliably in low light where photogrammetry struggles. For dark spaces (basements, mechanical rooms, areas without temporary lighting installed yet), a LiDAR-enabled device is the more reliable choice if one is available.
Reflective surfaces like glass, polished concrete, and metal can cause gaps or noise in LiDAR scans. You cannot completely eliminate this problem, but changing the device's angle as you pass by helps reduce gaps.
Dust is common on active construction sites and can lower scan quality, much like fog. If there is a lot of dust in the air, wait for it to settle before scanning for better results.
Multi-Scan Sessions
On large sites or buildings, one capture session usually is not enough. Polycam's Extend tool lets you continue a session by reopening a processed capture and picking up where you stopped. However, for very large areas (about 20,000 square feet or more), it is better to split the work into several sessions from the beginning. Here are tips for keeping multiple sessions organized and ready to combine later.
Plan capture zones before starting. Divide the building or site into zones (by floor, by area, by scope) before the first scan. This keeps each session a manageable size and makes it clear which session covers what.
Capture consistent overlap at zone boundaries. Where one capture session ends and the next begins, make sure both sessions include the shared boundary area. This shared geometry allows the sessions to be accurately registered together later.
Name each session clearly. A simple, consistent naming approach (project, zone, date) means anyone picking up the work later can tell which session covers which area without opening every file.
Do not try to combine multiple sessions into one model while on site. Instead, capture each session carefully, export them, and align them later in CloudCompare or Autodesk ReCap at your desk, where you can check the results properly.
If Revit is the destination, that same ReCap step is also where the conversion into RCS or RCP happens before linking into the model. Polycam's dedicated Scan to Revit guide covers that full workflow step by step, including QA and family creation from a scan.
Sharing With Stakeholders
General contractors and owners often have different needs when it comes to scan results.
Internal team handoff. Share the capture directly so the BIM coordinator or project engineer can access it without waiting for a file transfer. Comments pinned to specific locations are a fast way to flag issues without a separate email thread.
Pointing someone to a specific issue. Saved Views let you bookmark a specific camera angle, standard or custom, and share it as its own link. Whoever opens it lands directly on the area in question, rather than having to navigate the whole capture themselves. This is more precise than describing a location in an email.
Client or owner updates. If the recipient will not use a 3D model, a PDF export or annotated snapshots are usually more practical. Owners and general contractors often prefer a simple visual record they can review quickly, rather than learning to use a new model.
External access without adding someone to the team. Public sharing lets anyone with the link view the capture without logging in. This is the quickest way to give access to someone like an inspector, consultant, or owner's representative without creating an account.
Common Mistakes
- Scanning too fast. If you rush, you will miss areas and get broken geometry. Slow down, especially at corners and junctions.
- Skipping the mesh preview check. If you find a gap while still on site, you can fix it in minutes. If you find it later, you may have to come back, and the condition you needed to capture might be gone.
- Not planning capture zones before scanning a large site. If you start without a plan, you will get inconsistent coverage and sessions that do not overlap well at the edges.
- Capturing through dust or heavy glare without making adjustments. Both will lower scan quality. Waiting a few minutes or scanning at a different time of day can give you much better results.
- Forgetting to crop before exporting. If you include unnecessary geometry, like the sky, nearby buildings, or ground noise, it will slow down all later steps.
- Not naming sessions consistently on multi-scan projects. If you have a bunch of unlabeled scans from several days, it will be hard for anyone to sort them out later.
- Skipping the pre-pour or pre-close-up scan. You cannot redo these scans once the moment is gone. If you only do one scan on a project, make sure it is at one of these key milestones.
- Assuming a single capture adequately covers MEP rough-in. Overhead services need deliberate upward-angled movement, not an afterthought during a general room sweep.
FAQ
How do you scan a construction site with a phone? Use Polycam's Space mode for most interior and exterior scans. For interiors, scan room by room. For slabs, walk a single, continuous path across the deck. For facades, scan each side separately. For MEP rough-in, move upward deliberately to capture overhead work. Always check previews before leaving, export as LAS, and convert to RCS in Autodesk ReCap for Revit. For large outdoor areas, use a DJI drone and process files in Polycam for faster coverage than walking.
What is the best 3D scanning workflow for job sites? Capture at key project milestones (existing conditions, pre-pour, post-rough-in, post-construction) rather than on an arbitrary schedule. Use Space mode for general documentation, Object mode for close-range detail capture, and a drone for large outdoor areas. Export as LAS, convert through Autodesk ReCap for Revit workflows, and share specific issues using Saved Views rather than asking someone to navigate an entire capture to find what you're flagging.
How does mobile LiDAR compare to photogrammetry for job sites? Polycam's Space mode captures quickly during a walk-through and isn't affected by surface texture the way photogrammetry is; on a LiDAR-enabled device, it also works reliably in low light. It's the practical default for most job site documentation. Photogrammetry (Polycam's Object mode) produces richer surface detail and color accuracy, which matters more for close-range documentation of specific finishes or damage than for general floor and structure capture.
What are the alternatives to handheld LiDAR for wide areas? For large outdoor areas like a full site perimeter, a roof, or a laydown yard, a drone is far more efficient than ground-level capture. Polycam processes footage directly from most commercial-grade drones, producing dense aerial geometry that covers large areas in a fraction of the time it would take for a walk-through. For dense, high-accuracy interior or plant room capture, a terrestrial scanner from Trimble or Leica Geosystems remains the better tool than either mobile or aerial capture.
What are the best reality capture tools for progress tracking? For regular progress documentation on an active site, mobile scanning with Polycam is fast enough to fit into a normal site visit without disrupting work. Each capture becomes a timestamped record that can be compared against later visits or against the design model once converted to RCS and linked into Revit. Matterport also produces structured point cloud and mesh exports for progress documentation and downstream CAD/BIM work; the practical difference is capture speed and hardware cost rather than data structure.
Can I import a Polycam scan directly into Revit? Not directly. The short version: export the capture as LAS from Polycam, convert it to RCS or RCP in Autodesk ReCap, then link that file into Revit via Insert > Point Cloud. See Polycam's Scan to Revit guide for the full step-by-step workflow, including QA and family creation.
When should I scan rather than use a drone or a terrestrial scanner? Mobile scanning with Polycam is the right choice for ground-level interior and exterior spaces where speed and accessibility matter more than survey-grade accuracy: most rooms, most facades, most rough-in documentation. A drone is better for wide outdoor areas where ground-level walking is inefficient. A terrestrial scanner is better suited when the deliverable requires millimeter-level accuracy or very dense point clouds, such as for structural assessment or plant room MEP coordination.
What PPE is needed to scan an active construction site? Anyone on an active job site, including someone scanning rather than performing construction work, needs to follow the site's PPE requirements under OSHA's construction standards (29 CFR 1926.28 and 1926.95), which require employers to assess hazards and provide appropriate, properly fitting protective equipment. Standard job-site PPE typically includes a hard hat, safety glasses, a high-visibility vest, and appropriate footwear. Confirm the specific requirements with the site safety officer before starting any capture work.