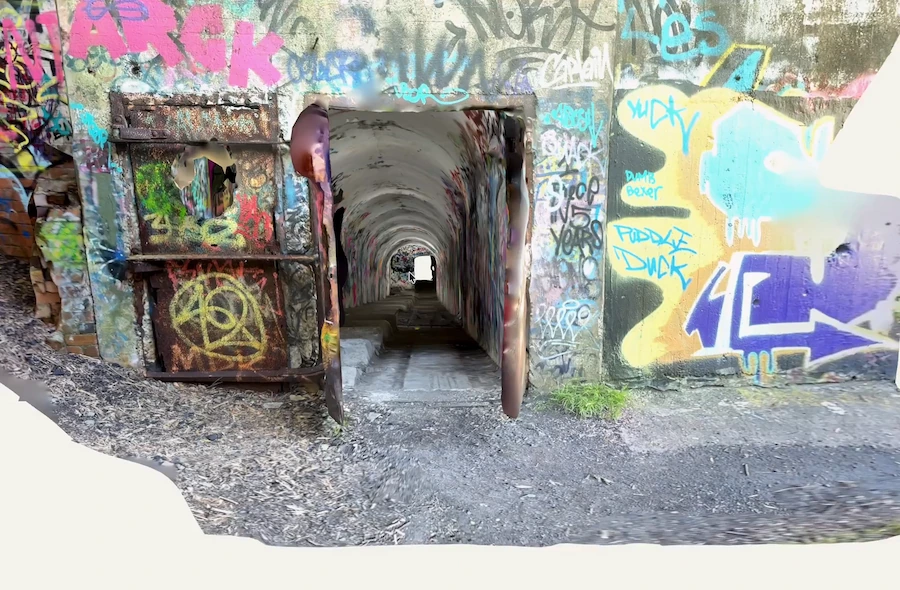
A typical site survey workflow begins with planning and finishes with a file ready for BIM or GIS. The tools used for this process have changed significantly in recent years. This guide walks you through each step: planning, on-site capture, real-time quality checks, cleanup, export, and moving a mobile scan into Revit, Civil 3D, or CloudCompare.
When to Use Mobile vs Terrestrial Laser Scanner
There is no one-size-fits-all method. The best approach depends on your deliverable and the level of accuracy required.
Use Polycam mobile capture when:
- The deliverable is LOD 200 or LOD 300 (existing conditions documentation, space planning, preliminary BIM)
- You need to capture a site quickly before a building is demolished or handed over
- The budget does not support a full terrestrial scanning engagement
Use a terrestrial scanner when:
- The deliverable is LOD 350 or LOD 400 (structural, MEP coordination, fabrication)
- Legal survey accuracy is required, or the work will be certified by a licensed surveyor
- The site requires registered multi-scan point clouds with known control points
Polycam offers a quick and easy way to capture documentation and as-built work up to LOD 300 using just a phone. It typically provides accuracy within about half an inch for standard interior scans. While it can't replace high-accuracy tools like the Trimble SX12 or Leica RTC360, Polycam makes this type of documentation accessible to every team member with a phone, without needing a specialist or costly equipment.
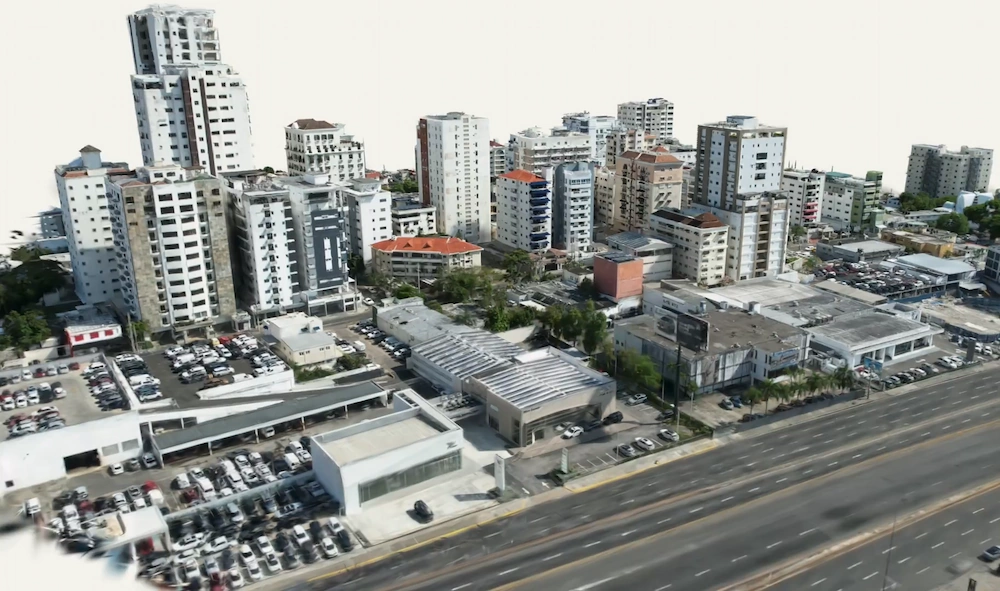
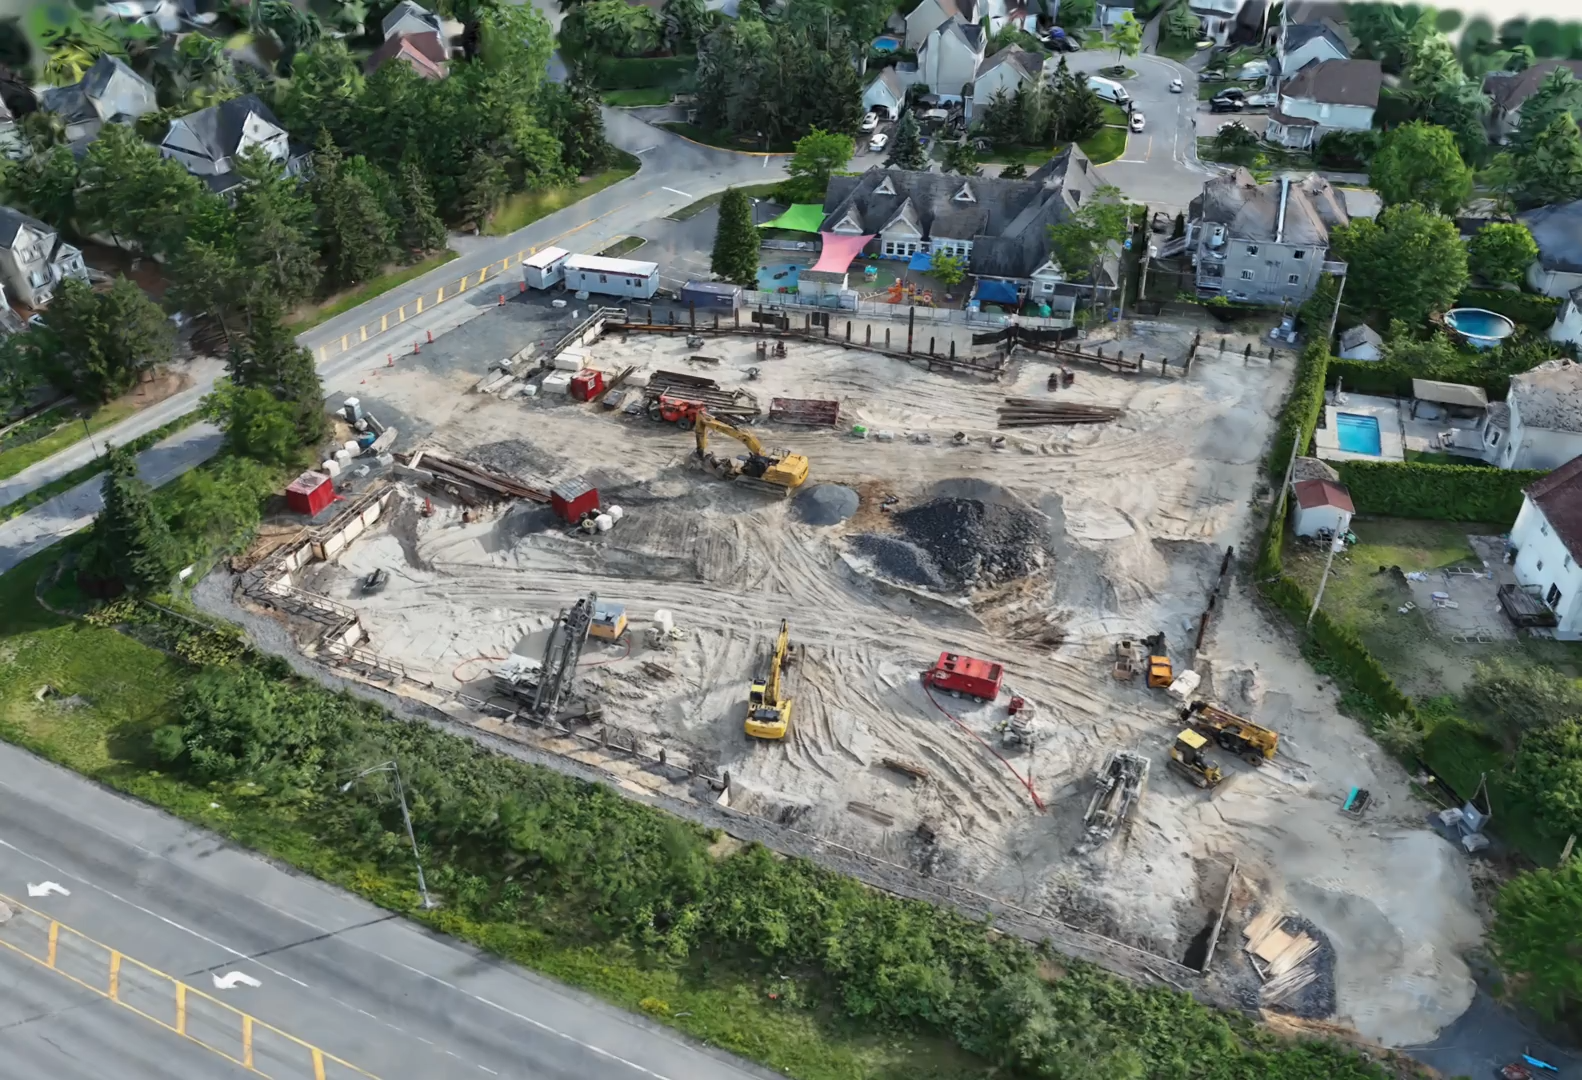
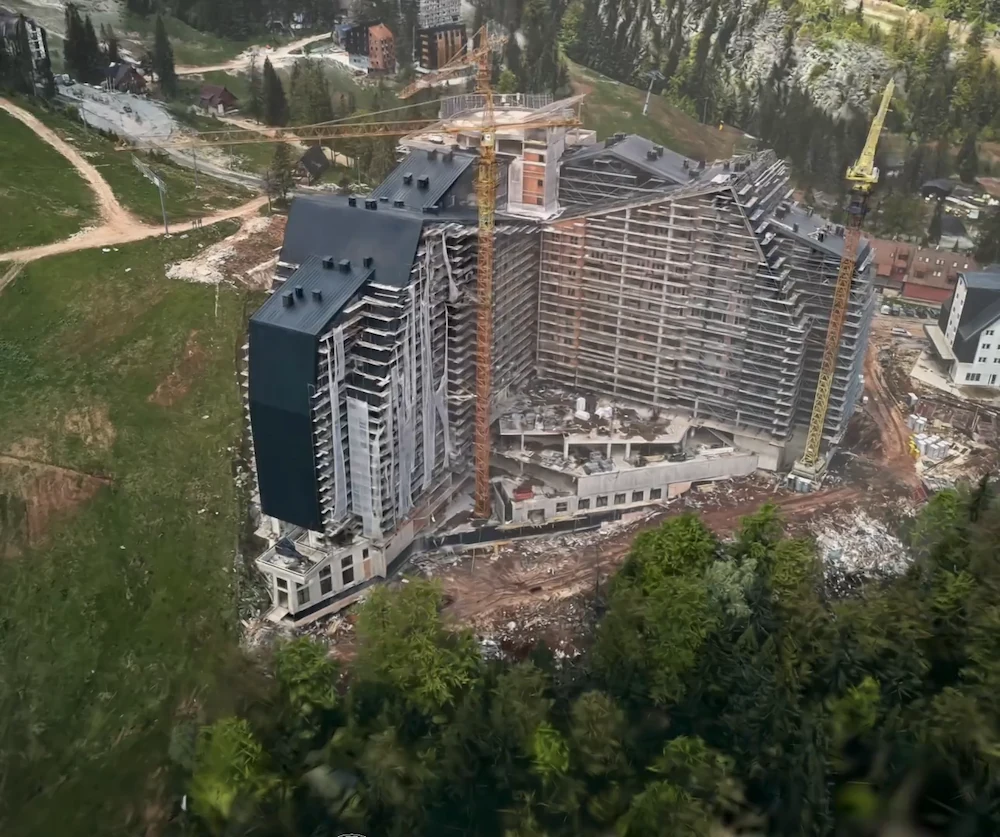
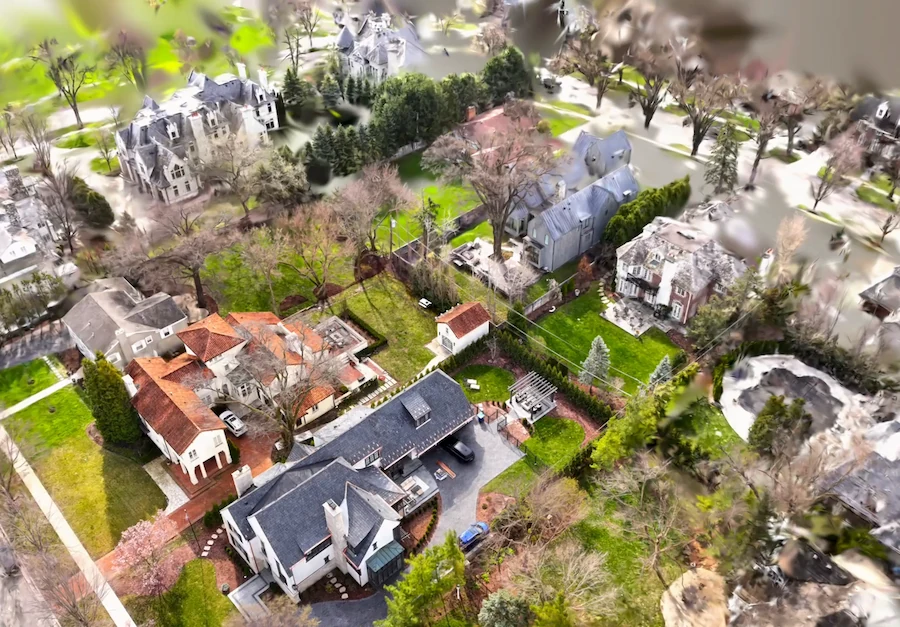
Matterport, DJI drones, and other mobile mapping systems each serve different needs. Matterport is great for visual walkthroughs and dollhouse views, and you can export structured point clouds and meshes with a paid add-on. Polycam can process drone footage from most commercial drones for large outdoor sites and aerial mapping.
What a Modern Site Survey Workflow Looks Like
A full site survey process includes pre-survey planning, on-site capture, real-time quality checks, post-capture cleanup and export, and finally handing off to CAD or BIM tools. Using a mobile phone is a fast way to document as-built conditions for most LOD 200-300 projects, following the BIMForum LOD Specification. For LOD 400 or legal boundary work that needs survey-grade accuracy and control-point registration, you still need a terrestrial scanner and external registration software.
Pre-Survey Planning
A successful capture begins before you even leave the office. Skipping or rushing the planning stage is the main reason mobile survey projects face problems later on.
Step 1: Define the deliverable and accuracy requirement. The accuracy you need determines the method you use. For as-built documentation, existing conditions drawings, and LOD 200-300 BIM models, mobile capture is typically sufficient. For legal boundary surveys, control-point registration, or LOD 400 structural or MEP coordination, you need a terrestrial scanner with GCP-registered control and external registration software.
The National Society of Professional Surveyors (NSPS) publishes model standards for surveying practice. For any work that will be certified or submitted as a legal survey, those standards apply, and mobile capture alone will not meet them. In addition to point cloud or CAD deliverables, legal surveys typically require formal field notes, documented measurement logs, signed surveyor’s certificates, boundary sketches, and completion of any jurisdiction-specific forms. Teams should coordinate in advance to ensure that all required legal documentation is prepared in accordance with local regulations and client or municipal requirements.
Step 2: Plan your capture. Review the floor plan or site drawing before you arrive. Look for areas with limited sightlines, like columns, alcoves, or equipment rooms. Also, watch for reflective surfaces, glass, or very dark materials, as these can cause gaps in the scans.
Step 3: Confirm equipment and conditions. Equipment checklist for a mobile LiDAR capture:
- Fully charged device, plus a portable battery if the site is large
- Polycam app installed and updated
- Adequate lighting plan for interior spaces
- Site access confirmed and safety requirements noted
Step 4: Decide on your coordinate reference system early. If your deliverable needs real-world coordinates for GIS or site positioning, choose now whether to use ground control points from a GPS unit or align to a known CAD system after capture. This decision affects your export format and which external tools you will need. Polycam uses a local coordinate system, so GCP registration happens later in tools like CloudCompare or QGIS. If you have a Business or Enterprise plan, you can export a georeferenced LAS file directly from Polycam using location services, which is easier if you do not need survey-grade accuracy.
On-Site Capture with Polycam
Step 1: Set up your capture mode. Open Polycam and choose Space mode for interior spaces and detailed surfaces. For most site surveys, Space mode is the quickest and most practical option.
Step 2: Start scanning. Walk at a steady pace and keep your device pointed at the surfaces you want to capture, instead of moving it side to side.
For interiors, it helps to scan room by room. Try to capture each room in one pass, adjusting your height as you go to cover both the floor and the ceiling, rather than making separate passes.
For exterior facades, walk parallel to the building and stay within range, which is about 3 to 6 feet, with a maximum of around 16 feet (5 meters). To capture vertical features like window reveals, columns, or downpipes, angle your device toward them as you walk by.
Step 3: Focus on important features for your deliverable. Mobile scanning only records what it sees and does not interpret objects. If you need to capture items such as pipe runs, structural columns, or floor joints, make sure to scan them carefully during your sweep. Do not assume a general scan will pick them up.
Real-Time QC: What to Check Before Leaving Site
If you leave the site without checking your capture, you’ll likely have to come back. This is the most common reason for repeat visits.
Step 1: Review the mesh preview in Polycam. After capture, Polycam processes a mesh preview on-device. Check it against your floor plan or site sketch:
- Are there obvious holes in areas you know you captured? If so, scan that area before leaving.
- Do corners register cleanly, or do walls appear doubled or blurred? Doubling usually means the device moved too fast through that area.
- Do floor and ceiling planes look flat and continuous, or are they wavy? Waviness in planar surfaces is a sign of motion artifacts and may require a re-scan.
Step 2: Check your coverage against your planned capture zones. Compare the mesh preview to your capture plan. If any rooms or areas look thin or noisy in the preview, they will likely produce lower-quality point clouds. Re-scan these areas if they are important for your deliverable.
Step 3: Make a note of any areas that will need extra processing. If you notice spots with poor coverage, like glass walls, very dark floors, or shadowed alcoves, write them down before you leave. These areas may need a re-scan or a note in your deliverable explaining the limited coverage. If you have a Business or Enterprise plan, Polycam's Virtual Walkthrough tool lets you overlay original capture images onto the 3D model, which can be a helpful reference alongside the point cloud.
Post-Capture: Cleanup and Export as Point Cloud
Step 1: Process your scan. The time it takes in Polycam depends on the size of your scan. For larger scans, you can use Polycam's cloud processing instead of processing on your device.
Step 2: Crop and clean your point cloud. Use Polycam's crop tools to remove geometry outside your area of interest, such as the sky in an exterior scan, nearby buildings you are not documenting, or ground noise beneath a floor slab.
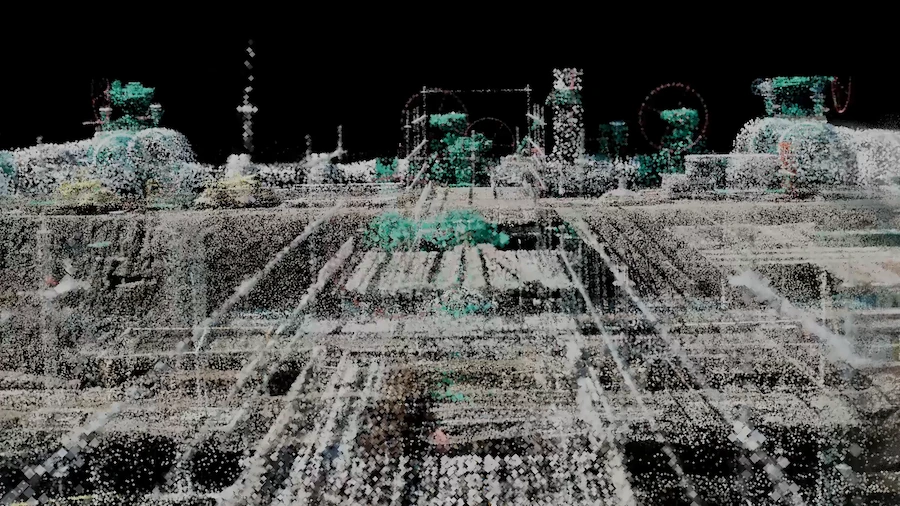
Step 3: Export your file in the right format. For AEC workflows, use LAS or LAZ. LAS is the standard format for LiDAR point clouds and is supported by tools such as CloudCompare, QGIS, Autodesk ReCap, and Civil 3D. LAZ is a compressed version of LAS, typically 7-20% of the original size, with no data loss.
Registration and Alignment: Handoff to External Tools
Polycam captures data using a local coordinate system. It does not handle GCP registration or ICP alignment on its own. If your deliverable needs real-world coordinates, alignment to a control network, or merging multiple scans with precise overlap, you will need to do this in an external tool after exporting the point cloud.
Step 1: Load your Polycam LAS export into CloudCompare or QGIS. CloudCompare is a free, open-source tool for processing point clouds and fully supports reading and writing LAS files. It is commonly used for manual registration and fine alignment of point cloud data using ICP.
CloudCompare provides several ways to register point clouds: manual bounding-box centering, picking matching points, and automatic fine registration with the Iterative Closest Point (ICP) algorithm. The ICP tool finds the best fit between two overlapping clouds, but it works best when the clouds are already roughly aligned. It cannot do coarse registration from the beginning.
Step 2: Start with coarse alignment. Before using ICP, align the clouds by picking matching points in CloudCompare (Align > Point Pairs Picking). Choose at least three points in each cloud, such as column corners, wall junctions, or other clear features. CloudCompare will calculate and apply the transformation to roughly align the clouds.
Step 3: Run ICP for fine registration. Once the clouds are roughly aligned, go to Tools > Registration > Fine Registration (ICP) in CloudCompare. The software will adjust the alignment to minimize the distance between the two clouds. The result is a 4x4 transformation matrix that CloudCompare displays in the console and applies to your point cloud.
Step 4: Register with GCPs if you need real-world coordinates. Collect ground control points using a GPS unit or total station, then load your Polycam LAS export into CloudCompare or QGIS and use the GCPs to georeference your point cloud. QGIS can import LAS files directly and manage point cloud layers along with vector GCP data.
Handoff: Which Format Goes Where
Site Survey Workflow Checklist
Pre-survey:
- Deliverable type and accuracy requirement confirmed
- Capture zones mapped against the floor plan or site drawing
- Equipment checked and charged
- Lighting plan for interior spaces
- CRS and GCP strategy determined
On-site:
- LiDAR or photogrammetry mode selected for the conditions
- Steady sweep pace maintained
- Consistent overlap between adjacent rooms and zones for reliable registration
- Key features captured with deliberate attention within the same pass
- Mesh preview checked before leaving the site
- Re-scan triggered for any obvious gaps or artifacts
Post-capture and handoff:
- Capture processed (on-device or cloud)
- Point cloud cropped to the area of interest
- Exported as LAS or LAZ
- Loaded into CloudCompare or QGIS for registration if needed
- CRS set if geo-registration is required
- Delivered in downstream format per the handoff table above
FAQ
What is included in a site survey workflow checklist?
A full site survey workflow has three phases: pre-survey planning (deliverable type, accuracy needs, equipment, lighting, and CRS strategy), on-site capture (sweep patterns, coverage, real-time quality checks), and post-capture handoff (cleanup, export format, registration if needed, and delivery). The checklist above covers all these phases.
What are the best tools for fast site capture?
For interior as-built documentation, Polycam is one of the quickest options. For large outdoor sites, Polycam can process drone footage for aerial mapping. For high-accuracy multi-scan registration, terrestrial scanners from Trimble or Leica Geosystems are still the professional standard. The best tool depends on your accuracy needs and deliverables.
What are the alternatives to LiDAR scanners for site surveys?
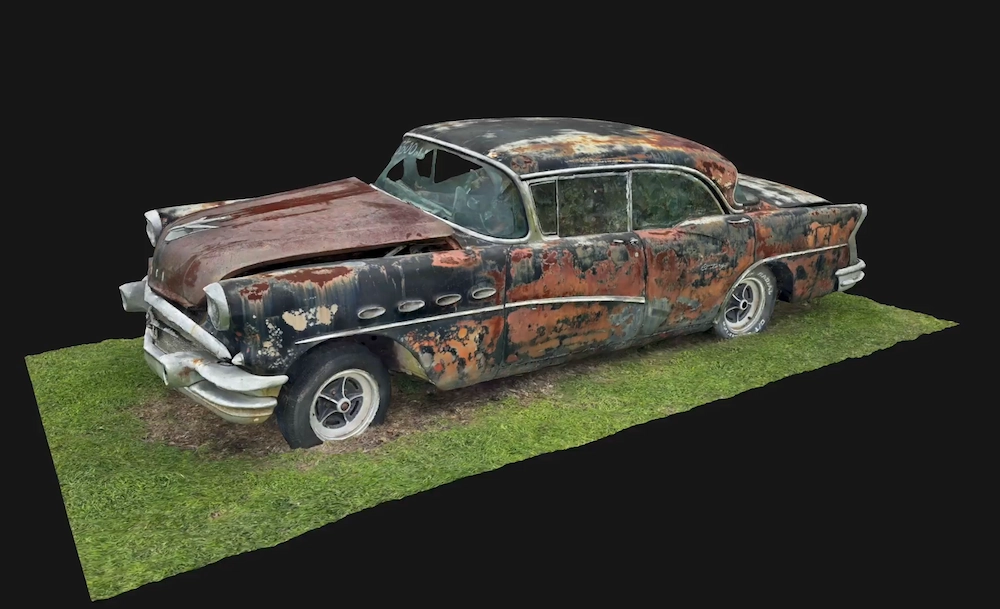
Photogrammetry, which uses overlapping photos to create a 3D model, is the main alternative. Tools like Pix4D, Agisoft Metashape, and Polycam's Object mode use this method. Photogrammetry can produce detailed, color point clouds and 3D meshes, but it needs more controlled lighting and takes longer to process. For interiors, Matterport combines LiDAR and structured light. Each method has its own trade-offs in accuracy and workflow, depending on site conditions.
How can I quickly document as-built conditions?
For most interior projects, the fastest way is to use your phone: scan the space, process the data, export it as a LAS file, and load it into your CAD or BIM tool the same day. The time required depends on the area's size and complexity, and there is no standard benchmark. In contrast, a full terrestrial scanning job usually needs a specialist and more office processing time.
What are the steps in a scan-to-BIM workflow?
The main steps are: capturing the site, cleaning up and exporting the point cloud, registering and aligning if you have multiple scans or need real-world coordinates, converting to RCS or RCP using Autodesk ReCap, linking the data into Revit for BIM modeling, and creating models at the right LOD from the point cloud.
Does Polycam register to ground control points?
No. Polycam uses a local coordinate system. To tie your point cloud to surveyed control points with real-world coordinates, use an external tool such as CloudCompare or QGIS after exporting the Polycam LAS file. If your deliverable needs real-world coordinates, plan for this extra step before your site visit and collect GCPs with a GPS unit or total station.
How do I load a Polycam point cloud into CloudCompare?
First, export your Polycam scan as a LAS file. Open CloudCompare, go to File > Open, and select your LAS file. CloudCompare can read LAS files directly. If your coordinates are very large (from a geo-registered export), CloudCompare will ask you to apply a global shift to bring the cloud closer to the origin. After that, you can crop, clean, register with ICP, or export in any format CloudCompare supports.