Every architect knows the frustration of a site survey sketch missing a crucial dimension. This workflow is designed to solve that problem. It has five stages: decide the level of detail before leaving the office, capture on-site using the right mode for each part of the building, check your work before leaving, process and export in the format your design software needs, and model from the capture in Revit or AutoCAD. Firms using this approach have reduced on-site capture time by 75 percent compared to manual methods.
The Five Stages at a Glance
Phase 1: Scope the LOD Before You Leave the Office
The costliest mistake in reality capture happens before you even start: capturing at the wrong level of detail for your project’s needs.
What LOD does an architectural scan need?
Level of Development (LOD) tells you how detailed each part of your model should be. BIMForum’s LOD Specification sets this for each element, not just the whole model. For planning, the main difference is between LOD 200 and LOD 350. Space planning, feasibility studies, and most renovation designs use LOD 200 to 300. Structural coordination and fabrication work need LOD 350 or higher, which often requires more precise tools than mobile capture can provide.
Before you visit the site, confirm the LOD target with the person responsible for the model. Mobile capture works for LOD 200 and most LOD 300 tasks. If some elements need LOD 350 or 400, list them separately. For those, you’ll need a terrestrial scanner like a Leica BLK360 or extra manual measurements. Knowing this ahead of time can save you from making a second trip.
This is also when you decide what you don’t need to scan. For example, if a renovation only affects two floors, you can skip scanning the basement in detail.
Phase 2: Capture with the Mode That Fits Each Part of the Building
Capturing a building isn’t a single task; it’s really three different ones. The workflow is fastest when you use the right mode for each surface.
Which capture mode should architects use for each part of a building?
For interiors, use Space mode. Walk through each room slowly with the Floor Plan toggle on. The scan will create a mesh, a virtual walkthrough, a 3D floor plan, and a measured 2D plan at the same time. It automatically detects walls, doors, windows, fixtures, and furniture, and you can scan several floors in one session. If the camera misses something, like the wall behind a built-in wardrobe, add it during editing instead of guessing later.
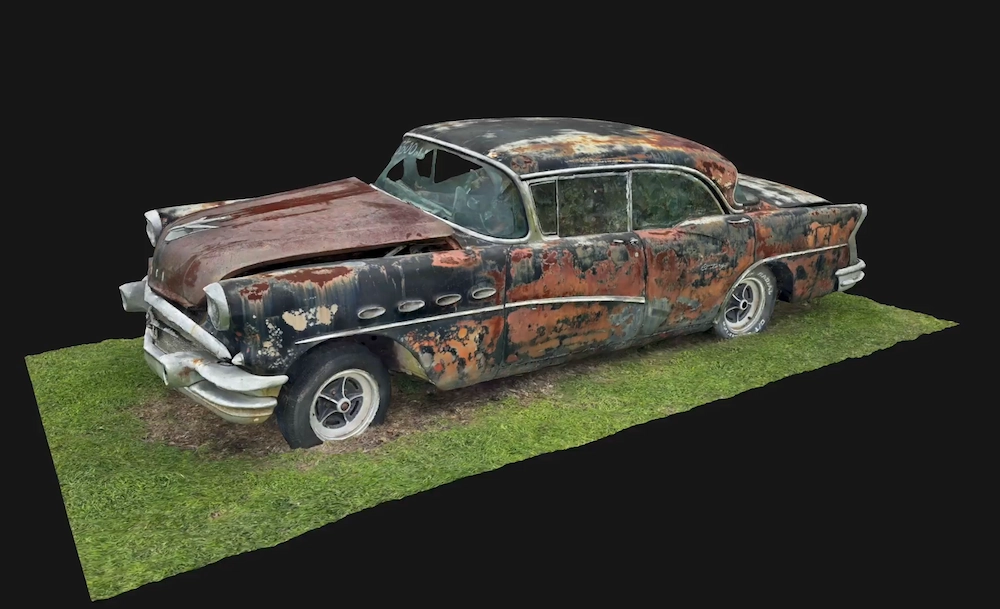
For complex details, use Object mode photogrammetry. Features like cornices, column capitals, or carved stonework need a denser scan than a regular room scan gives. Walk around the detail, capture it from different angles, and process it as a separate model. This is especially important in historical projects, where the detail is the main deliverable.
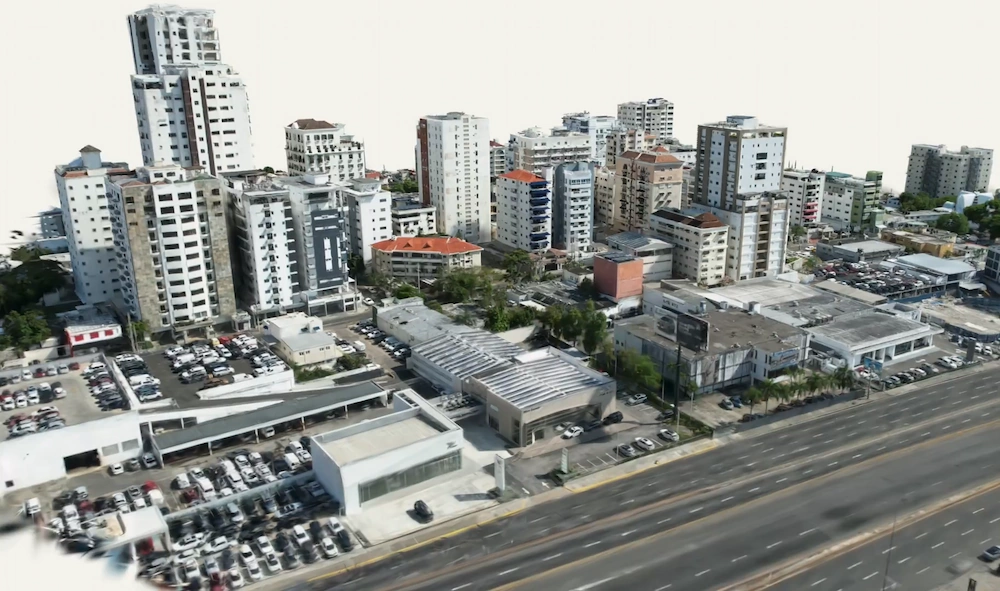
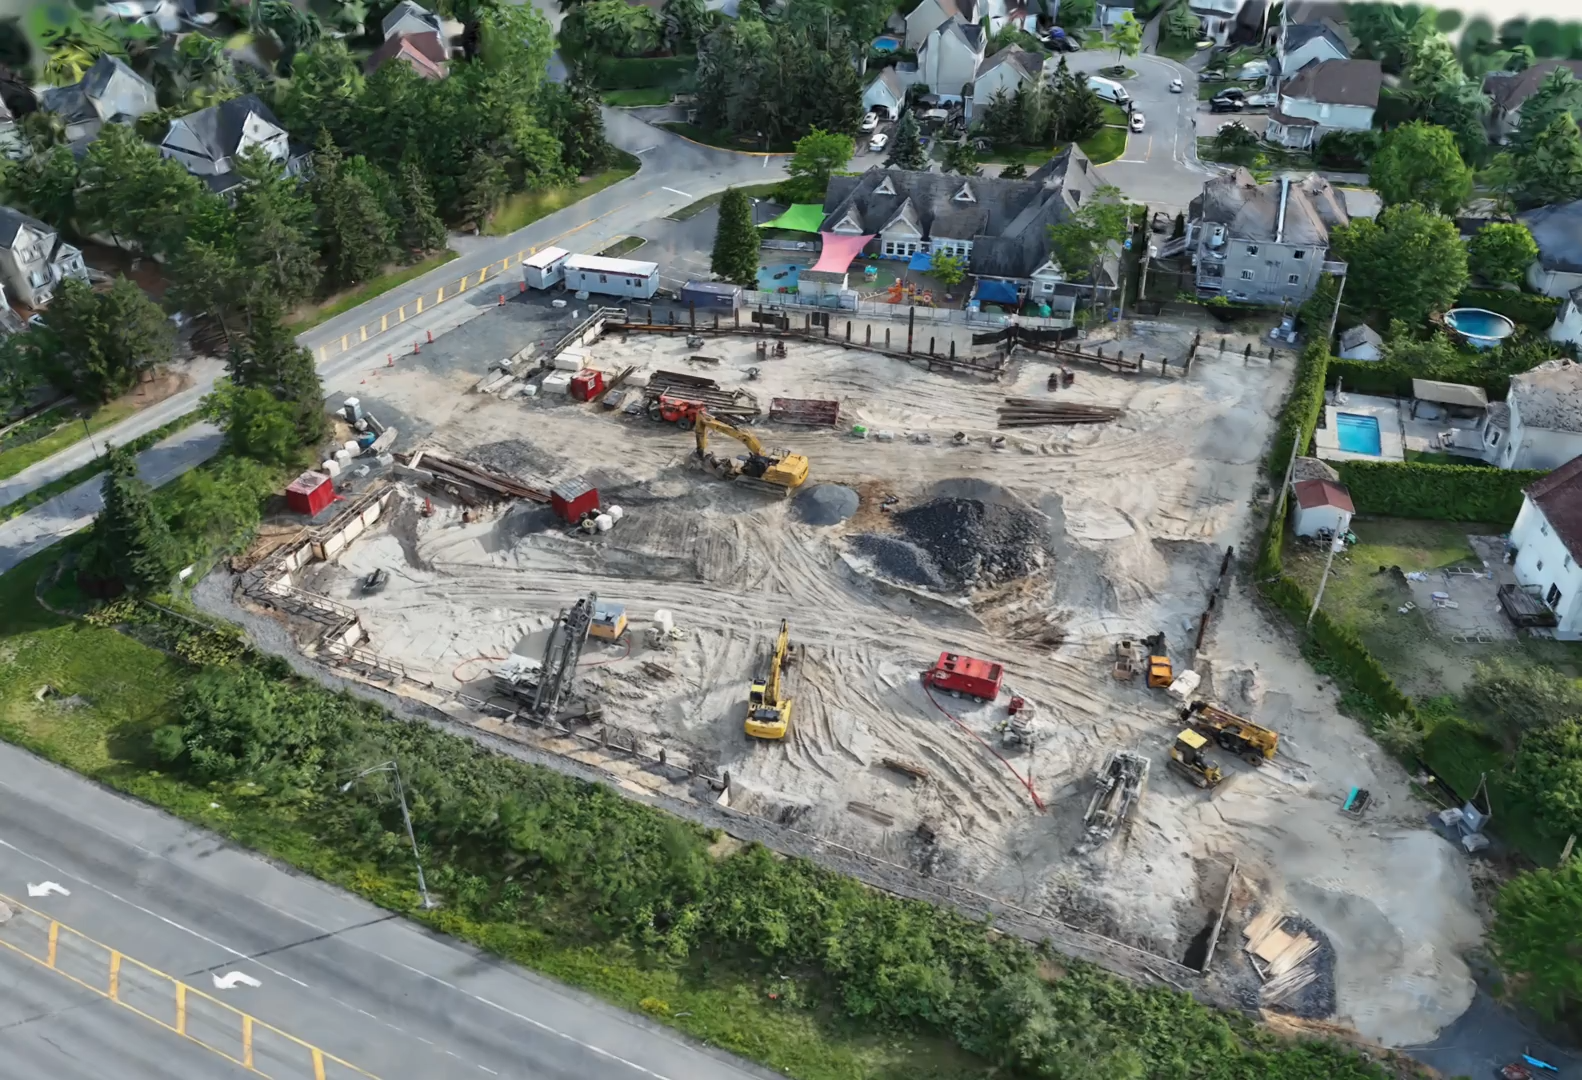
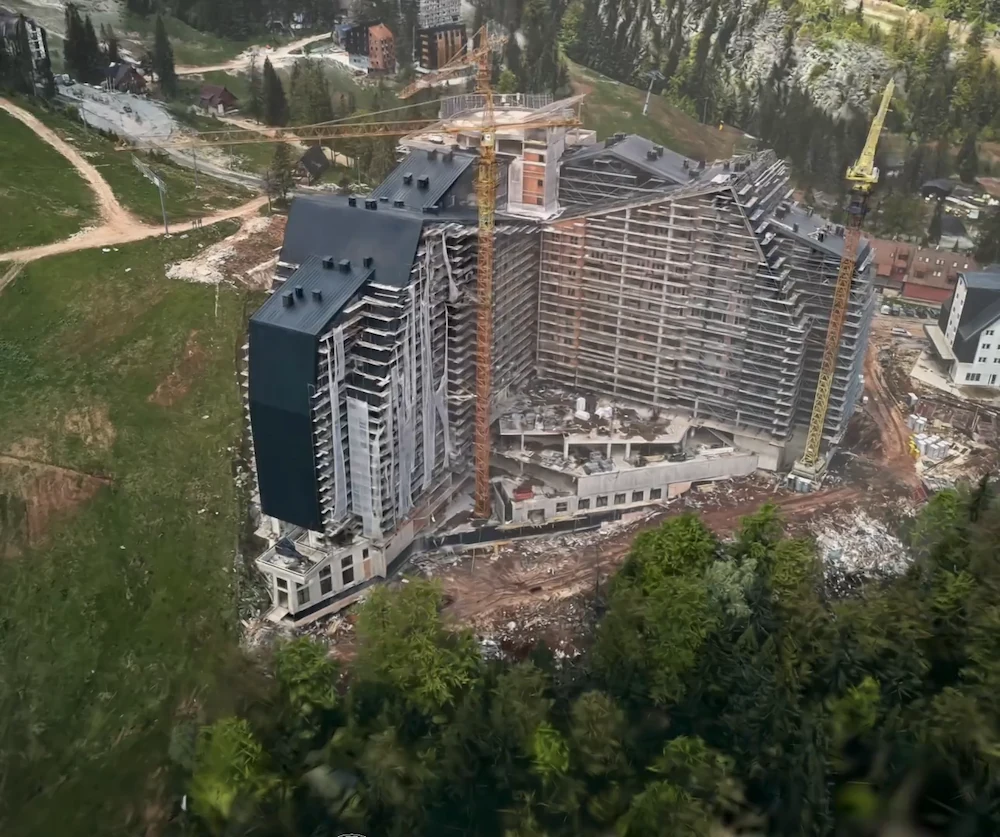
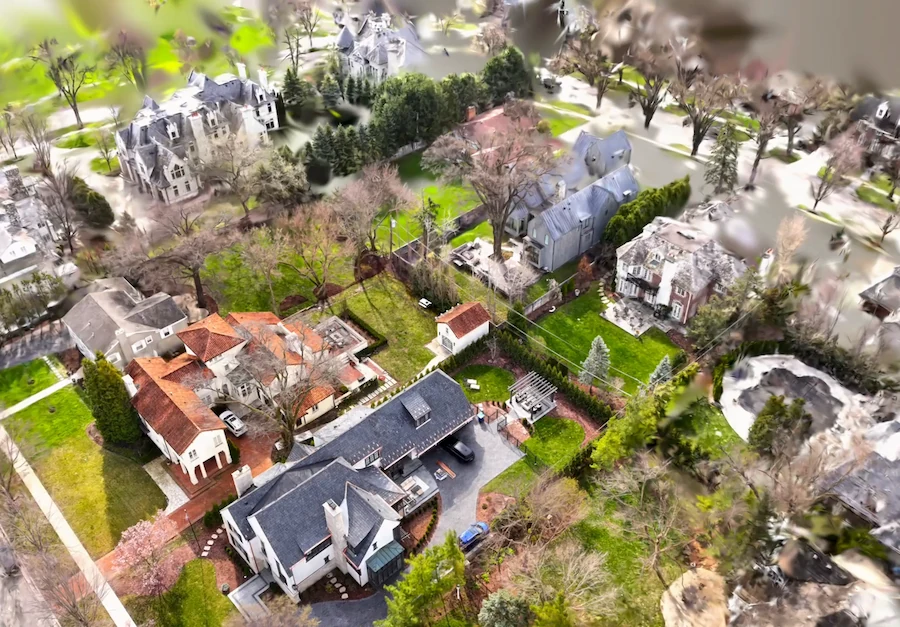
Use a drone for roofs and the site. Ground-level scans often miss roof planes because of angles and hidden slopes. Fly a double grid with plenty of overlap, and add angled passes for fascia and eaves. This method also supports automated roof reports if you need roof measurements. You can capture site boundaries and the surrounding area in the same flight.
Using one tool for all three modes keeps your outputs in one library, under one subscription, and lets you combine them into a single scene instead of splitting them across different software.
Phase 3: Verify Before You Drive Away
Most architects have dealt with a wrong measurement that led to a second site visit. This phase is designed to prevent that extra trip.
How do you quality-check a 3D scan on site?
Review the mesh on the device while you are still in the building. You are looking for holes in coverage, rooms that did not close, and walls that drifted. Pay attention to wall-to-ceiling junctions, since tracking errors show up there first. Anything that looks wrong costs two minutes to rescan now and half a day to rescan next week.
Next, use a laser distometer to spot-check key measurements, especially those with structural or regulatory importance such as floor-to-ceiling heights in tight spaces, door and corridor clearances, or spans you know the engineer will ask about. Standard interior scans are usually accurate within half an inch, but complexity and device can affect this. The distometer check confirms if your scan meets your project’s tolerance. If a measurement must be exact, use the tape or laser value and note it on the capture so the modeler can see it.
Take photos of anything that might be unclear. For example, a photo of where two ceiling heights meet can settle questions back at the office before they even come up.
Phase 4: Process, Crop, and Pick the Format for Where It Is Going
Raw capture data needs to be cleaned up before it’s useful for design, and the export format depends on which software you’ll use next.
Start by cropping. Remove anything extra, like a neighbor’s property in the drone scan, a car in the driveway, or a mirror artifact that shows a phantom room. Cropping to the real building outline in the editor is much faster than making a modeler deal with unwanted geometry later.
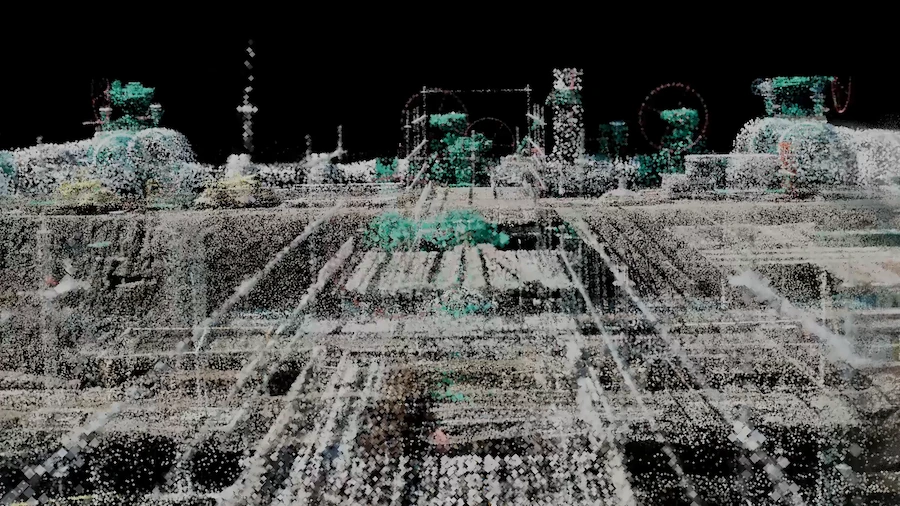
Next, export your data based on where it’s going. For Revit and Civil 3D, export as LAS and process it in Autodesk ReCap, which creates RCS or RCP files those programs can use. Remember, ReCap Pro is a separate subscription at $405 per year, or you can use Flex tokens starting at $99 if you only need it occasionally. For AutoCAD, export a layered DXF to keep walls, openings, and labels as separate, editable parts. Rhino and SketchUp use mesh formats like OBJ or FBX. For client AR presentations, USDZ files open directly on iPhones or iPads without extra software. Use CloudCompare if you need to clean up point clouds or compare scans from different dates; it works with PLY exports.
The full format logic, including what each one preserves and drops, is covered in Point Cloud Export Formats Explained.
Phase 5: Model in CAD or BIM, Present with a Link
The scan itself isn’t the final model. It’s the reference the modeler uses, and this last phase is where that reference becomes the finished deliverable.
How do you model in Revit or AutoCAD from a scan?
In Revit, import the ReCap file as a linked point cloud and model your walls, floors, and structure using it as a reference. The point cloud stays as a background layer, and you draw your BIM elements to match the LOD you set in Phase 1. For AutoCAD, use the layered DXF to refine the floor plan linework instead of redrawing it. For more details, see Scan to BIM: From Mobile Capture to Revit-Ready Model and Scan to DWG: Export Floor Plans for AutoCAD Workflows. If you’re not sure which path your project needs, check out Scan to CAD vs Scan to BIM: Which Does Your Project Need?.
How do you present a 3D scan to clients?
Presenting to clients is a separate process from modeling, and it’s usually faster than expected. Share the scan as a link so clients can view the space in their browser and leave comments directly on the model. Virtual Walkthrough adds high-resolution photos along your path, making it easy to verify conditions remotely—this feature is available on Business and Enterprise plans. For proposals, render your design inside the captured context to show clients their building with your changes, which often answers more questions than a plan drawing.
What This Replaces
How does 3D scanning compare to a tape-measure survey?
Most firms still use a workflow with a tape measure, laser distometer, clipboard, photos, and a CAD technician who pieces everything together from these sources and memory. This process takes days for any building, and the biggest problem is that missing dimensions often go unnoticed until you need them for the drawing.
Clark Nexsen, a multi-disciplinary AEC firm, reports that using scanning on their architects’ and engineers’ phones and iPads has cut on-site capture time by 75 percent compared to manual methods. Sharing captures across offices has also cut project onboarding time in half. The old equipment barrier is gone. Now, you can do this with the phone in your pocket and a subscription, instead of expensive dedicated hardware.
Terrestrial scanners are still useful, and you’ll know when you need them in Phase 1. For elements at LOD 350 or higher, hardware like the BLK360 gives millimeter accuracy that mobile capture can’t match. The difference now is that these elements are the exception you plan for, not the reason to use specialist equipment for every survey.
FAQ
What is the complete 3D scanning workflow for architects?
Five stages: scope the required LOD with the BIM team before the visit, capture on site using the mode suited to each part of the building, verify coverage and spot-check critical dimensions before leaving, process and export in the format your design software expects, then model against the capture in Revit or AutoCAD and share a walkthrough link with the client.
How do I get an architectural 3D scan into CAD?
Export a layered DXF for AutoCAD, which preserves walls, openings, and labels as editable geometry, or export LAS and convert through Autodesk ReCap for Revit and Civil 3D. Rhino and SketchUp take mesh formats such as OBJ or FBX.
Is mobile 3D scanning accurate enough for renovation architecture?
For LOD 200 and most LOD 300 work, yes. Standard interior LiDAR captures are accurate to within half an inch. For LOD 350 and above, where coordination or fabrication tolerances apply, plan on a terrestrial scanner or supplementary manual measurement for those specific elements.
Do architects still need a terrestrial laser scanner?
For most renovation and documentation work, no. For fabrication-level detail, tight structural coordination, and elements scoped at LOD 350 or higher, yes. The practical change is that the scanner is now booked for the elements that need it rather than for every survey.
How long does a scan-based site survey take?
Hours rather than days for a typical building, with interiors captured room by room in minutes each and the roof flown in a single short flight. Clark Nexsen reports 75 percent less on-site capture time compared to their previous manual methods.
What should I check before leaving the site?
Coverage holes in the mesh preview, wall-to-ceiling tracking, and laser distometer spot-checks on every dimension where structure, clearance, or compliance depends on the number. Two minutes of review on site replaces a return visit.
Can clients view the scan without special software?
Yes. Captures are shared as a browser link, and USDZ exports open natively on iPhones and iPads for AR viewing. Neither requires the client to install anything.