If you’re an architect or engineer working on an existing building, you’ve likely faced this: you need accurate measurements, the client’s drawings don’t match the site, and you have just one day to resolve it. This guide explains how to handle that efficiently using a phone-based scan, what to include in your deliverable, and how to package it for your client.
Tools for Existing Conditions Work
What Goes in an Existing Conditions Deliverable
Before you start any survey, make sure you and your client agree on what you’ll deliver. Different clients and projects need different things. If you send a full point cloud to someone who only wanted a floor plan, it wastes their time. If you send a floor plan to an MEP engineer who needed service routing, it wastes everyone’s time.
A complete existing conditions deliverable typically includes some combination of the following:
Dimensioned floor plans. The minimum for most renovation projects. Plans show walls, openings, column grid, and major fixed elements at a confirmed scale, with correct dimensions and clearly explained symbols in a standard format.
Reflected ceiling plans. Required when services are exposed or when ceiling height changes across a space. These show overhead structure, ductwork routes, lighting positions, and ceiling datum heights.
Elevations and sections. For projects with significant vertical complexity: atria, exposed structure, changes in floor level, complex facades. Not always required for simple single-story work.
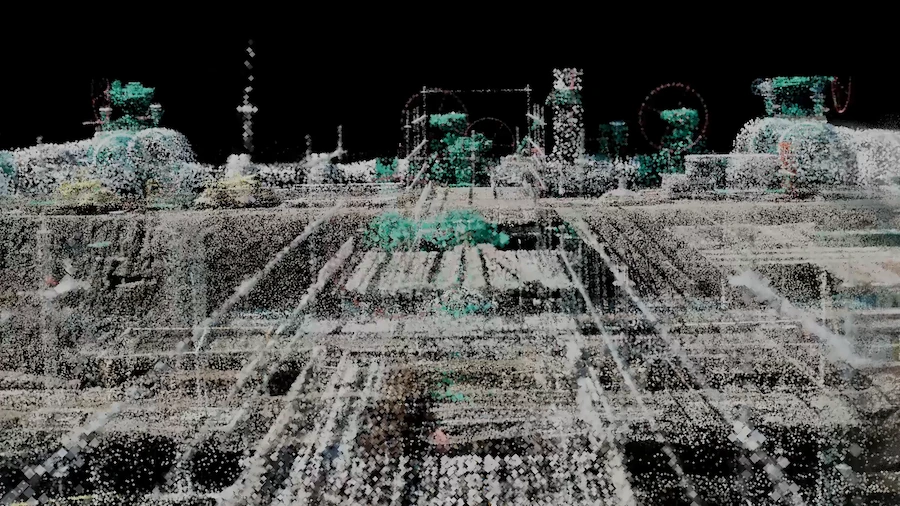
Point cloud file. Include the raw LAS export from Polycam with your drawings. Even if the client only requested floor plans, having the point cloud lets you verify any disputed measurements without needing to go back to the site.
Site photos. Take reference photos of each main space, important junctions, complex areas, and anything that didn’t scan well. The design team will use these when something in the drawings seems off. If you have a Business or Enterprise plan, Polycam’s Virtual Walkthrough tool lets you move through the original images on the 3D model, which is usually more helpful than a folder of static photos.
Sharing captures. You can share a Polycam capture directly with a link. If your client has a Polycam account, they can explore the 3D model, take their own measurements, and use Virtual Walkthrough to see the original images in context. This is especially helpful for clients working on space planning or fit-out design.
Scanning Protocol by Building Type
How you capture a building depends on its size and complexity. Here’s how to handle different types.
Residential and Small Commercial (up to 500 sq m)
One person can usually capture a residential or small commercial building in a single day. Using Space mode in Polycam, most of these buildings can be scanned in just a morning.
Step 1: Walk the full building before scanning. Note rooms that will be hard to capture (dark bathrooms, tight utility areas), features that matter (structural walls, chimney breasts, roof lights), and anything that won't scan cleanly (mirror-clad walls, glass partitions).
Step 2: Capture room by room in Space mode. Start in a corner of the first room, aiming the device at the opposite corner. Move your whole body through the space at a steady walking pace, holding the device with two hands. Scan from floor to ceiling on all walls, moving the device up to capture ceiling corners and edges. Complete each room fully before moving to the next. If tracking is lost, stand still and slowly pan the device until the app relocates. Start on the ground floor and complete that level before moving to stairs; move slowly through stairwells to maintain tracking.
Step 3: Capture the exterior. Walk along each facade, staying within Polycam’s effective sensor range: ideally 3 to 6 feet away, and never more than 16 feet (5 meters) from the surface. Slow down at corners to ensure continuous coverage between adjacent facades. For upper stories out of range, use a laser distance meter to measure overall heights.
Step 4: Review your scan before leaving. Compare the mesh preview to your floor plan sketch and re-scan any rooms where you see clear gaps.
Mid-Rise Commercial (500 to 5,000 sq m)
Divide into zones by floor or department. Allocate one session per floor where possible, capturing each floor as a separate export and registering them in CloudCompare or Autodesk ReCap afterward.
For large open-plan floors, apply the same approach as smaller spaces: start in a corner, move at a steady walking pace, and scan from floor to ceiling. MEP-heavy areas (plant rooms, risers, ceiling voids) need deliberate upward-angled movement to capture overhead services.
Matterport covers similar territory for visual documentation and leasing walkthrough use cases, with structured point cloud and mesh exports available through a paid add-on. For mid-rise commercial work where the deliverable needs to travel into AutoCAD or Revit without additional hardware or add-on costs, Polycam's LAS export, included in its standard workflow, is the more practical output.
Industrial (large floor plates, complex MEP, overhead racking)
Industrial buildings require more careful planning before you begin. Because of overhead racking, dense services, and tall spaces, the path you take through the building is more important than in a typical office or residential project.
Plan your capture route before starting: walk each aisle in turn, keeping the device angled upward to capture racking and overhead services along the way. For plant rooms and service areas, move slowly and tilt the device to capture geometry at ceiling level. For very large buildings (over 5,000 sq m), consider supplementing Polycam captures of the general floor area with a Leica Geosystems or Trimble terrestrial scanner for the plant rooms and primary MEP distribution areas where density and accuracy matter more.
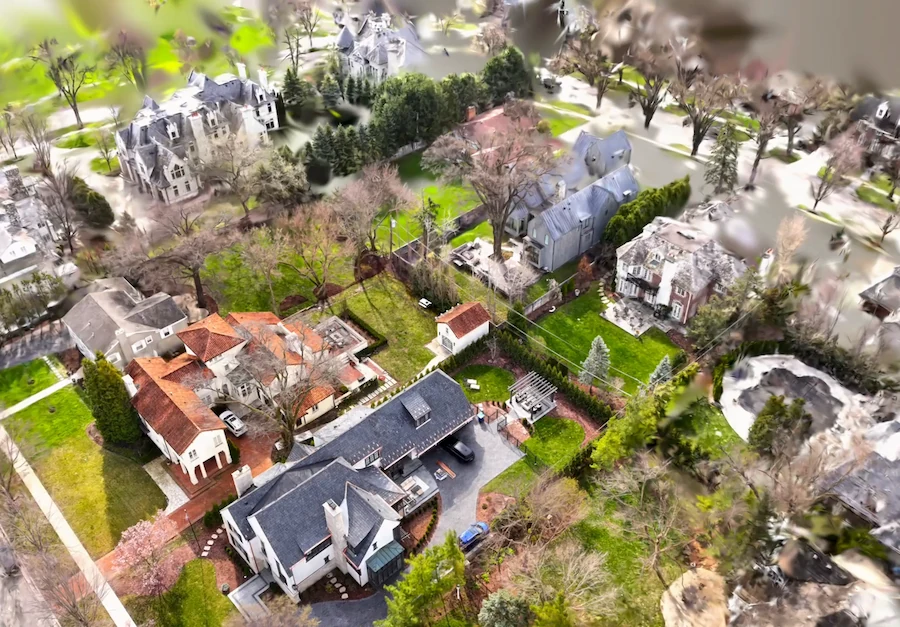
For large exterior sites or roof surveys, use drone captures processed in Polycam. Polycam works with footage from most commercial drones and can add aerial geometry that a phone-based scan can’t reach.
Documenting Structural, Architectural, and MEP
The scope of the survey determines what gets captured and at what level of detail. Here's how the three main disciplines typically break down.
Structural. Column grid, column sizes (approximate), beam orientations and depth, slab type and thickness where visible, shear walls and core walls. For retrofit and refurbishment work, the locations of structural elements are usually the most critical dimensions in the deliverable. Capture structural elements deliberately: don't assume a general room sweep caught a column buried behind fit-out.
Architectural. Wall locations and thicknesses (or clear opening widths for load-bearing walls where structural information isn't available), door and window positions and sizes, floor-level changes and step positions, ceiling heights, and materials where relevant to the scope.
MEP. Overhead pipe runs, duct routes, conduit and cable tray, plant positions, service riser locations, access panel positions. Scan ceiling-level services with deliberate upward-angled passes in a single session. Note what's inside ceiling voids or cladding and therefore not capturable from visual scanning.
For MEP documentation, Polycam’s Space mode records what you can see. Services hidden inside voids, duct casings, or structural elements can’t be captured without opening them up. Make sure to clearly note these limitations in your deliverable.
Producing the Floor Plan and Elevation Set
Floor Plan
Step 1: Generate the floor plan in Polycam. After processing a Space mode capture, Polycam generates an automatic 2D floor plan derived from the scan geometry at a default cut plane. Review it against your site notes and photos.
Step 2: Export as DXF. Export the floor plan from Polycam as a DXF. This is the input for CAD cleanup.
Step 3: Open in AutoCAD and check units. Before doing anything else, check the drawing units in AutoCAD (Format > Units). Confirm the unit matches your project. If the drawing has landed at an unexpected scale, set the correct units and use SCALE to correct.
Step 4: Clean up the line work. Join any broken wall lines, remove duplicates and artifacts, close wall corners that didn’t scan well, and check door and window openings against your site photos. AIA’s quality-control guidance for working drawings says construction documents are the main way clients judge an architect’s work, so drawings should be free of conflicts and coordinated throughout the set.
Step 5: Add dimensions, room labels, and title block. Dimension all rooms, add a north point and scale bar, add room labels, and apply your firm's title block. Check all dimensions against your site notes and photos to ensure plausibility.
When Polycam's automatic floor plan is sufficient: space planning reference, leasing documentation, FM room schedule, quick client reference.
When it needs CAD cleanup: any drawing going to a client, consultant, or contractor; any drawing used for design; any drawing submitted to a building authority.
Elevations
For projects where elevations are in scope, generate them from section cuts through the point cloud in CloudCompare or directly from the RCS file in Revit. For simple single-story work, key dimensions (floor-to-ceiling height, window sill and head heights, door opening heights) can be extracted directly from the Polycam measurement tool and drafted manually in AutoCAD.
QA and Acceptance Criteria
A drawing that leaves the office with an error is harder to fix than one that gets caught before it's sent. Run through these checks before delivery.
- Cross-reference every drawing against site photos. Each room should have a reference photo. Check that walls, openings, columns, and services shown in the drawings match what the photos show.
- Check closure of all room outlines. Every room boundary should close. Open wall lines are a common artifact of the DXF export and need to be corrected before delivery.
- Verify critical dimensions using a laser distance meter. For any dimension that drives a design decision (structural bay width, clear opening for an accessible route, equipment clearance), verify it against a laser distance-measuring reading taken on site. Polycam's +/-½ inch accuracy on standard interior captures is sufficient for most documentation work, but critical dimensions warrant a manual check.
- Check layer organization and file cleanliness. Confirm that all line work is on the correct layers, all annotation is on the annotation layer, and no geometry is on layer 0. A clean file is easier for the client or consultant to work with.
- Check the point cloud file opens correctly. Open the LAS export in CloudCompare or load it into ReCap to confirm it hasn't corrupted on export and that the coordinate system is as expected.
Client Deliverable Packaging
The best deliverable is one that gives your client everything they need up front, so they don’t have to ask follow-up questions.
The drawing set. PDF for review, DXF or DWG for CAD use. Use a consistent file naming convention so files are identifiable without opening them. If the client uses Autodesk, Bluebeam, or Procore for document management, confirm their preferred format and naming convention before delivering.
The point cloud. Include the LAS file with a brief note about the coordinate system (local or georeferenced), units, and date of capture. Even if the client didn’t ask for it, include the point cloud, as it helps prevent revision requests later.
Site photos. A folder of reference photos organized by space or zone. Name them consistently so the design team can find what they're looking for without opening every file.
Sharing captures. Share the Polycam capture directly and include the link in the cover email. The recipient can navigate the 3D model and take measurements directly from the shared capture.
A brief scope note. Write a short paragraph confirming what you surveyed, the survey date, what was left out or couldn’t be captured, and the LOD of the output. When clients know exactly what they received, it’s easier to answer questions later.
What to charge for. For small buildings, existing conditions surveys are usually billed on a time-and-materials basis. For larger projects, use a fixed fee based on floor area. Include the point cloud and photos as standard, not as extras. Clients who get the full package tend to have fewer questions later.
Handling revisions. The most common reason for a revision is when a dimension doesn’t match what the design team measures later on site. With the point cloud, you can check the measurement remotely instead of going back. If the difference is real (for example, something changed after your survey or an area wasn’t captured well), note it in a revision note and update the drawing.
FAQ
What are the best tools for existing conditions surveys? For small to mid-size buildings, Polycam in Space mode is the most efficient way for one person to capture, process, and deliver a floor plan in a single day. It exports LAS files for point-cloud handoff, DXF files for CAD use, and automatically generates a 2D floor plan. For larger buildings or when higher accuracy is needed, terrestrial scanners like those from Leica Geosystems or Trimble produce denser, more precise point clouds. Matterport excels at visual walkthroughs and leasing documentation, offering structured CAD-ready exports through a paid add-on and dedicated camera hardware. For large exterior sites, drone capture processed in Polycam adds aerial geometry to supplement ground-level scans for buildings with complex roofs.
How do you document as-built conditions fast? The fastest workflow for a single-person site visit is to capture in Polycam Space mode, check the mesh preview before leaving, export the floor plan as DXF and the point cloud as LAS, clean up the line work in AutoCAD, and deliver the package the same day. For a residential building or a single commercial floor plate, this is achievable in one day from site visit to client delivery. See Polycam's Field-to-Office Workflow guide for the full process.
What are the alternatives to laser scanning for existing buildings? Photogrammetry with overlapping photos is the main alternative to scanning. Polycam’s Object mode handles close-range photogrammetry, while a laser distance meter (such as Bosch GLM or Leica DISTO) is best for quick single measurements. For large exterior sites, drone photogrammetry in Polycam delivers detailed aerial geometry. Ultimately, the right tool depends on project size, accuracy needs, and downstream use. For most floor plans and CAD deliverables, Polycam’s Space mode is the fastest and most practical choice.
What are the top apps for site capture and floor plan creation? Polycam's Space mode produces a 3D scan and an automatic 2D floor plan from a single capture session, with DXF export for CAD use. Magicplan focuses specifically on floor plan generation and is optimized for room-by-room interior documentation. Twindo delivers a CAD file from an interior scan via a processing service. RoomScan Pro by Locometric supports both interior and exterior scanning with DXF, PDF, and IFC export, among other formats. For full-building documentation that feeds into Revit or CAD at LOD 300, Polycam's broader export range and point cloud output make it the more complete solution.
How do you record existing MEP layouts? Capture ceiling-level services by moving upward in Space mode as you work through the room. Give mechanical rooms extra time and move slowly so the device has a chance to register dense geometry at ceiling level. For services concealed inside ceiling voids or duct casings, note them as not captured in the deliverable and investigate separately if they're in scope. For critical MEP routing where accuracy matters (LOD 350 coordination), supplement the Polycam capture with a terrestrial scanner for those specific areas.
What should be included in an existing conditions deliverable? At minimum: dimensioned floor plans, site photos of each space, and a scope note confirming what was surveyed and what was excluded. For most renovation and retrofit projects, also include the point cloud file (LAS), a shared capture for client reference, and reflected ceiling plans if services are in scope. A clear file-naming convention and format agreed with the client before delivery reduce revision requests. See the deliverable packaging section above for the full checklist.
Do I need a licensed surveyor to produce existing conditions documentation? This varies widely by jurisdiction, so always check with your local licensing board. Non-certified use cases like renovation planning, space planning, facilities management, or leasing documentation usually do not require a licensed surveyor. However, if your deliverable involves property lines, land boundaries, or anything that requires legal certification, a Professional Land Surveyor is typically required, and regulations are much stricter, regardless of who else is on the project.