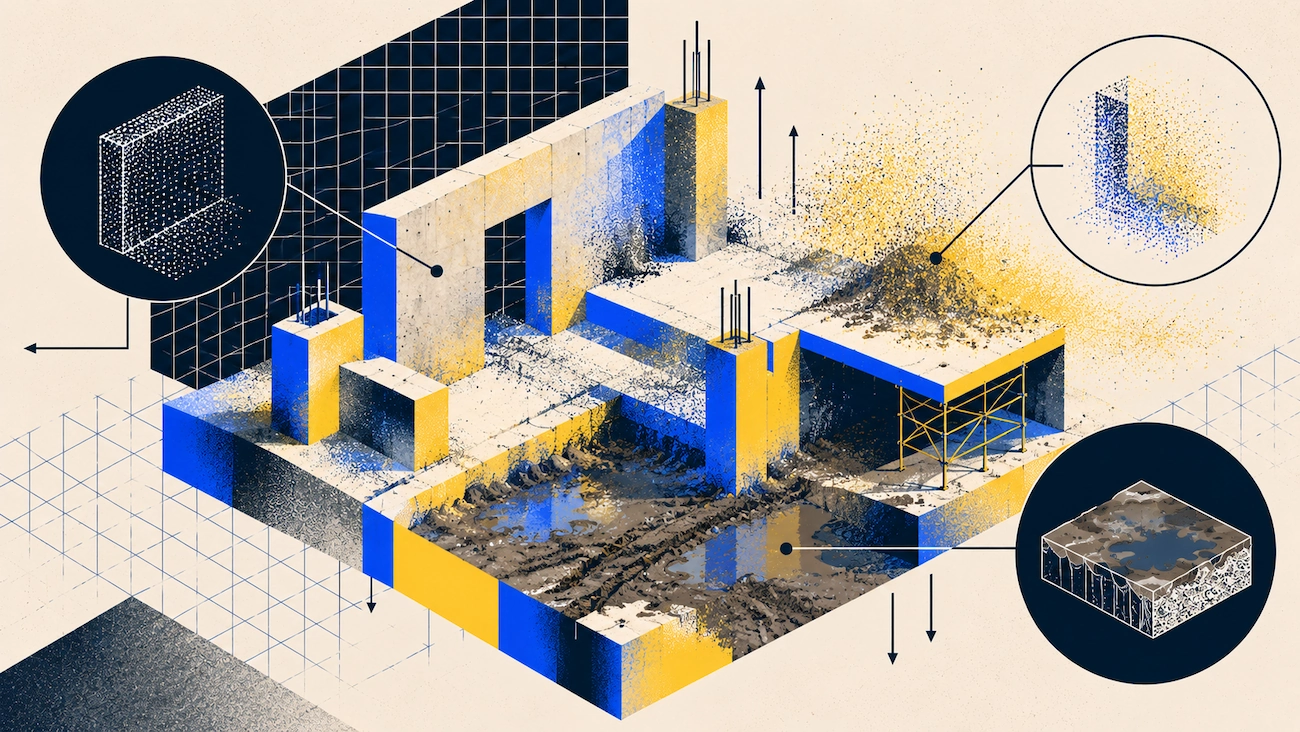
Dust and mud affect scans in different ways. Dust creates false points and makes it harder to get good data from real surfaces behind it. Mud changes the surface you are measuring. This guide explains how each one impacts your data, how to plan your scans based on site conditions, and what OSHA’s silica rules mean for anyone using a phone to scan.
Two Different Problems
What Dust Does to a Capture
Dust harms a scan in two ways, and lab tests on automotive LiDAR sensors have measured both effects.
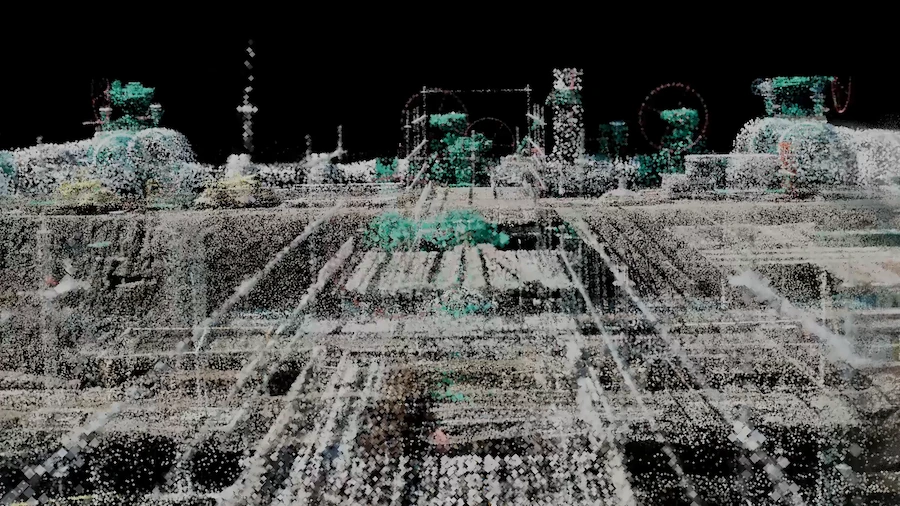
Dust adds points that do not exist. Particles reflect the scanning beam, so the dust cloud shows up as extra points. Tests with flour, cement, and calcium carbonate showed dust forming its own clusters in the point cloud. Researchers call this false obstacle detection, like seeing a soft, fake object in open space.
Dust also weakens real points. The same tests found that dust clouds reduce both the strength and number of returns from real objects behind them. For example, a wall behind dust is not just hidden—it appears thinner and dimmer than it should, which can be harder to notice than obvious false points.
Photogrammetry also struggles with dust. It depends on matching the same visual details across overlapping images. When dust moves between frames, features do not match, and the reconstruction becomes thin or fails.
Cleaning up dust in scans is harder than most other problems. Manually removing dust means guessing which points are real, and thin dust clusters can look just like thin real surfaces. Automated ways to spot airborne particles in point clouds are still being researched and aren't available for phone-based site scans.
What Mud and Wet Ground Do
Mud causes different issues. The ground changes as work progresses, and standing water doesn't scan well.
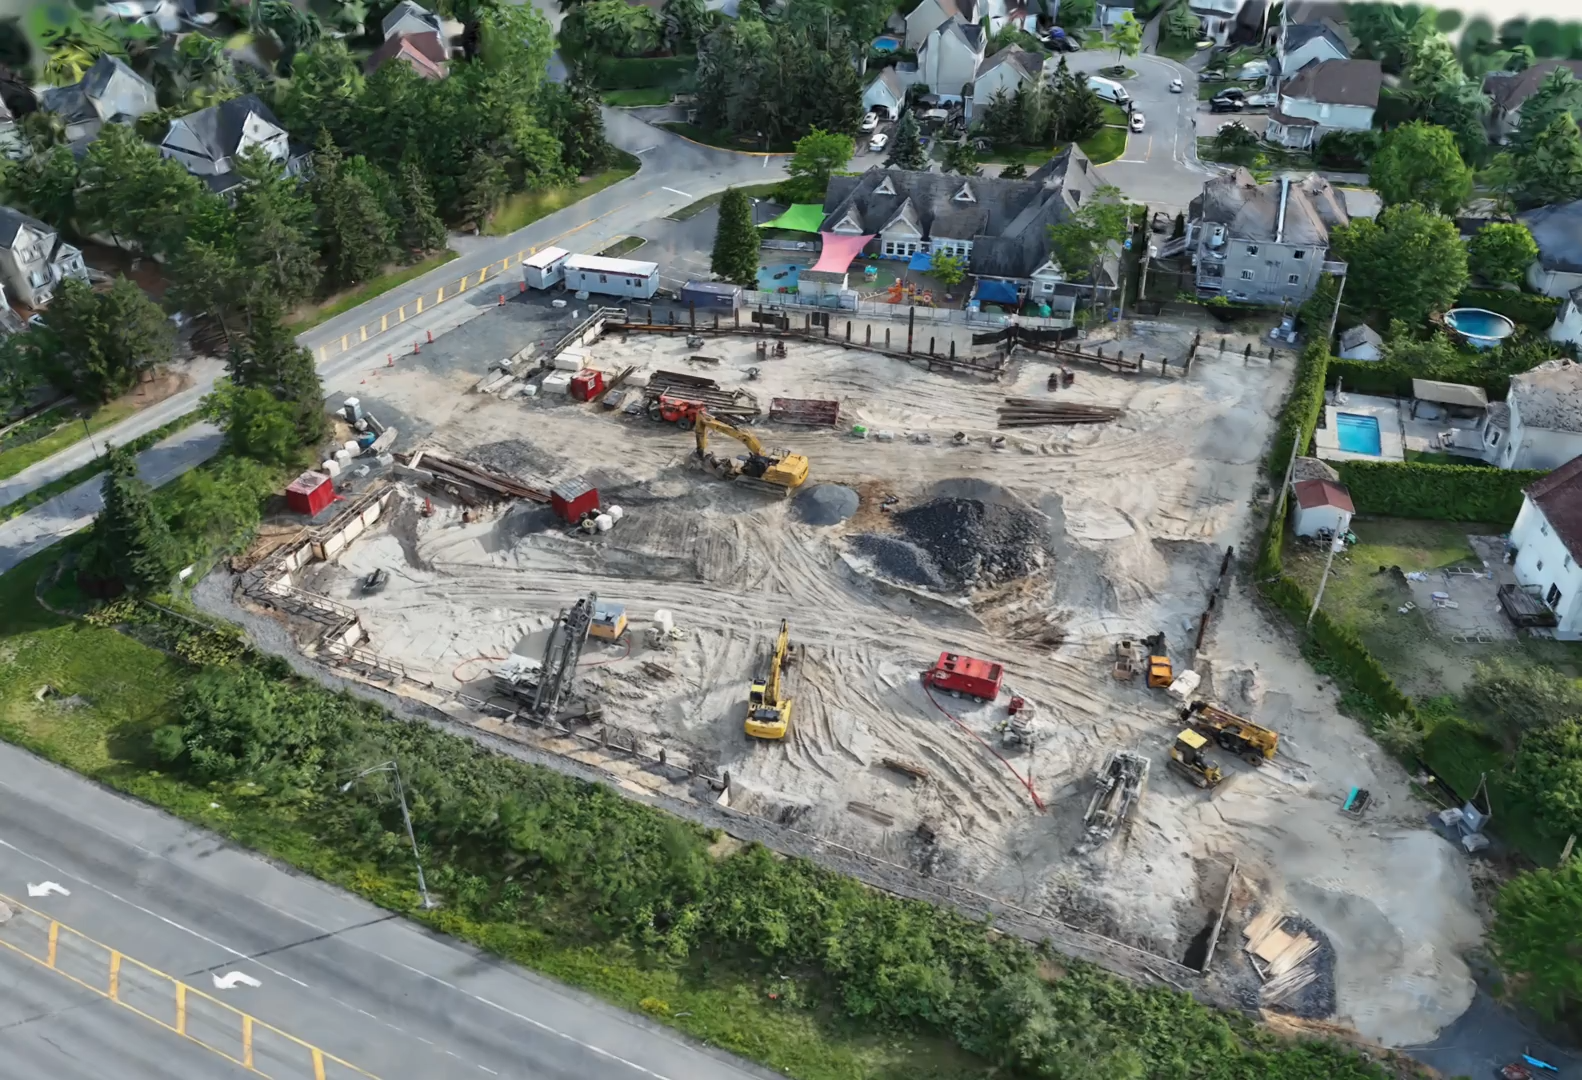
The surface is always changing. A scan of a muddy site captures ruts, spoil, and water as they are at that moment. After a day of work, the ground will look different. For earthworks or progress records, always note the date and conditions with your scan, rather than treating it as a permanent surface.
Water does not scan well. Research on LiDAR in bad weather found that pulses bounce off wet ground, weakening the signal, and the effect worsens as water gets deeper. Wet ground is the main reason for lost points on road surfaces. On a job site, puddles and soaked ground often show up as empty spaces instead of surfaces.
Wet surfaces can make objects appear below ground level. When water acts like a mirror, the scanning beam can bounce off the water to something above it and then back. This extra path is recorded as extra distance, so the object looks like it is under the ground instead of above it.
Wet surfaces scan differently than dry ones. As a surface gets wet, it reflects more, which is why a site looks different in scans after rain compared to a few dry days later. Wet concrete, steel, and glass all reflect more of the scanning beam away from the sensor.
Mud and water can change where you can walk. Areas that were easy to reach last week might not be now, which affects how much of the site you can scan more than the data quality.
Timing Is the Main Lever
The main way to deal with both dust and mud is to plan your timing, not just change your scanning technique.
Scan before work starts, not while it is happening. Tasks like cutting, grinding, drilling, and demolition all create dust. Scanning before these tasks begin, or after they finish and the air has cleared, gives you much better data than scanning during the work.
Take advantage of quiet times on site, like early mornings before work starts, breaks after concrete pours, or the gaps between different trades. These times also mean fewer people in your scans, which helps you cover more of the site.
Wait for dust to settle instead of trying to scan through it. Once the source stops, dust will fall out of the air. Waiting a bit is usually faster than having to rescan later.
For ground scans, try to capture after a dry period if possible. If your scan is meant to show the site in general, the driest day will give you the best results.
Wet methods affect your timing. OSHA’s Table 1 requires water to control dust for many tasks. Water keeps dust down, which helps your scan, but it also wets surfaces, which can cause other problems. Scanning during wet cutting means you are trading one issue for another.
Why a Phone Suits These Conditions
These time windows are short. You might only have the gap before a task starts, twenty minutes after dust settles, or a single dry afternoon. What you can scan in that time depends on how quickly you can set up your equipment.
With no setup needed, you can scan as soon as the opportunity comes up. A phone is ready right away, while a terrestrial scanner needs a tripod, leveling, and moving between spots, which is slow and tricky on wet or uneven ground.
Space mode processes scans right on your device. You don't need an internet connection or to wait for a server. You get the results immediately, so you can check for dust artifacts or missing data while you are still on site and able to fix them. If your workflow needs overnight processing or a signal, you lose that chance.
With unlimited scans on a flat subscription, you can scan the same area several times in different conditions and keep the best one at no extra cost.
Silica Rules Apply to Visitors Too
The dust that ruins a scan is the dust you can see. The dust that harms your health is the tiny, invisible respirable fraction, defined by ISO 7708 as smaller than 4 micrometers. Both types come from the same source. If you see dust, you have both problems; if you don't, you may still face health risks.
OSHA’s silica rule for construction, 29 CFR 1926.1153, caps exposure at 50 micrograms per cubic meter averaged across eight hours, with an action level at half that. Three provisions apply to a scanning visit.
Table 1 controls are already in place around you. For certain tasks, employers use specific controls and require respiratory protection. If you enter that area, you need to use the same protection as the workers.
Compressed air use is restricted. Do not blow dust off clothes or surfaces if it could increase exposure, except in rare cases. Do not use an air line to clear dust before scanning. Use a HEPA-filtered vacuum or a damp cloth instead.
Ask to see the written exposure control plan. Employers must have one, and it shows which areas and tasks create dust exposure and when. This is the same information you need to plan your scan.
Protecting the Device
Use a rugged case with port covers. Fine dust can get into charging ports and speaker grilles, and mud can cause more problems. A phone in a case is also less expensive to drop on a wet site than a tripod-mounted scanner.
Keep your lens clean. A dirty or dusty lens will hurt your photogrammetry results before you notice any problems on the screen.
Do not use compressed air to blow dust off your equipment on a silica site. The same rules apply to your gear as to work surfaces.
When You Cannot Wait
Capture in shorter sessions and check each one. A five-minute capture that fails costs less than a twenty-minute one. Reviewing the mesh on site is the only way to catch false points while you can still act on them.
Move closer to the surfaces that matter. Less air between the device and the target means fewer particles in the path.
Prioritize the geometry you cannot get later. If the deliverable needs the structural grid and the dust is at ground level, capture the grid and book a second visit for the ground.
Note the conditions with the capture. Whoever models from it later needs to know what the air and ground were like, rather than trusting a clean-looking file too far.
Use Virtual Walkthrough to check what was really there. A mesh captured through dust loses detail and gains points that do not belong. Virtual Walkthrough retraces your capture path and shows the original photographs positioned where you took them, so you can look at the source imagery rather than the reconstruction. Where the geometry is doubtful, the photograph usually settles it. It sits on Business and Enterprise plans.
If you scan in conditions like these more than occasionally, the 7-day Business trial is the cheapest way to see whether on-device processing and Virtual Walkthrough change how a bad-weather visit goes. Run it on a real site, not a demo.
For the general capture process this fits into, see How to Scan a Job Site.
FAQ
Can you 3D scan in dusty conditions?
You can, and the results degrade with the amount of dust in the air. Particles backscatter the beam and register as points, while surfaces behind the cloud return fewer and weaker points than they should. Photogrammetry fails differently, because suspended dust changes between frames and the feature matching has nothing stable to work from.
How do I scan a muddy site?
Capture it and record the date and conditions with the file. A muddy surface is accurate only for the moment you captured it, so treat the scan as a record of that day rather than as a stable ground surface. Expect standing water to return poorly or read as holes.
Why does standing water appear as a hole in my scan?
Pulses reflect specularly off wet ground, and the returning echo is significantly attenuated, with the attenuation increasing as the water gets deeper. Research on LiDAR in adverse weather identifies wet ground as the main cause of lost points on road surfaces. Where water acts as a mirror, you can also get geometry recorded below the ground plane, because the beam has bounced off the water to an object above it and back.
What are the OSHA rules for dust on a construction site?
Respirable crystalline silica in construction is covered by 29 CFR 1926.1153. It caps exposure at 50 micrograms per cubic meter over an eight-hour average, with an action level at half that. Employers must have a written exposure control plan, and they cannot use compressed air to clean surfaces where it would contribute to exposure. Use a HEPA-filtered vacuum or a damp cloth instead.
Is a phone or a terrestrial scanner better in these conditions?
A phone, for most site documentation. The windows around dust and weather are short, and a phone deploys instantly where a tripod scanner needs stable ground and setup time. Space mode captures also process on the device, so you get the result on site with no connection needed. Terrestrial equipment still wins where a certified tolerance is required.
What do I do if the scan came out full of dust artifacts?
Look at the source photography rather than the mesh. Virtual Walkthrough retraces your capture path and places the original photographs where you took them, which usually settles whether a doubtful piece of geometry was real. It sits on Business and Enterprise plans.
When is the best time to scan an active site?
Before a dust-generating task starts, or after it finishes and the air clears. Early morning before the plant starts and the gaps between trades are the usual windows, and they also give you fewer people in shot.
Can I clean false geometry out of a dusty scan afterward?
Not reliably. Once a dust cloud has been recorded as a surface, distinguishing it from real geometry is guesswork. Recapturing in better conditions is faster than trying to repair it.