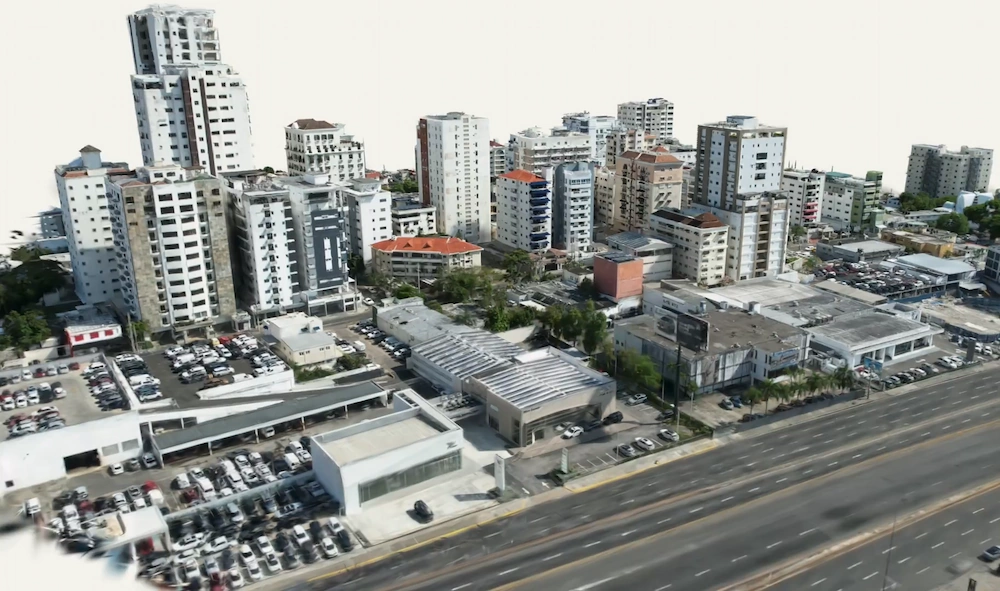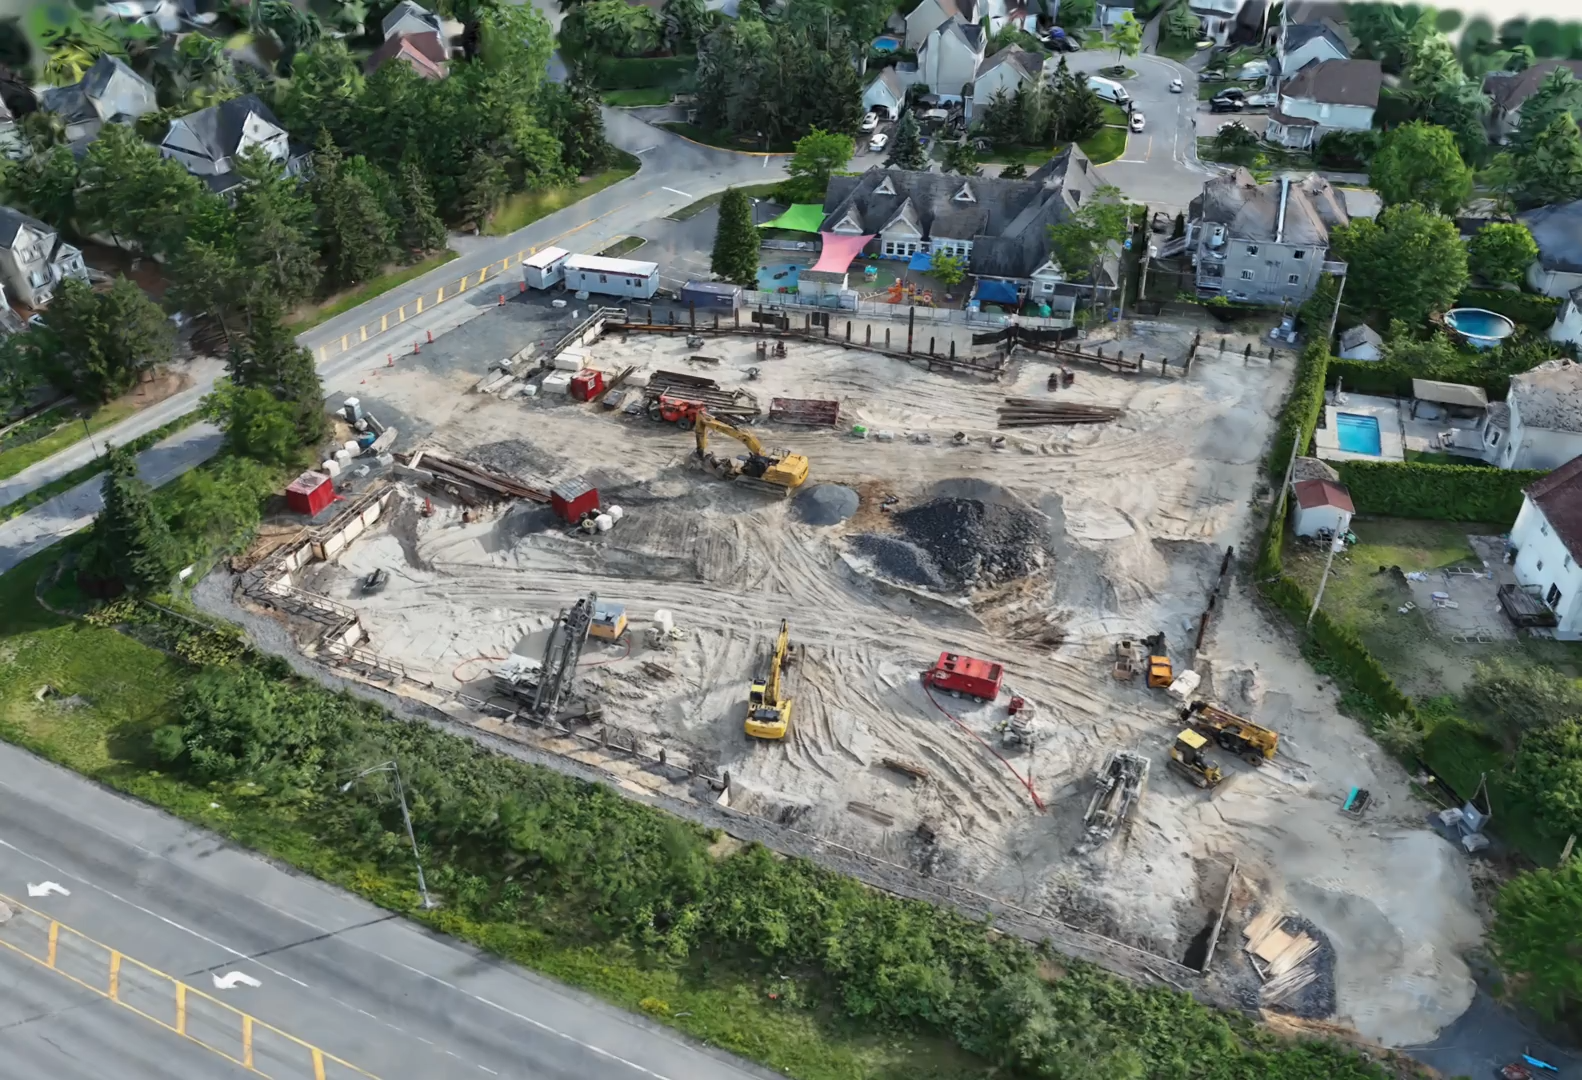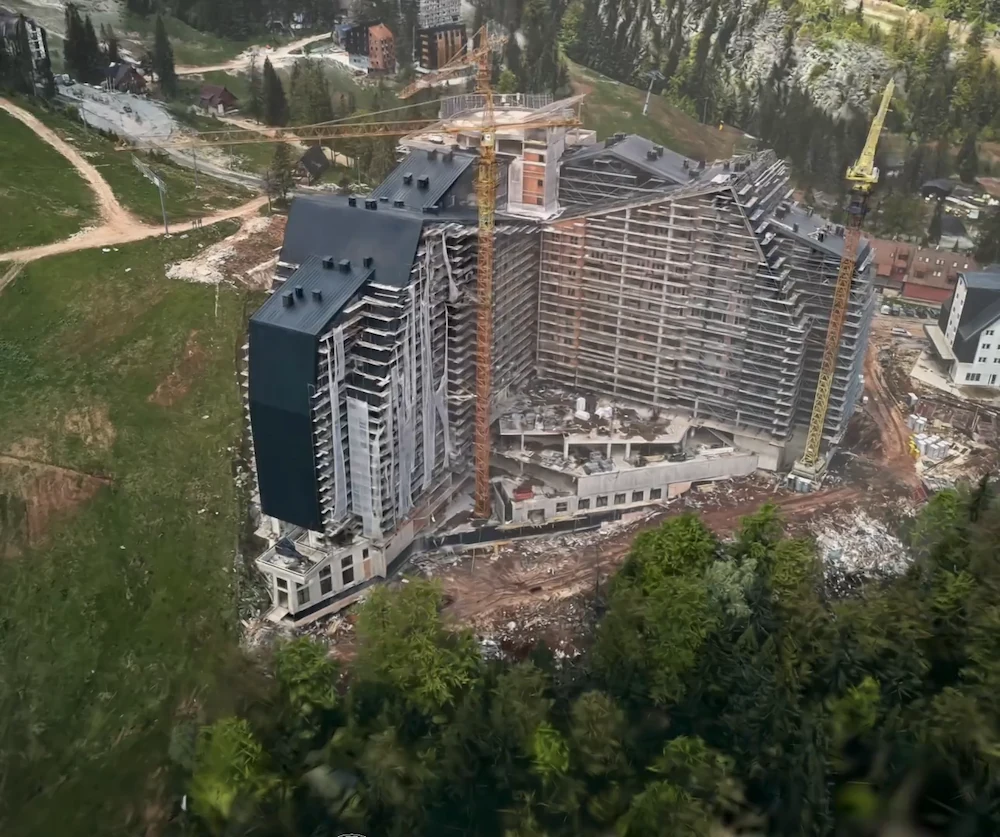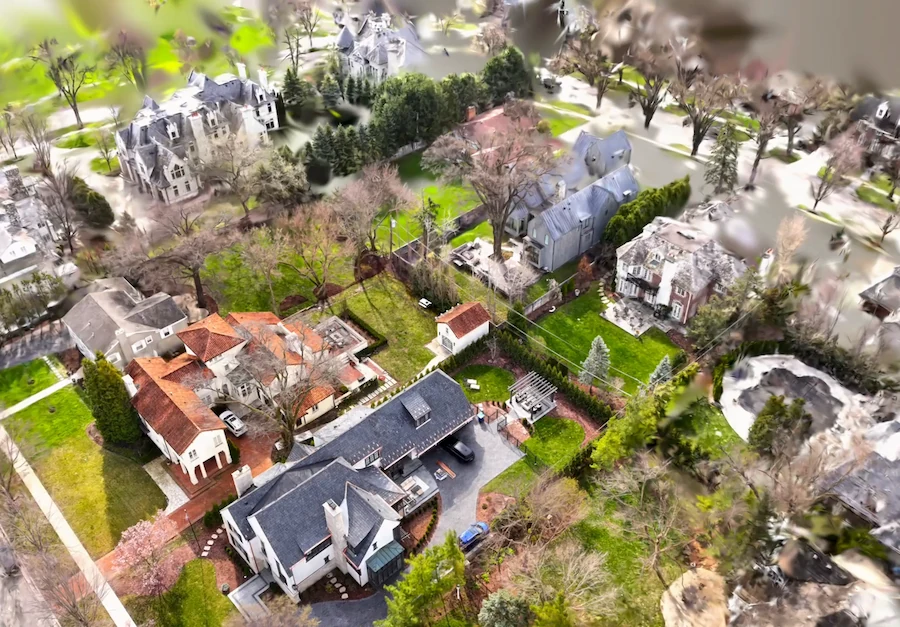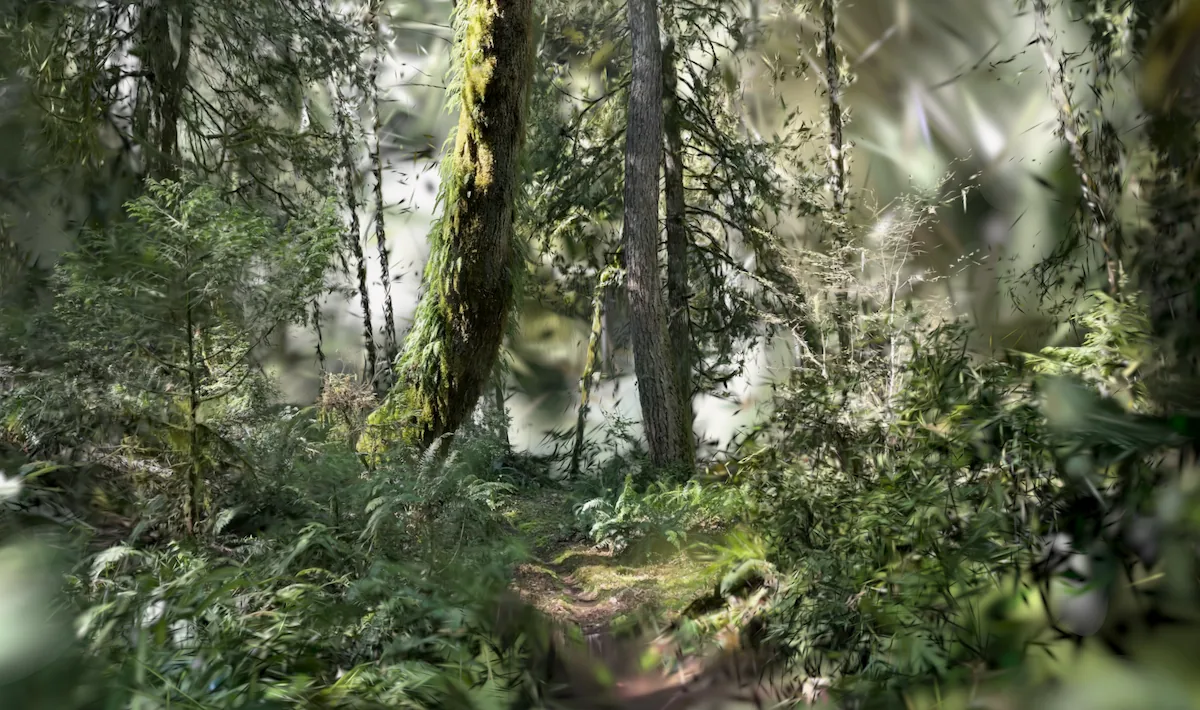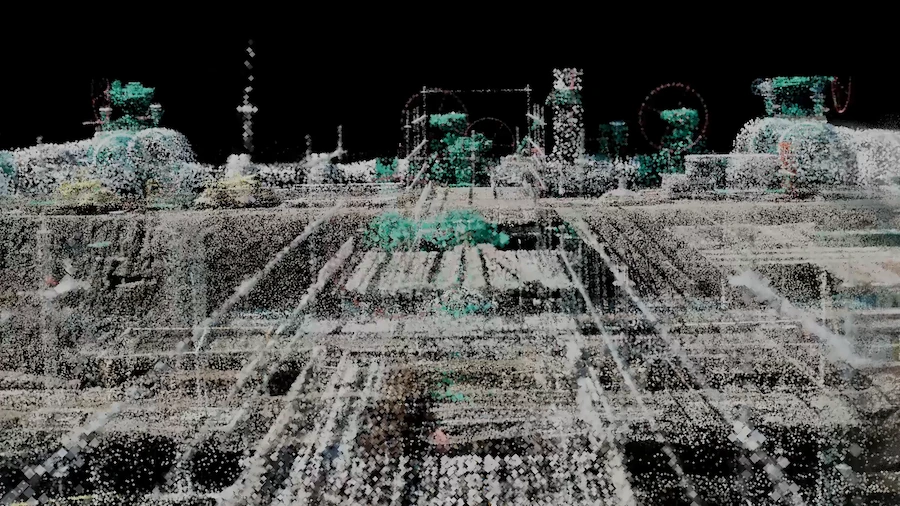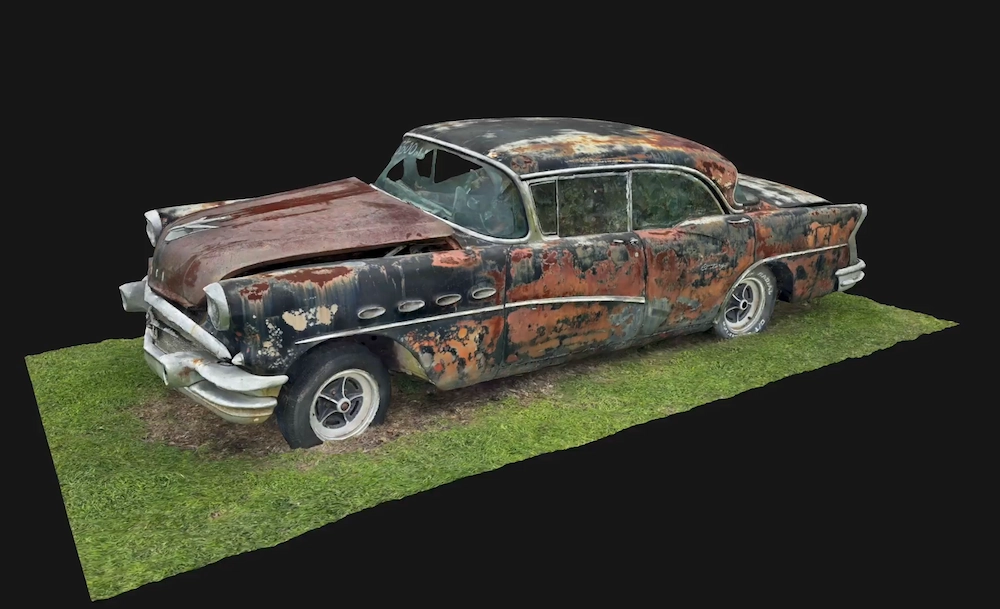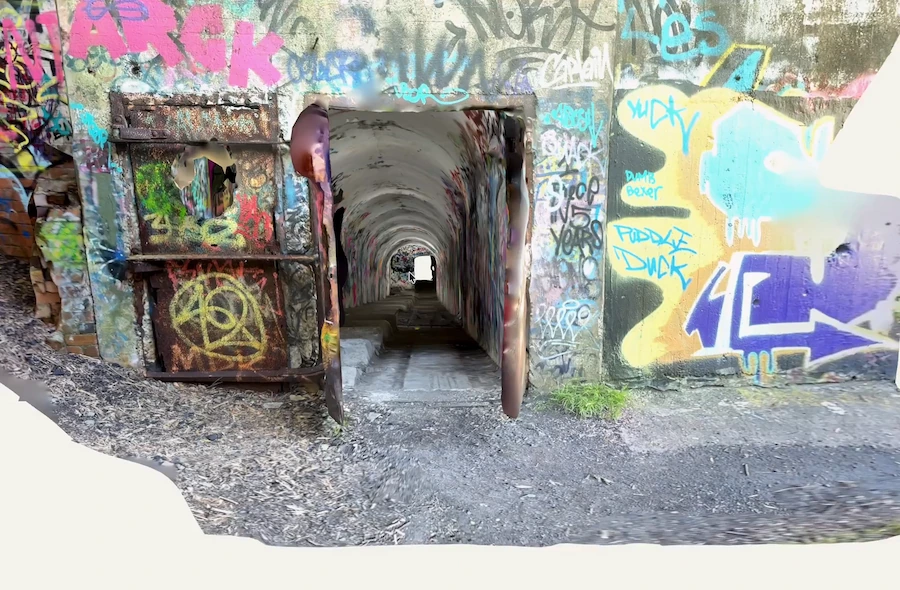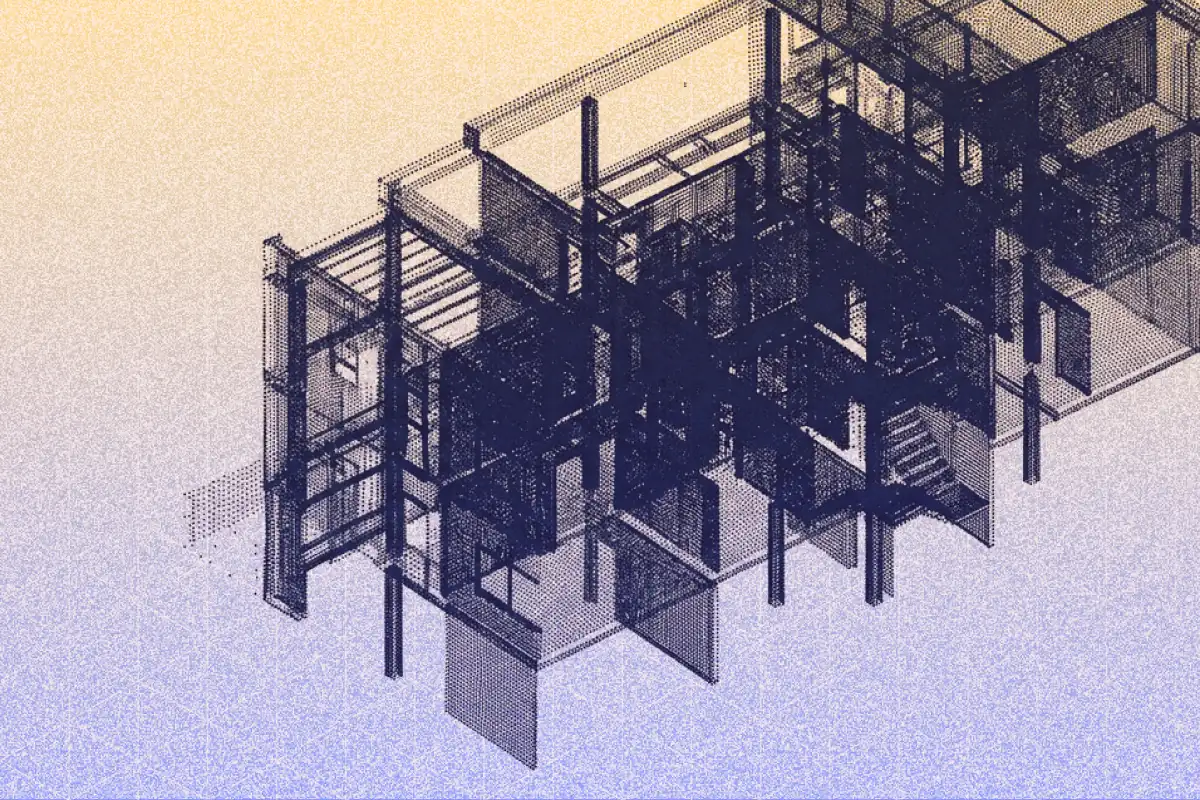
Most buildings were built before digital documentation became common. Existing drawings are often incomplete, outdated, or missing. This guide explains how to define your deliverable, plan and run the capture, clean up the data, and hand it off to a BIM or CAD team. The goal is to create a spatial record that the whole project team can use for measurement, modeling, and reference, so there’s no need to revisit the site.
Mobile-First vs Terrestrial-First: Choosing the Right Approach
No single approach is always best. The right choice depends on what you need to deliver, how accurate it must be, and your timeline.
Matterport can also create structured point cloud and mesh exports for CAD and BIM workflows, using a paid add-on and special camera hardware. It is already well known for visual walkthroughs and occupancy documentation. For projects that require very high accuracy, FARO and Leica BLK360 remain the top choices for dense, multi-scan capture with millimeter precision.
For most AEC projects, starting with a Polycam mobile capture gives you quick, usable results. If you need more detail or accuracy in specific areas, use a terrestrial scan for those parts.
Scoping: What Does "Digitize" Mean for Your Project?
The phrase "digitize a building" means different things to different people. Defining it clearly before you start scanning will guide all your next decisions.
As-built documentation accurately captures a building's existing conditions to produce dimensioned drawings. Architects, retrofit teams, and facilities managers use this for renovation planning, space programming, and maintenance reference.
A BIM model is a structured, object-based model in which walls, floors, doors, and systems are represented as elements rather than lines. Per buildingSMART's own technical documentation, IFC (Industry Foundation Classes) is the open international standard (ISO 16739-1:2024) for exchanging BIM data across software platforms. A scan is the spatial reference; BIM modeling is the interpretation step that follows.
Digital twin means a connected model that reflects real-time or near-real-time building conditions, linking spatial geometry to operational data. The scan is the geometric foundation; the operational data layer comes from sensors, maintenance systems, and asset databases.
Marketing or leasing tour means a navigable visual experience of the space, typically produced as a 360-degree walkthrough or a rendered 3D model. Matterport has owned this use case, but Polycam's 360 mode and Walkthrough tool produce similar outputs with the added ability to export structured point cloud and mesh data for AEC use.
Pre-Capture Planning
A successful capture starts with a solid plan. Most digitization projects that need a second visit do so because the planning wasn’t complete the first time.
Step 1: Define your accuracy requirements. Different deliverables need different levels of precision. Space planning drawings can be less precise than those for structural or MEP coordination. Decide on your LOD (Level of Development) target before picking your capture equipment: LOD 200 is approximate geometry, LOD 300 is accurate size and location, and LOD 400 is fabrication detail. Polycam’s standard for interior Space mode is ±½ inch accuracy, which you can use as a baseline when setting your project’s LOD.
For most renovation and retrofit projects, aiming for LOD 200-300 is enough, and mobile LiDAR scanning will work. If you need LOD 350 or 400 for structural or MEP coordination, it’s better to use a terrestrial scanner from Trimble, Leica Geosystems, or FARO.
Step 2: Divide the building into capture zones. Review the floor plan, or sketch one if you don’t have one, and split the building into logical zones. Align zones with floors, fire compartments, or departments. Make a note of any areas that need special attention, like mechanical rooms, roof plant, basement plant rooms, stairwells, roof terraces, and areas with restricted access.
Step 3: Confirm equipment. Equipment checklist for a mobile-first digitization project:
- Fully charged device, and a portable battery for large buildings
- Polycam app installed and updated.
- Site access confirmed, including after-hours access if the building is occupied during the day
- Floor plans or sketches printed for reference
Step 4: Set up your coordinate strategy. Before you go on site, decide if your deliverable needs real-world coordinates. Business and Enterprise users can export a georeferenced LAS from Polycam with location services, which is the easiest option if you don’t need survey-grade accuracy. For higher accuracy, collect ground control points with GPS or a total station and register them in CloudCompare or QGIS. If local coordinates are enough, you can skip this step, but make sure to document your choice for the BIM team.
Capture Phase 1: Exterior
Capturing the exterior records the building envelope, facade shapes, roof outline, and site context. This step is usually faster than capturing the interior, but you need to watch out for sensor range limits and sunlight.
Step 1: Plan your capture positions. Walk the full perimeter before starting. Note areas with access constraints, and identify any facades where direct sunlight will cause scan-quality issues. Schedule exterior capture for overcast conditions or early morning if possible.
Step 2: Capture each facade in Space mode. Walk parallel to each facade, staying 3 to 6 feet from the wall (up to 16 feet maximum). Capture lower stories from ground level. For upper stories that are out of range, use a drone to scan the facade, or plan to measure those heights separately.
Step 3: Capture corners, junctions, and entrances. Slow down at building corners to cleanly register the junction between adjacent facades. Capture entrance canopies, steps, ramps, and threshold details that matter to the deliverable. These are easy to miss in a general perimeter sweep.
Step 4: Capture the roof if you can access it safely. Roof plant, plant rooms, rooflights, and parapet details are often missing from existing drawings. If you have safe access, use Space mode to scan the roof deck in one pass. For larger roofs, divide them into zones and make sure adjacent zones share enough common geometry at the boundaries for reliable registration, or use a drone to scan.
Step 5: Review exterior coverage before moving inside. Check the mesh preview for obvious gaps before moving to interior capture. Re-scan missing facades or details while you're still outside.
Capture Phase 2: Interior
Capturing the interior usually takes the most effort in a full building digitization. Go room by room and floor by floor to make sure you cover everything.
Step 1: Establish a capture sequence. Start at the top of the building and work down, or start at the entrance and work outward. Whichever direction you choose, the principle is the same: capture each space with enough overlap into adjacent spaces that the registration algorithm has shared geometry to work with.
Step 2: Capture each room in Space mode. Walk around each room with the device facing the walls and surfaces. Move the device from head height down to the floor in one pass to capture all details, including floor junctions and equipment. In complex rooms, like those with high ceilings or split levels, go slowly and carefully to capture everything the first time.
Step 3: Capture MEP and service routes. Overhead pipe runs, conduit routes, ductwork, and cable trays are among the hardest elements to capture and among the most valuable for MEP coordination. Raise the device to capture overhead services within the same general room sweep, rather than as a separate pass.
Step 4: Capture circulation, stairwells, and voids. Stairwells present a particular challenge because they span multiple levels. Capture each level separately with deliberate overlap at each landing. Voids and atria benefit from multiple capture positions at different heights if access (ladders, scissor lifts) is available.
Step 5: Capture mechanical rooms and the roof plant. These spaces typically have dense, complex geometry. Work slowly through the space in a single session, moving the device to cover head-height, low-angle, and overhead services as you go, rather than making repeated passes. Check the mesh preview for each mechanical room before leaving, and rescan only if there are obvious gaps.
Step 6: Before you leave the site, make sure you’ve captured the whole building. Compare your scans to your zone plan and mark any spots that need to be re-scanned. It’s much cheaper to double-check now than to come back later.
Mesh and Point Cloud Cleanup
Raw Polycam scans will need some cleanup before they’re useful for the next steps. Most cleanup can be done in Polycam, but more advanced processing is handled in CloudCompare or Autodesk ReCap.
In Polycam:
- Use the crop tool to remove geometry outside the building envelope (adjacent buildings, ground noise below slab level)
- Confirm the model is in the correct units before exporting
In CloudCompare (for point cloud workflows):
- Load the Polycam LAS export and run a statistical outlier removal filter to clean noise from the cloud
- If merging multiple scan sessions, perform coarse alignment using point-pair picking followed by ICP fine registration
- Set the coordinate reference system if ground control points are being applied
In Autodesk ReCap (for Autodesk BIM workflows):
- Import the LAS file and let ReCap index it into an RCS file
- Apply any limit boxes to crop the point cloud to the area of interest
- Export as RCS or RCP for linking into Revit
Exports to Revit, SketchUp, and IFC
The export format you choose depends on the software you’ll use next and the type of deliverable you need.
IFC is the open, vendor-neutral standard for exchanging BIM data, maintained by buildingSMART International (ISO 16739-1:2024). Polycam does not export IFC directly. The usual workflow is to export OBJ or PLY from Polycam, import that into Revit or ArchiCAD, build the BIM model there, and then export IFC. Some tools can convert point clouds to IFC automatically, but these often require manual clean-up and careful checking because misclassifications, missing data, and errors are common. For best results, always review IFC exports in an independent viewer before handing off the project.
Handoff to the BIM Team
A point cloud serves as a reference, not a finished model. The BIM modeler uses the scan geometry to build a smart model. If you hand off clean data, their job becomes faster and more accurate.
Step 1: Confirm the coordinate system. Inform the BIM modeler whether the point cloud is in local or real-world coordinates. If local, confirm the units (meters or feet) and whether the cloud is oriented to true north or building north.
Step 2: Provide a zone index. A simple document or annotated floor plan showing which scan sessions cover which areas of the building. If the cloud was stitched from multiple sessions, note any areas with thin coverage or known gaps.
Step 3: Flag known limitations. Areas of known poor coverage (glass walls, very dark surfaces, areas that were inaccessible), features that were measured separately (upper story heights supplemented by laser meter), and any areas where the mesh shows motion artifacts from occupied spaces.
Step 4: Confirm the LOD target. The BIM modeler needs to know the agreed Level of Development to determine how much detail to include. LOD 200 is approximate geometry; LOD 300 is accurately sized and located. Confirm this in writing before modeling starts.
Step 5: Agree on naming conventions. File, layer, and element naming conventions should match the project's BIM execution plan before the modeler begins. Renaming a Revit model mid-project is slow and error-prone.
When to Re-Scan: Maintenance and Update Triggers
A building model starts to become outdated as soon as construction or renovation work begins. Setting up a plan to re-scan from the start helps keep the model useful and avoids problems later.
Renovation or fit-out. Any significant change to the building fabric, services layout, or floor plan should trigger a rescan of the affected area before and after works. The pre-works scan documents existing conditions; the post-works scan validates what was actually built.
Post-construction validation. After a new installation (plant replacement, service reroute, new partition), a targeted scan of the affected zone confirms the as-built condition matches the design intent before handover.
Insurance updates. Many commercial property insurers want current documentation of a building's contents and condition. Scanning at policy renewal gives you solid proof of the building's state at that time.
Periodic FM reference. Facilities management teams can benefit from regular scanning programs for large properties. How often you scan depends on how much the building changes. Buildings with lots of changes, like frequent fit-outs or active maintenance, may need more updates than those that stay mostly the same.
FAQ
How do you digitize an existing building from start to finish? The workflow has six steps: define your deliverable and accuracy needs, plan capture zones and equipment, capture the exterior, capture the interior, clean up and export the point cloud as LAS, and hand off to the BIM or CAD team with clear documentation. For as-built drawings, see Polycam’s How to Create As-Built Drawings guide.
What are the best workflows for creating a building digital twin? A building digital twin starts with a spatial model: an accurate 3D representation of the building geometry. Mobile scanning provides that foundation quickly. The next layer is BIM: a structured, object-based representation of building elements. The third layer is operational data: sensor feeds, maintenance records, and occupancy data linked to the spatial model. Platforms like Autodesk Tandem ingest BIM and IFC models as the structural backbone of a digital twin, with scans serving as the upstream reference used to build that BIM model in the first place.
What is a scan-to-BIM workflow? Scan-to-BIM is the process of converting a point cloud or mesh from a 3D scan into a Building Information Model. The scan is the geometric reference; BIM modeling is the interpretation step. The typical workflow is: capture with LiDAR or photogrammetry, export as LAS, convert to RCS/RCP via Autodesk ReCap, link into Revit as a reference, and model building elements (walls, floors, structure, MEP) from the point cloud.
What are the alternatives to LiDAR scanners for building documentation? Photogrammetry using overlapping images is the main alternative, available in Polycam's Object mode and in drone-based systems for exteriors. Matterport produces immersive 360-degree walkthroughs and, through a paid add-on, structured point cloud exports for CAD and BIM use. For single-point measurements, laser distance meters (Bosch GLM, Leica DISTO) remain fast and accurate for individual dimensions.
What format should I export for Revit from a building scan? Export LAS from Polycam, import into Autodesk ReCap to create an RCS file, then link the RCS into Revit via Insert > Point Cloud. Autodesk's own Revit documentation confirms RCS and RCP as the supported point cloud formats for this workflow. From there, building elements are modeled using the point cloud as a spatial reference.
How long does it take to digitize a building? It depends on the building’s size, complexity, access, and how much MEP is inside. There’s no standard benchmark for every project. Plan your capture session and timeline based on your building and deliverable, not a general estimate. Allow extra time for buildings with limited access or lots of services.
What does the BIM team need from the scan team at handoff? At minimum: the point cloud file in LAS or RCS format, confirmation of the coordinate system and units, a zone index showing which scans cover which areas of the building, a note on any known gaps or poor-coverage areas, and the agreed LOD target for the modeling work. A short handoff document covering these five points prevents the most common issues.