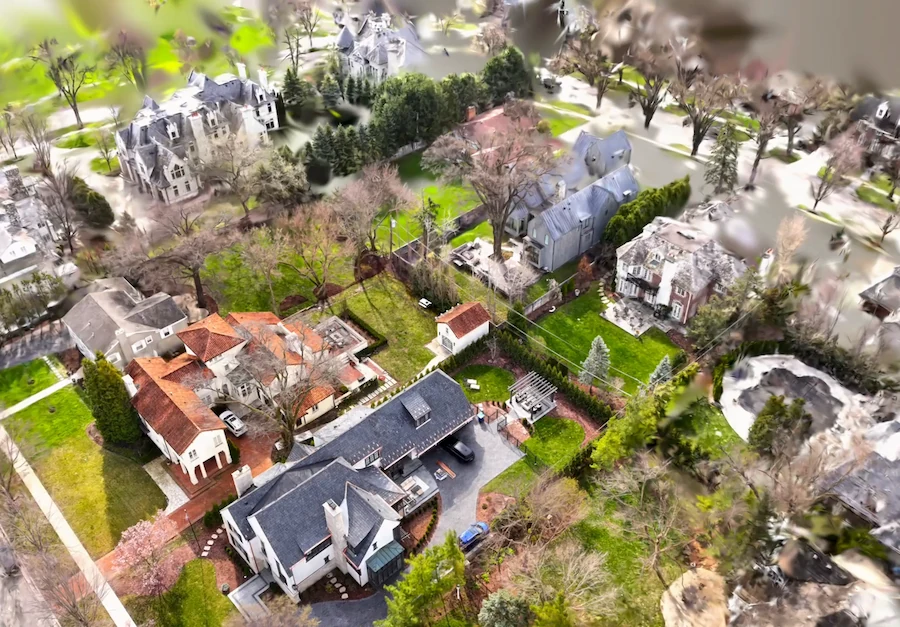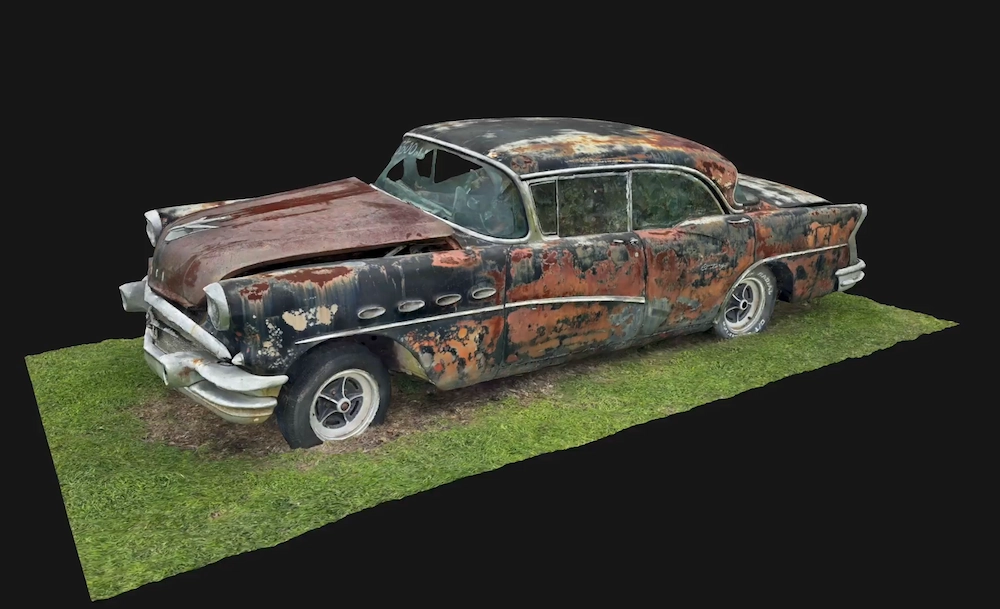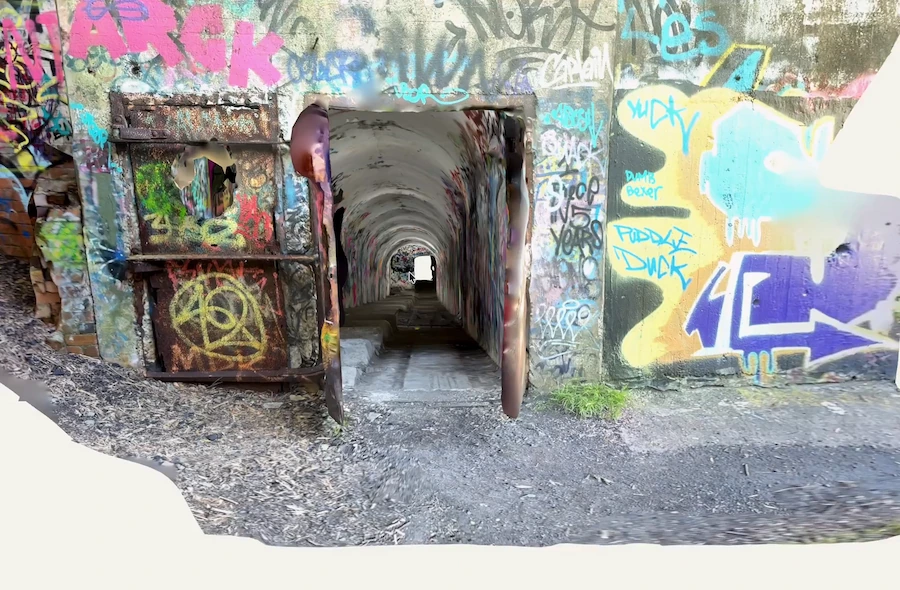
Use a drone to measure roof geometry. It captures all roof planes and helps create automated Roof Reports. Use your phone for close-up details and attic areas that drones cannot access. This guide shows when to use each method and how to combine them without extra software.
Which Method Suits Which Task
When to Reach for the Phone
The main benefit of using your phone is that you can get close to details and go inside the building. This is often more important than many people think.
Start by checking penetrations and flashing, since these are common trouble spots. InterNACHI’s Standards of Practice require inspectors to look at vents, flashing, skylights, chimneys, and other roof penetrations, and the International Residential Code says these areas must have flashing to keep water out. These parts are small, often vertical, and usually close to other features. A camera from above only shows the top of a vent boot, not the cracked collar on the downhill side where leaks often happen. If you stand next to it with your phone, you can see both.
The same problem comes up with soffits, fascia, and the undersides of eaves. These parts face down or out, so a camera above the roof cannot see them well. In these cases, standing on the ground is not a compromise; it is actually the best place to be.
Drones cannot access the attic either. When it is safe, the attic is the best place to check the roof structure, making it a key inspection step. Inspectors should look at the sheathing from below for signs of moisture, especially near penetrations. The advice is clear: the attic gives you the best view of the evidence.
Why does this matter for a claim? The roof surface shows where water might have entered, but the attic shows where it actually went. Use a moisture meter on any suspect areas to examine for recent leaks. This tool needs to touch the surface, and nothing from the air can replace it.
There are practical reasons too. If you are near an airport, you need permission to fly a drone, and some places do not allow flights at all. Bad weather can also stop you from flying. These issues do not affect phone use, and you do not need an FAA Part 107 certificate to use your phone.
From the ground, a roof plane is angled away from the camera, and you might not see the far slope at all. Ground-level photos struggle to show pitch and area accurately. Use your phone for checking condition, but use another method for measurements.
When to Send Up the Drone
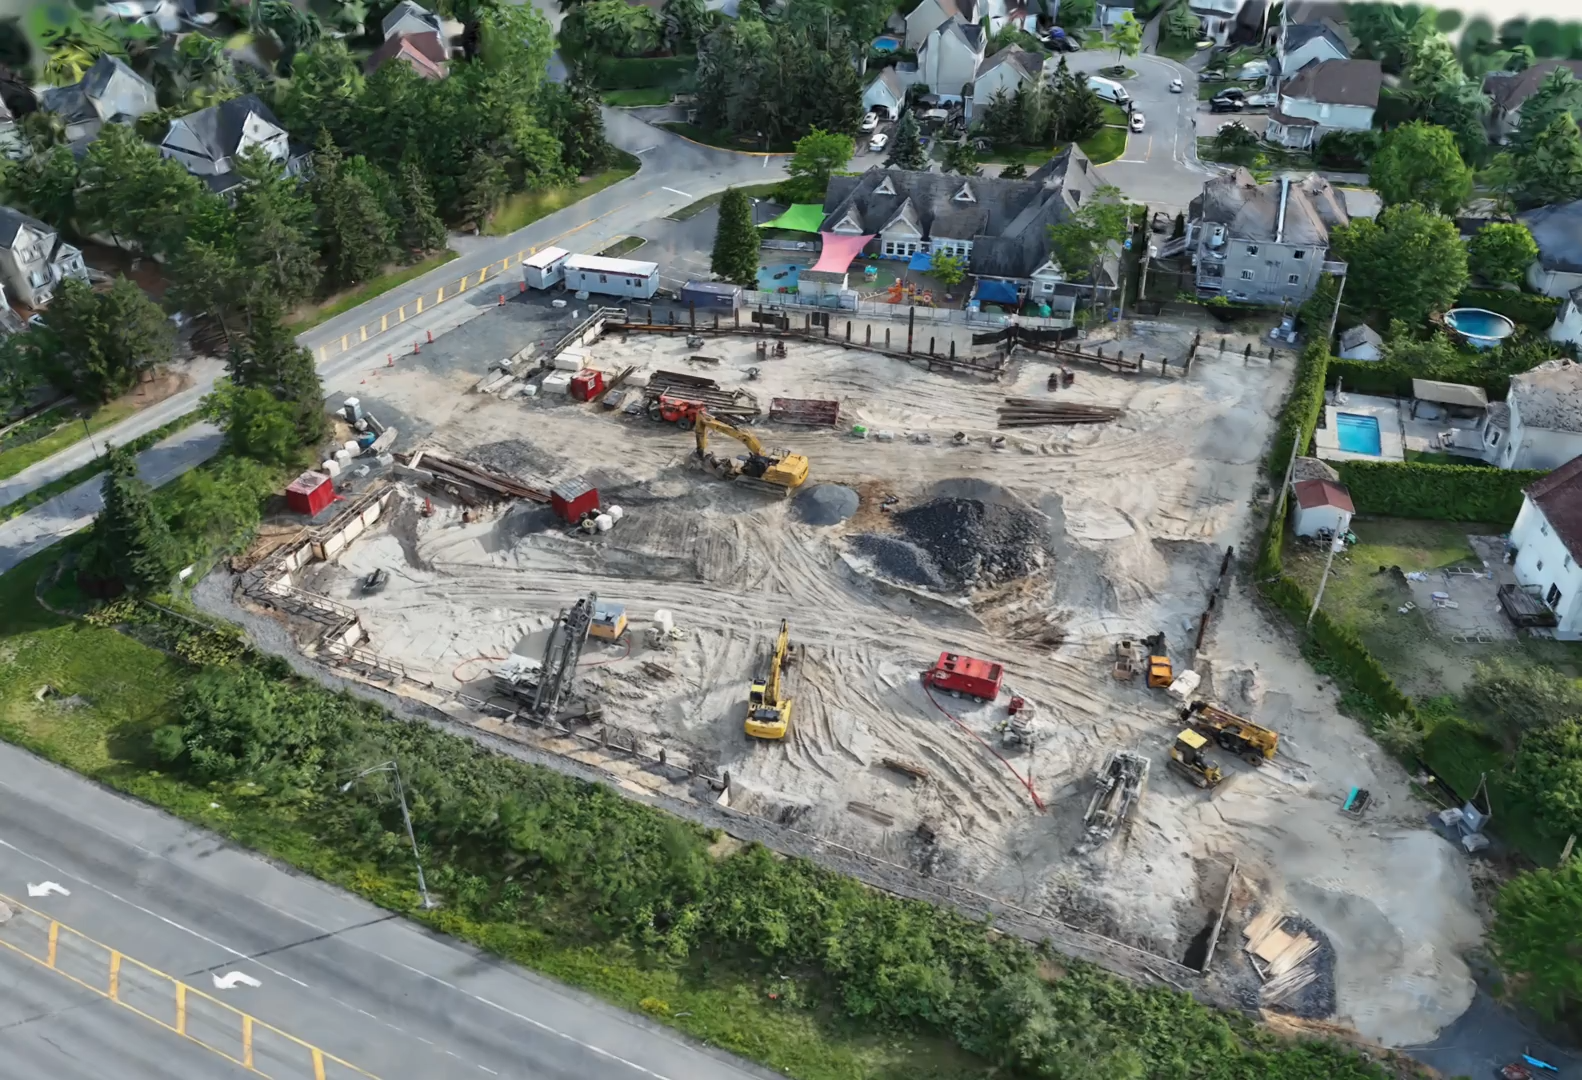
Drones fix the problems phones have by taking pictures from above. This way, every roof plane is visible to the camera.
Steep roofs are a clear example. A 12/12 roof is dangerous to walk on and looks almost flat from the ground, but from above, it is just another surface at a good angle. The same is true for tall or complex buildings. Two and three-story homes, commercial buildings, and roofs with intersecting hips and dormers are hard to capture from the ground but easy from the air.
A full aerial capture only takes a few minutes. Covering the same roof from the ground, with enough positions to see every plane, takes much longer and can still leave gaps you notice later.
The biggest advantage is that you can use the drone’s output to make bids. You get total area, section count, pitch for each plane, and edge lengths from aerial images. Automated Roof Reports come from drone captures, not phone scans. If an adjuster needs documentation quickly, flying a drone and processing the data is faster than climbing the roof or waiting for a report provider.
Safety and Liability
Roofing is one of the most dangerous jobs in construction, and the statistics should affect how you choose to inspect a roof.
Falls remain the dominant fatal hazard in construction. The Bureau of Labor Statistics recorded 1,032 fatalities among construction and extraction workers in 2024, of which falls, slips, and trips accounted for 370. On OSHA’s own list of most frequently cited standards for fiscal year 2025, Fall Protection under 29 CFR 1926.501 sits at number one.
The regulation follows from that. Workers in residential construction six feet or more above a lower level must be protected by a guardrail system, a safety net, or a personal fall arrest system. Getting on a roof is not a casual decision, then. It is a regulated activity that requires equipment, training, and documentation, and all of that takes longer than the measuring does.
Inspectors have been adapting to these risks for years. InterNACHI’s Standards of Practice do not require inspectors to walk on pitched roofs, and their training notes that many inspectors avoid it, using a ladder at the eaves instead. Capture technology is simply building on this existing practice.
Both methods help you avoid climbing onto the roof. A drone removes the need completely, and using your phone from the ground keeps you safe. However, neither method eliminates the need for a ladder. If you still climb to eave height for a closer look, you are bringing back the risk you wanted to avoid.
Removing the climb removes the fall exposure for that task, and that part is real. It does not follow that any particular reduction in workers’ compensation claims is guaranteed, and vendors quoting you a specific percentage are usually citing their own marketing. The defensible version is narrower: an inspection done from the ground or the air carries no fall risk, while one done on the roof carries the leading fatal risk in the industry.
Generating an Automated Roof Report
Drone capture is valuable here because it automatically creates a document from the mesh, so you do not have to draw anything yourself.
A Roof Report is generated from a drone photogrammetry capture. It gives you total roof area, section count, predominant and secondary slopes, and a recommended material quantity with a 15% waste factor already applied. A pitch diagram color-codes every section by slope and shades anything at 3/12 or steeper. Edges are broken out by type, with counts and total lengths for eaves, rakes, ridges, hips and valleys, which is your takeoff for gutters, flashing, drip edge and underlayment. Each section gets its own page showing area, slope, pitch, and azimuth.
You can find the full workflow in How to Create a Roof Report from a Drone Scan, and see the output on the roof report page.
If you work claims, one limit applies. Photogrammetry captures do not export Xactimate files, so the report reaches an adjuster as a PDF, and someone re-enters the dimensions by hand. Where a native ESX file is expected, Hover exports one on every plan, including its free tier, and EagleView is long established in claims workflows. However, we would confirm its current Xactimate integration with them directly. That comparison is covered in The Best Apps for Roof Measurements from Photos.
Running Both in One Workflow
Most inspectors want both types of data. What they do not want is to manage two subscriptions, two apps, and two separate libraries of captures that do not connect.
Here is a step-by-step process that works for a leak investigation:
- Fly the roof first. Use a double grid with high overlap, and add oblique passes for fascia and rake edges. This gives you the geometry and a general record of surface condition.
- Generate the Roof Report if you need measurements to bid or scope from.
- Walk the perimeter with the phone, capturing soffits, eave undersides, and any penetration you can see from the ground.
- Scan the attic. Document staining, daylight through seams, fastener condition, and insulation, examining the sheathing from below as InterNACHI’s training directs. This is where you establish the leak path rather than the entry point.
- Put the record together. The aerial capture shows what the roof looks like and its size. The interior scan shows what the water has been doing.
Polycam lets you use both capture types with one Business subscription, so it is easier to use both methods without juggling different tools. DroneDeploy and Roofr focus on aerial capture, while EagleView uses its own images and does not visit the property. Hover is the closest competitor in terms of features, since it handles both exteriors and interiors, but its roof workflow uses ground photos instead of aerial ones.
For the wider comparison of ways to measure a roof without climbing it, see How to Measure a Roof Without Getting on It.
FAQ
Should I use mobile scanning or drone mapping for roof inspections?
Use the drone for geometry, area, pitch, and edge measurements. Use the phone for close-up condition checks, soffits, penetrations, and attic documentation. Neither method replaces the other, and most thorough inspections use both.
Can a drone detect a soft spot in roof decking?
No, because aerial images only show the surface, not the condition underneath. Deck condition is checked from the attic side, where InterNACHI tells inspectors to look at the underside of the sheathing for moisture, then confirm with a moisture meter if needed. The same applies to active leaks, which show up inside the building, not on the shingles.
What is the best roof inspection method for adjusters?
It depends on the type of damage. The Insurance Information Institute says about one in 35 insured homes files a wind or hail claim each year, and about one in 60 files for water damage or freezing. Wind and hail affect the whole roof surface, so aerial capture works best. Water damage is traced inside the building, so interior and attic scanning are better. Check which sources your carrier accepts before choosing a workflow, since many still expect third-party documentation from providers like EagleView.
Do I need a Part 107 certificate to inspect roofs with a drone?
In the United States, yes, you need one for any flight done for business. Phone-based scanning does not need any certification, which makes it good for occasional use.
Can I get roof measurements from phone photos?
Not reliably, and not for an automated Roof Report. From the ground, your camera looks up at roof planes that are angled away, which makes it hard to measure pitch and area. Use a drone or order a report from a provider.
What can a drone see that a ground inspection cannot?
The full roof surface, including far slopes, upper stories, and steep planes that are unsafe or impossible to see from below. It also covers the whole roof at once, instead of just patches you can see from the ground.
Does weather affect drone roof inspections?
Yes, and often more than people expect. Wind can cause motion blur and uneven images, rain keeps you grounded, and bright midday sun creates shadows in valleys and eave lines. Overcast and calm weather is best. Interior phone work does not have these problems, so it is a good backup for days you cannot fly.