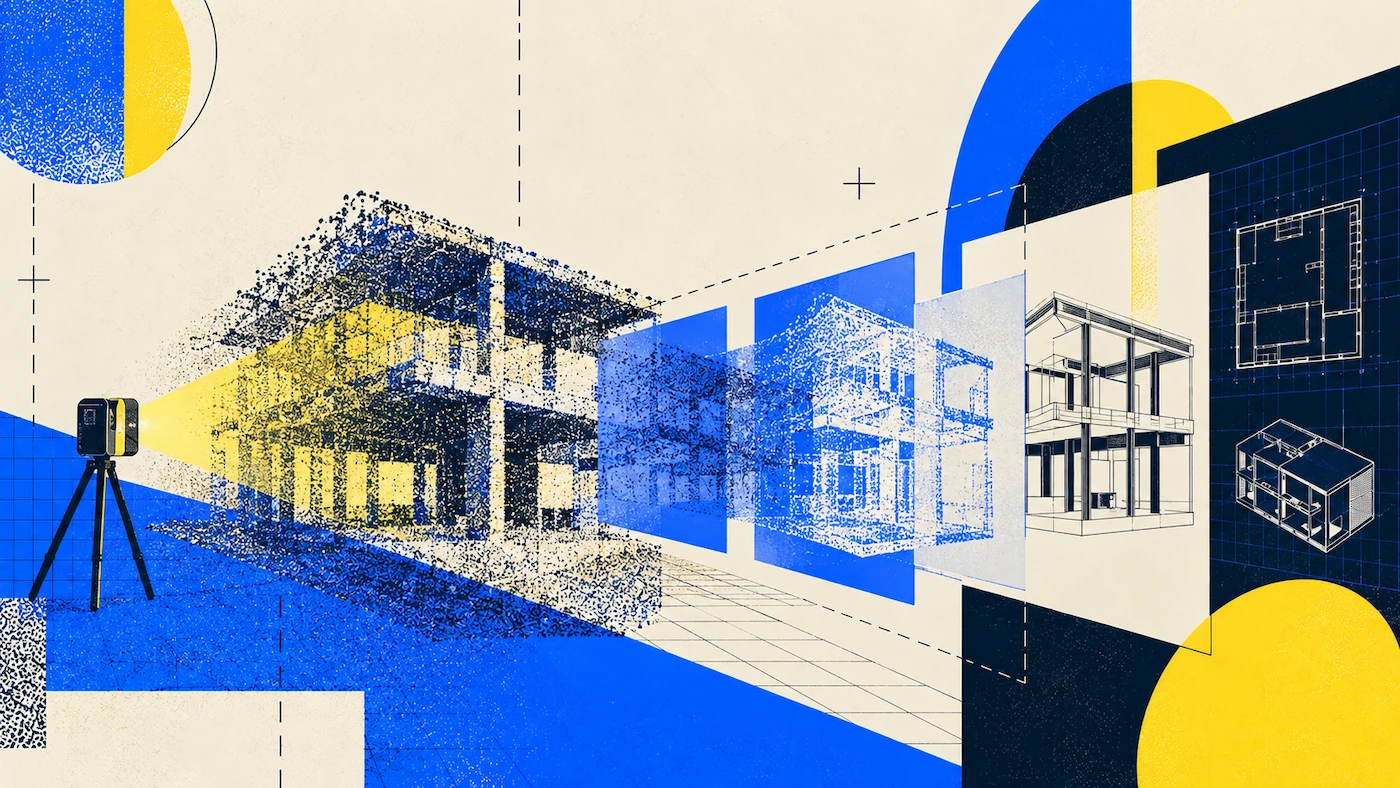
A scan taken on a phone only helps the BIM team once it arrives in a format they can use. The transfer from field to office is where most workflows slow down. This guide explains how to keep that step quick, outlines each team member’s role, and walks through a real example with a four-person GC team completing the process in one day.
Why Field-to-Office Breaks for Most Teams
Most reality capture workflows rely on desktop processing software. The field team collects the data, then someone needs to move the raw files from a hard drive or memory card, import them into desktop software, and wait for processing before anyone else can use them. Here’s where this process often fails, starting with file size.
File size. Dense point clouds from terrestrial scanners can run into tens of gigabytes per session. Getting that data from the field to the office means physical transport or a slow upload, both of which add hours or days before anyone can use it.
Format mismatch. The field team's scanner outputs one format; the BIM team's software expects another. Someone has to own the conversion step, and if that person isn't immediately available, the data sits idle.
Version control. When multiple scan sessions exist across multiple devices with no central system, knowing which version is current becomes a manual tracking problem. The wrong version reaching the BIM team produces wasted modeling time.
Processing bottleneck. Desktop processing software typically runs on one machine. If that machine or that person is unavailable, every capture in the field is stuck waiting, regardless of how fast the field team worked.
Polycam avoids most of these problems because it processes scans directly on the device, without needing separate desktop software. Once a capture is synced, it appears in the shared workspace automatically, with no manual file transfer. This turns the workflow into an immediate handoff. However, any capture that isn’t synced stays only on the device where it was made.
Roles: Mapping a Real Four-Person GC Team
A field-to-office scanning workflow runs smoothly when everyone knows their role and when to hand off tasks before scanning begins. Here’s how these roles usually fit into a small general contractor team.
The field engineer (capture). Goes to site with a phone, captures the scan in Polycam, checks the mesh preview before leaving, and syncs the capture to the team workspace for the project engineer. This role doesn't need scanning expertise beyond following a consistent capture protocol.
The project engineer (triage) reviews new captures in the team workspace, checks that coverage is complete, flags any scans that need to be redone, and puts each capture in the right project folder for the BIM coordinator. On smaller teams, the field engineer often does this too, but with four people, it helps to split the roles so the field engineer can head to the next site.
The BIM coordinator (processing and export). Takes the synced capture from the shared workspace, exports it in the correct format for the downstream tool, runs any necessary cleanup or registration in CloudCompare or Autodesk ReCap, and hands it off to the modeling team or imports it directly into Revit.
The project manager (oversight and delivery). Tracks which captures correspond to which scope items, confirms deliverables match what the client or design team requested, and owns the final handoff package to the client or design team.
On smaller teams, one or two people might handle several roles. The key is to make sure all four tasks are covered and that each handoff has a clear owner. This way, no scan gets stuck because no one knows who should move it along.
Mobile Capture Protocol
The field engineer’s job is to capture scans clearly and consistently, without worrying about formats or processing. The steps below help keep the job simple and make sure the scan moves smoothly to the office.
Step 1: Confirm the scope before leaving the office. Know which areas are in scope for today's visit and what deliverable is needed to support it (existing conditions, progress documentation, as-built verification). This determines capture mode and level of detail.
Step 2: Capture in Space mode following standard technique. Start in a corner of the space, aiming at the opposite corner. Move your whole body through the space at a steady pace, holding the device with two hands. Scan from floor to ceiling on all walls, tilting the device up for ceiling corners. Complete each room before moving to the next.
Step 3: Give each scan a clear name before syncing. Use a consistent format, like project, location, and date, so the project engineer and BIM coordinator can quickly find what they need. Decide on a simple naming rule as a team ahead of time.
Step 4: Check the mesh preview before leaving site. Confirm coverage looks complete against the planned scope. Re-scan anything with obvious gaps while still on site.
Step 5: Sync the capture. Once a capture is processed on-device, syncing it makes it available across the team workspace and on Polycam Web for the project engineer and BIM coordinator. A capture that hasn't synced shows a phone icon and is labeled as a draft, visible only on the device where it was captured.
Cloud Sync and Team Access
When a scan is synced from the field, anyone with access to the team workspace can use it on any device, including Polycam Web. There’s no waiting for SD cards, file uploads, or someone to be at their desk to get the file.
Team access in Polycam is managed at the workspace level. Business and Enterprise plans include a Teams tab where members collaborate within an organizational workspace, separate from anyone's personal account. The workspace owner manages billing, adds and removes members, and controls workspace-wide settings; ownership can be transferred if needed.
For sharing individual captures outside the core team (a client, a consultant, or a subcontractor), Polycam offers two sharing modes. Private sharing restricts access to specific people by email or username; anyone not explicitly invited cannot view the capture. Public sharing makes the capture accessible to anyone with the link; no login required. For most internal field-to-office handoffs, the team workspace is the right structure; for one-off client or consultant access, sharing a single capture link is faster than adding someone to the workspace.
Comments can be added directly to a capture, pinned to specific locations, and threaded. This is a fast way for the BIM coordinator to flag a question about a specific area, and for the field engineer to see exactly what needs attention before their next visit rather than working from a vague verbal description.
Saved Views help you point someone to a specific spot, just like comments do. You can save a preset angle or a custom camera position and share it as a link. When someone opens the link, the scan loads right at that view, so they don’t have to search for the right spot. This makes it much faster to flag issues or gaps than trying to describe where to look.
Office Side: Cleanup, Registration, and Exports
Once the scan is in the shared workspace, the BIM coordinator takes over after the field-to-office handoff.
Step 1: Review the capture and confirm coverage. Open the capture in Polycam Web and check it against the scope confirmed before the site visit. Crop out anything outside the area of interest.
Step 2: Export in the format the downstream tool needs. For Revit or AutoCAD workflows, export as LAS. For CloudCompare processing or registration with other captures, both LAS and PLY work. For georeferenced LAS exports specifically, Polycam's own documentation notes that smartphones and GPS use WGS84 for global positioning, while CloudCompare works better with a WGS84 UTM zone coordinate system for accurate local distance and area measurement; this conversion is handled during the QGIS or CloudCompare import step.
Step 3: Register multiple captures if needed. If the project involved more than one capture session, register them together in CloudCompare using coarse alignment followed by ICP fine registration, or combine them in Autodesk ReCap as a single project file. CloudCompare has no undo function, confirmed directly by the software's own developers, so duplicate the data before making changes.
Step 4: Convert for Revit if needed. Import the LAS file into Autodesk ReCap, which indexes it into an RCS file for a single scan or an RCP project file referencing multiple RCS files. Both formats attach to a Revit or AutoCAD drawing as an external reference, and Navisworks supports the same RCS/RCP files directly through its own ReCap file reader.
Step 5: Hand off to the modeling team. Confirm the RCS/RCP file location, the coordinate system used, and any known coverage gaps with the BIM modeler before they start. Once that is confirmed, the modeler can begin without pause.
Handoff Format Checklist by Downstream Tool
Illustrative Example: A Four-Person GC Team's Project Day
This example walks through how the roles and handoffs work in practice. It shows what a typical day might look like for a small general contractor documenting progress on a mid-rise renovation, from field capture to office review.
7:30 AM. The field engineer arrives on site with a phone. The scope for today: document the third floor, where rough-in MEP work was completed yesterday.
7:35 AM to 8:45 AM. Capture in Space mode, room by room, following standard technique. The field engineer checks the mesh preview at the end of each major zone and confirms coverage before moving on.
8:50 AM. Capture syncs from the job site over a standard cellular connection. No need to return to the office first.
9:05 AM. The project engineer, working from the office, opens the synced capture in Polycam Web, confirms coverage matches the planned scope, and assigns it to the correct project folder. One area near the mechanical shaft appears thin; a comment has been added flagging it for the field engineer's next visit, keeping the workflow moving to the next action.
9:20 AM. The BIM coordinator exports the capture as LAS and begins importing it into Autodesk ReCap.
9:45 AM. RCS file is ready. The BIM coordinator links it into the project's Revit model via Insert > Point Cloud and begins comparing the rough-in MEP against the design model.
10:15 AM. A discrepancy is found: a duct run is routed differently than shown in the design drawings. The BIM coordinator saves the exact camera angle as a view, adds a comment pinned to the same spot, and flags it for the project manager.
10:30 AM. The project manager reviews the flagged issue and shares the saved view publicly with the design team, who weren't already in the workspace. The link opens directly on the duct run in question, with the comment thread alongside it for context.
In this example, it takes less than three hours to go from arriving on site to having a flagged coordination issue in the design team’s hands. No one needs to drive a hard drive across town, wait for a desktop to be free, or wonder which scan is the latest.
FAQ
What are the best field-to-office workflow tools for construction teams? For mobile-first capture with a fast handoff to the office, Polycam's cloud sync removes the manual file transfer step that slows down most reality capture workflows. Autodesk ReCap remains the standard tool for converting point cloud data into Revit-ready RCS/RCP files. Matterport also offers a cloud-based handoff with structured point cloud and mesh exports for downstream CAD/BIM work; the practical difference is that Matterport's dedicated camera captures each scan position quickly but requires setup at multiple discrete positions to cover a space, versus Polycam's single continuous walk-through, plus the added cost of that camera hardware and a paid export add-on for CAD/BIM-ready formats. RealityScan (formerly RealityCapture) and Pix4D are processing-heavy desktop photogrammetry tools, well suited to drone-based aerial capture but slower for a same-day field-to-office turnaround on building interiors.
What are scan-to-CAD apps for site documentation? Polycam exports DXF directly from a Space mode capture, which can be imported into AutoCAD for 2D drawing work. In point cloud-based CAD workflows, LAS exports are converted to RCS/RCP in Autodesk ReCap and attached to an AutoCAD or Civil 3D drawing. Matterport is an alternative that also produces structured CAD-ready exports; the tradeoff is dedicated camera hardware and a separate paid add-on.
How do you convert 3D scans to floor plans? Polycam automatically generates a 2D floor plan from a Space mode capture and exports it as a DXF. From there, the floor plan is cleaned up in AutoCAD: checking units, joining broken wall lines, adding dimensions and a title block.
What is the best reality capture software for construction teams? The right tool depends on the required workflow speed and the target LOD. For fast field-to-office documentation at LOD 200-300, Polycam's mobile capture and cloud sync are well suited for small teams that need same-day turnaround. For dense point clouds at LOD 350 and above, terrestrial scanners from Trimble or Leica Geosystems paired with desktop processing software remain the standard. RealityScan (formerly RealityCapture) and Pix4D are strong choices for photogrammetry-heavy aerial and drone workflows.
What is a site survey to BIM workflow? The core steps are: capture in the field, sync or transfer the data to the office, process and clean the point cloud, convert to a BIM-compatible format (RCS/RCP via ReCap for Autodesk tools), link into the BIM authoring software, and model from the point cloud reference. For mobile-first teams, Polycam's sync eliminates the file-transfer step that traditionally separates field and office.
Can multiple team members access the same Polycam captures? Yes. Business and Enterprise plans include a team workspace where members collaborate on shared captures. Captures synced by any team member become available to others with workspace access, on mobile or via Polycam Web. For sharing with people outside the core team, individual captures can be made private (invite-only) or public (open to anyone with the link).
Can Polycam exports be uploaded to Procore? Yes, for several formats. Procore's Document Management tool currently supports uploading OBJ, GLB, GLTF, STEP, STP, RVM, PTS, LAS, LAZ, DXF, E57, and KOF files, which covers Polycam's relevant export formats. Note that while upload is supported for these formats, point cloud viewing in Procore's 3D model viewer is not currently supported; LAS and LAZ files can be stored and downloaded but not viewed directly in the Procore web interface.
How long should a field-to-office workflow take for one floor? There’s no set benchmark—it depends on the floor’s size, complexity, and number of scans. The real bottleneck is usually the handoff between people, not the scanning itself. With a well-organized four-person team, you can go from site capture to a flagged issue in the design team’s hands the same day, as shown in the example above.